Just Another Mom HQ

Just another Mom's guide to a healthy lifestyle

  • Home
  • Recipes
  • Essential Oils
    • Visit My Oils Page
  • All Natural Products
  • Sydi’s Blog

Easy Thanksgiving Sage and Butter Rubbed Turkey

Happy Thanksgiving everyone!  The turkey seems to be a very scary experience for many.  Maybe because we are preparing it for a lot of people, possibly because we know it can be super dry if mistreated, maybe it is all the funny videos and stories we have seen and heard over the years.  Well worry no more!  I have a simple straight to the point tutorial for you to make the perfect bird.  Please visit my Facebook page for a live video with step by step instructions!
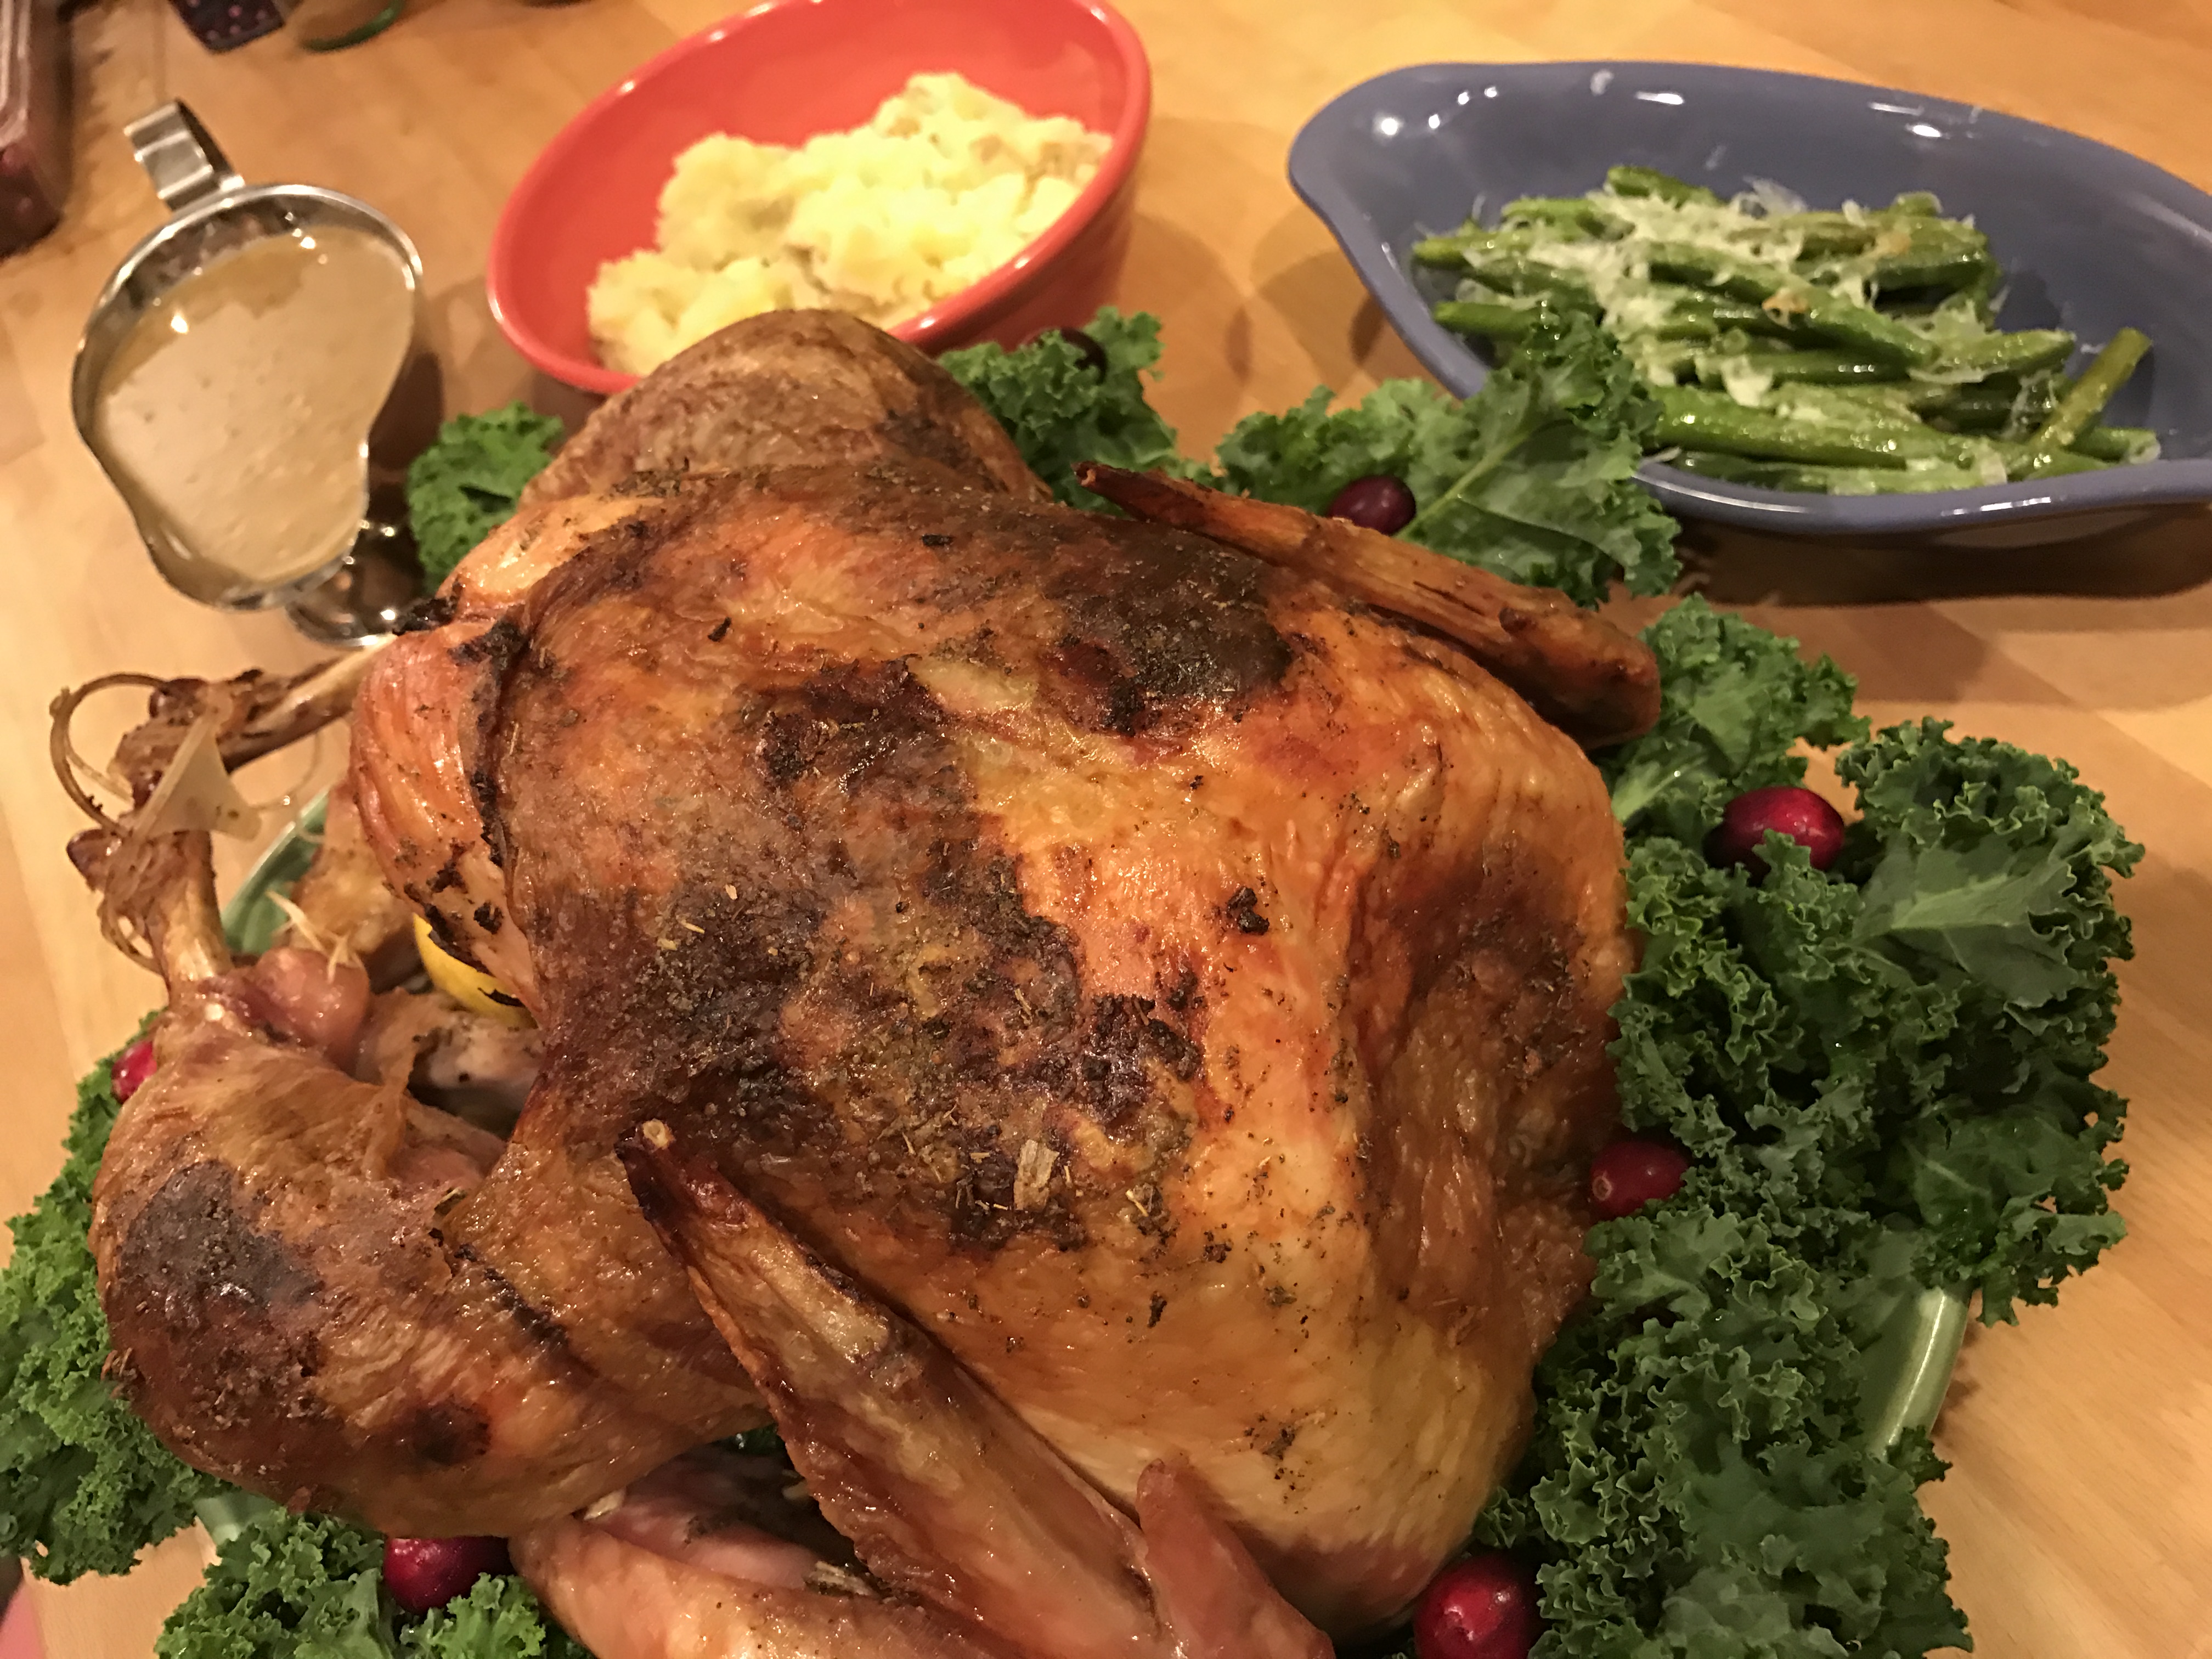
img_2711

Easy Thanksgiving Butter and Sage Rubbed Turkey

Pull your bird from the oven an hour or two before you plan to roast it for even cooking.

Preheat your oven to 425 degrees Fahrenheit.  Remove the turkey from the wrapper over a pan or the sink as there will be a lot of liquid spilling out.  Remove the neck from the cavity and the bag of gizzards.  If you can’t find the gizzard bag check where the neck would have been attached at the top of the breasts.  Rinse and pat dry.  (Please sanitize your sink after you are all done!).

In a small bowl mix together 2 teaspoons of salt. 1 teaspoon pepper, 2 tablespoons of dried Sage and 5 crushed garlic cloves.  Mash this mixture into a whole room temperature stick of butter making a compound butter.  Feel free to adjust salt and pepper to your tastes.

Divide compound butter into 4 like sized portions.  Separate the skin from the breast and slip one of the 4 butter portions under the skin.  Repeat with second breast.  From the breast area closest to the leg, loosen the leg and thigh skin and slide half of one of the four into each leg quarter.  Slather the outside of your bird with the remaining butter.

Slide a quartered onion and a 2 lemon halves into the cavity of your bird.  This is also a great place to stash some fresh sage or thyme if you have some on hand.

Place turkey on roasting rack in roasting pan and add 1-2 cups of water.  Keep an eye on your liquid level throughout the roasting process to ensure your turkey remains moist, and of course so you can make gravy afterwards.

Place roasting pan in preheated oven for one hour or until the skin appears browned.  Then lower temperature to 325 to to finish roasting.  Depending on your bird size this could be at least another 1.5 hours or more.  A general rule of thumb is to roast 20 minutes per pound and until a thermometer inserted into the thigh next to the breast registers 180 degrees.  If your breast begin to get too dark, feel free to tent them with foil to keep them from drying out.

Remove turkey from oven and allow to rest for 15 minutes to allow the juices to distribute before slicing.

Sit back and enjoy your meal with family and friends remembering all of the beauty in life we have been blessed with.  Have a great thanksgiving!
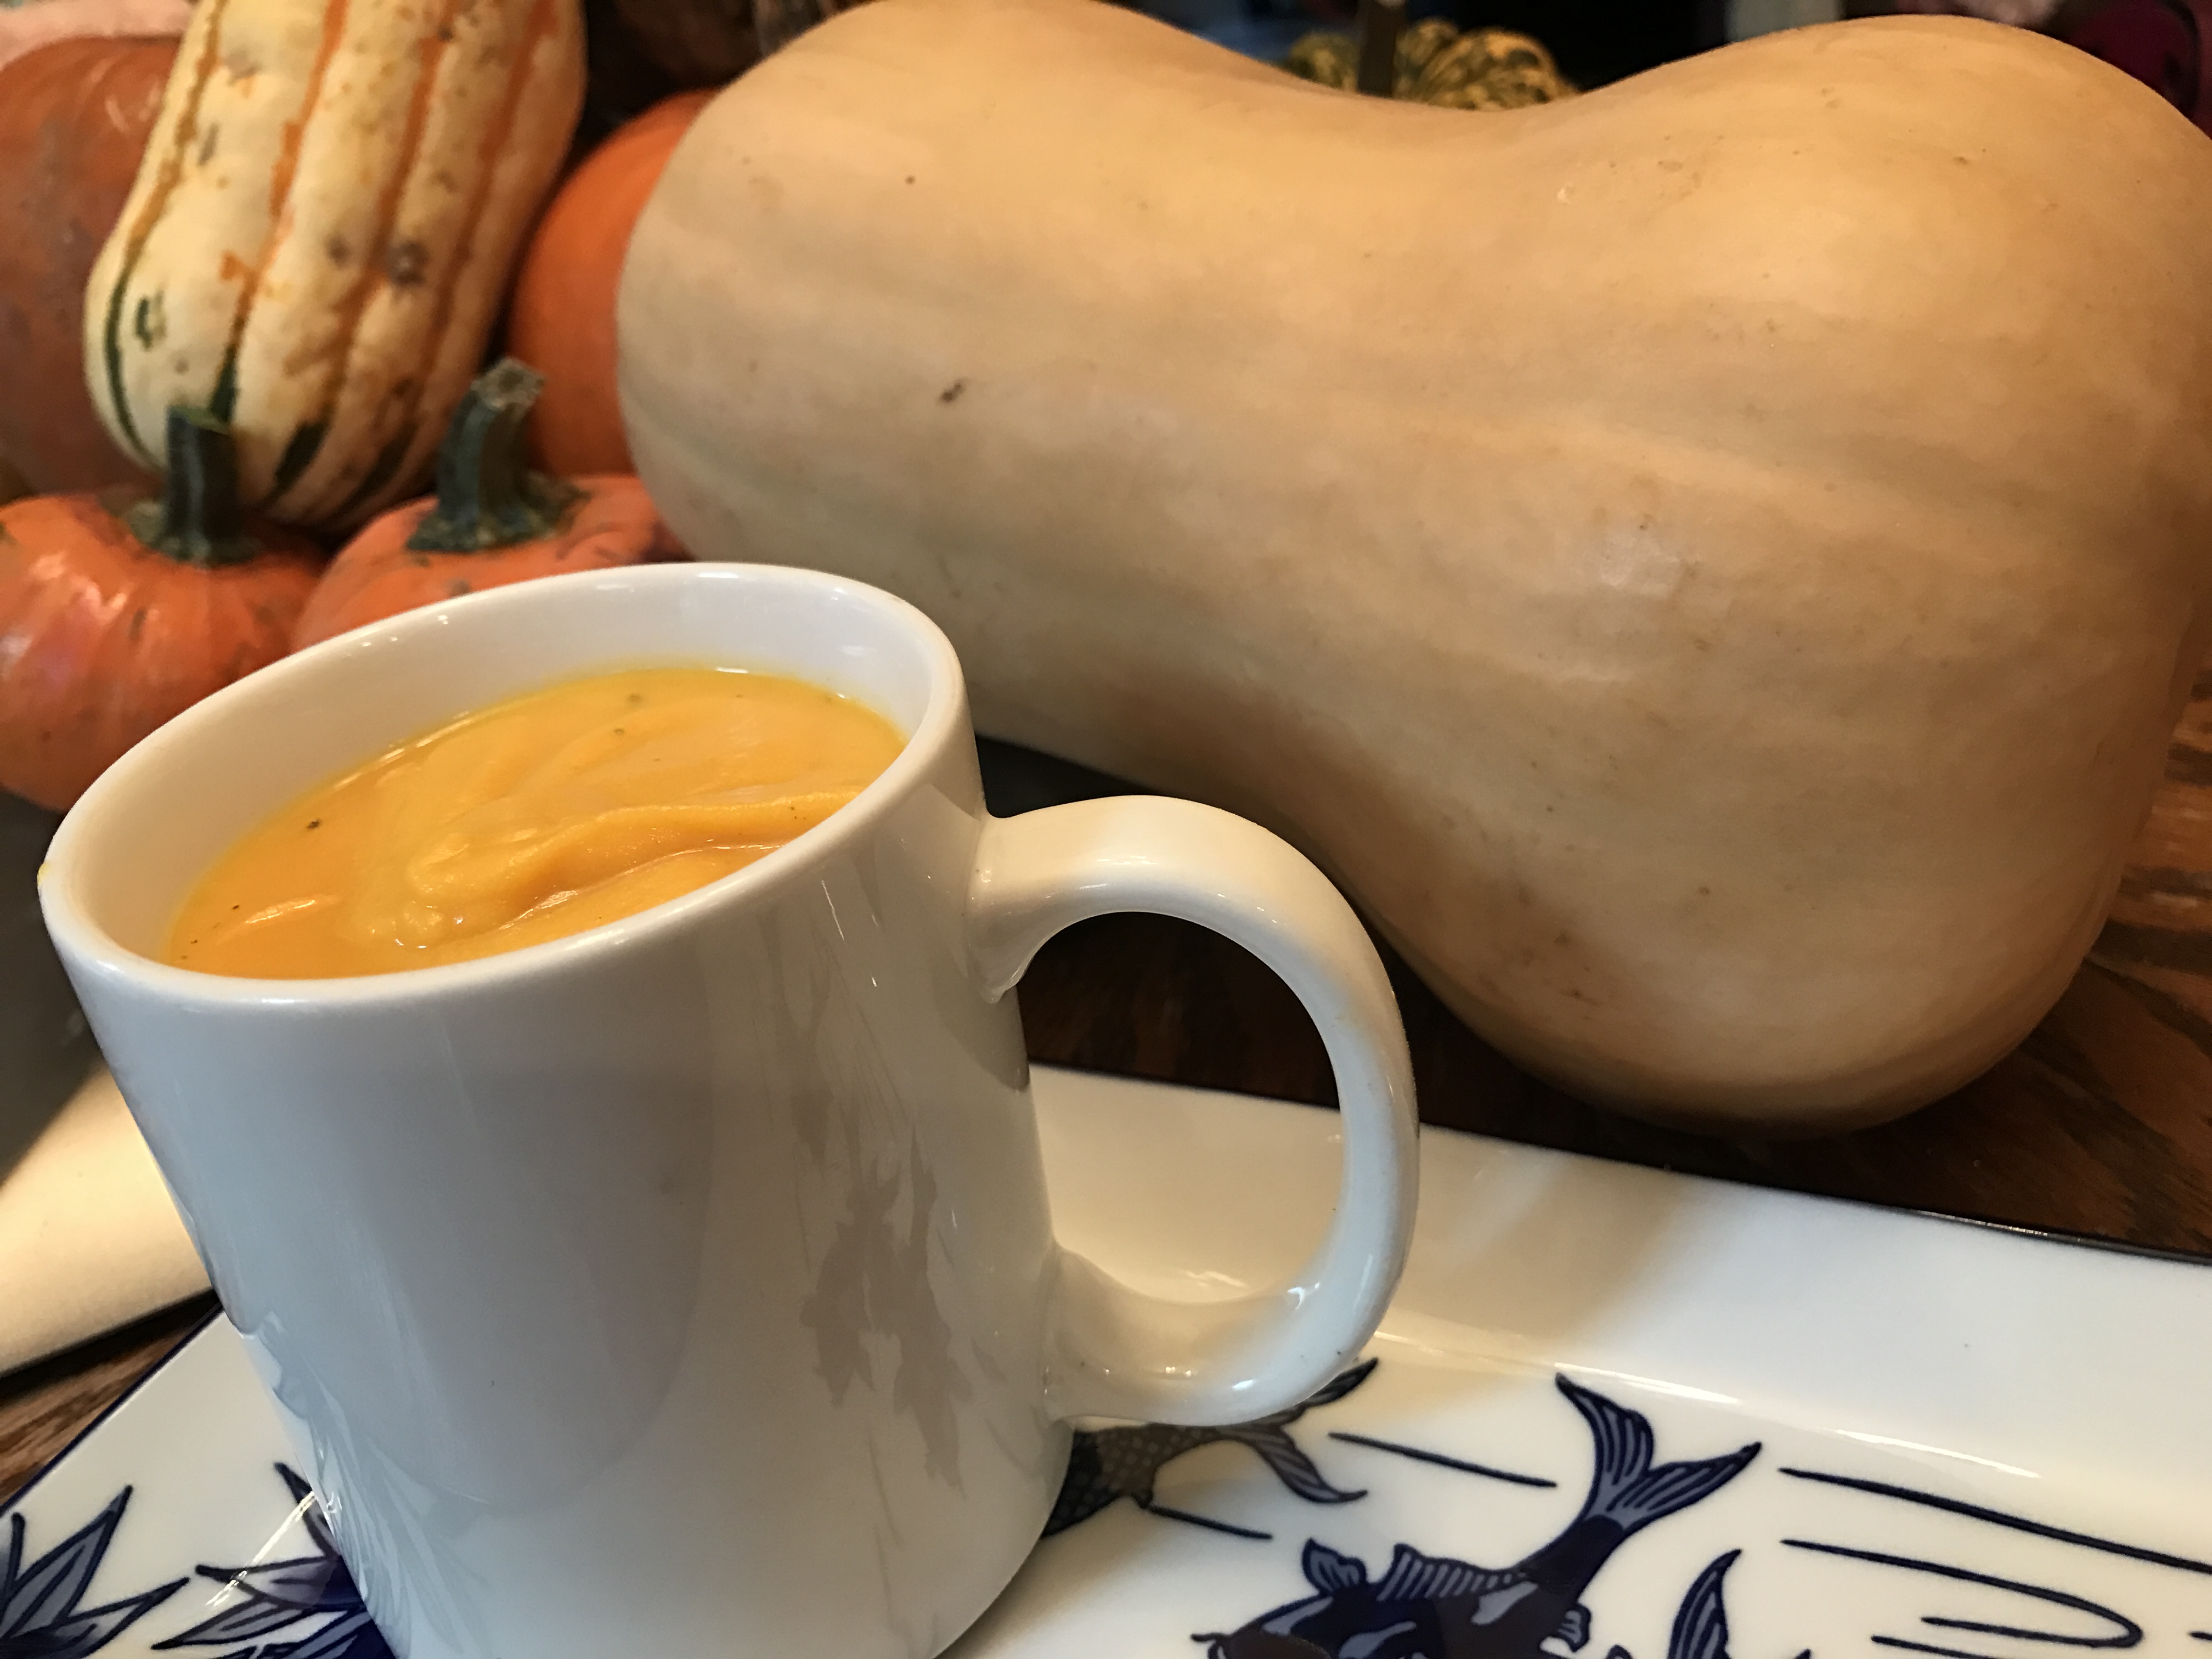
Roasted Garlic and Butternut Squash Soup


img_1109

I am overwhelmed with the beauty of fall.  Living in Wisconsin has its pros and cons, I mean I don’t think most people enjoy freezing cold below zero no sun winter days, but fall that is different.  It is beautiful!  Leaf colors in orange, red, purple…fresh crisp air, apples, pumpkin everything…

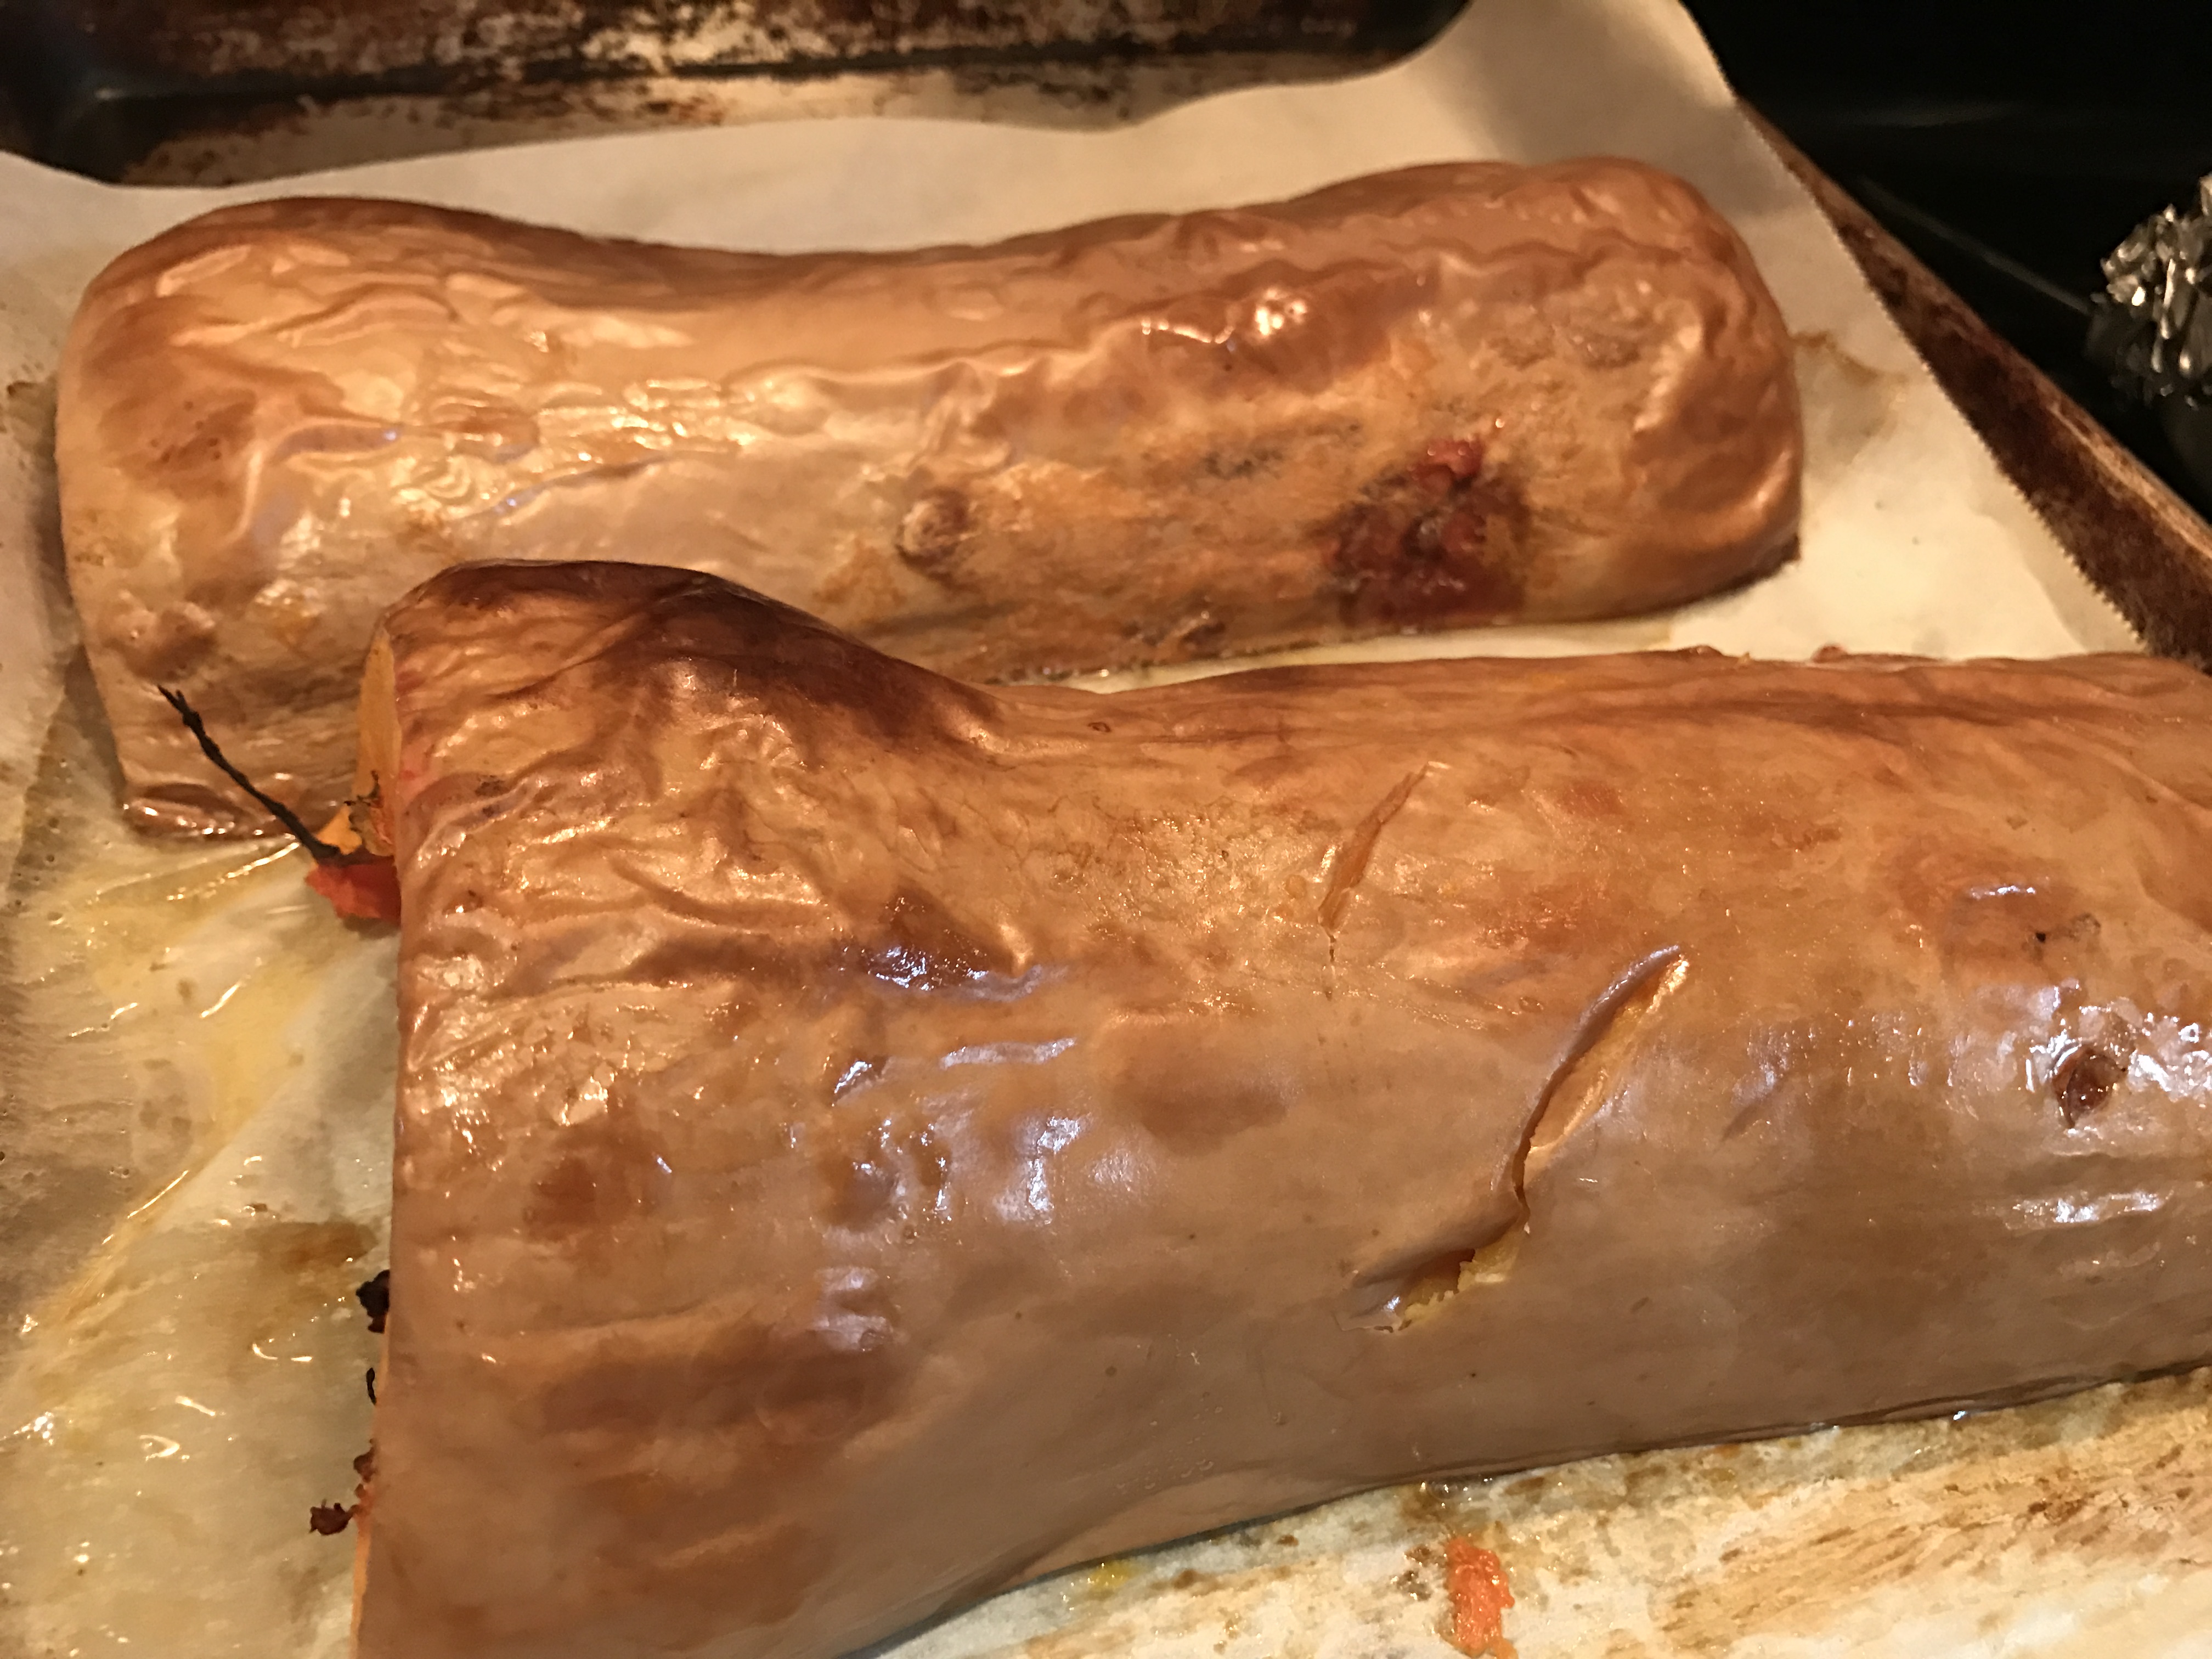
Not to mention an abundance of squash.  My favorite squash, aside from pumpkin of course is the beautiful butternut squash.  On its own it doesn’t need any additional sweetener as long as you respect it.  By this I mean roasting.  Not steaming or boiling but roasting.  This brings out the natural sugars and allows them to concentrate and caramelize.  (please forgive my not so perfect picture)

img_1097

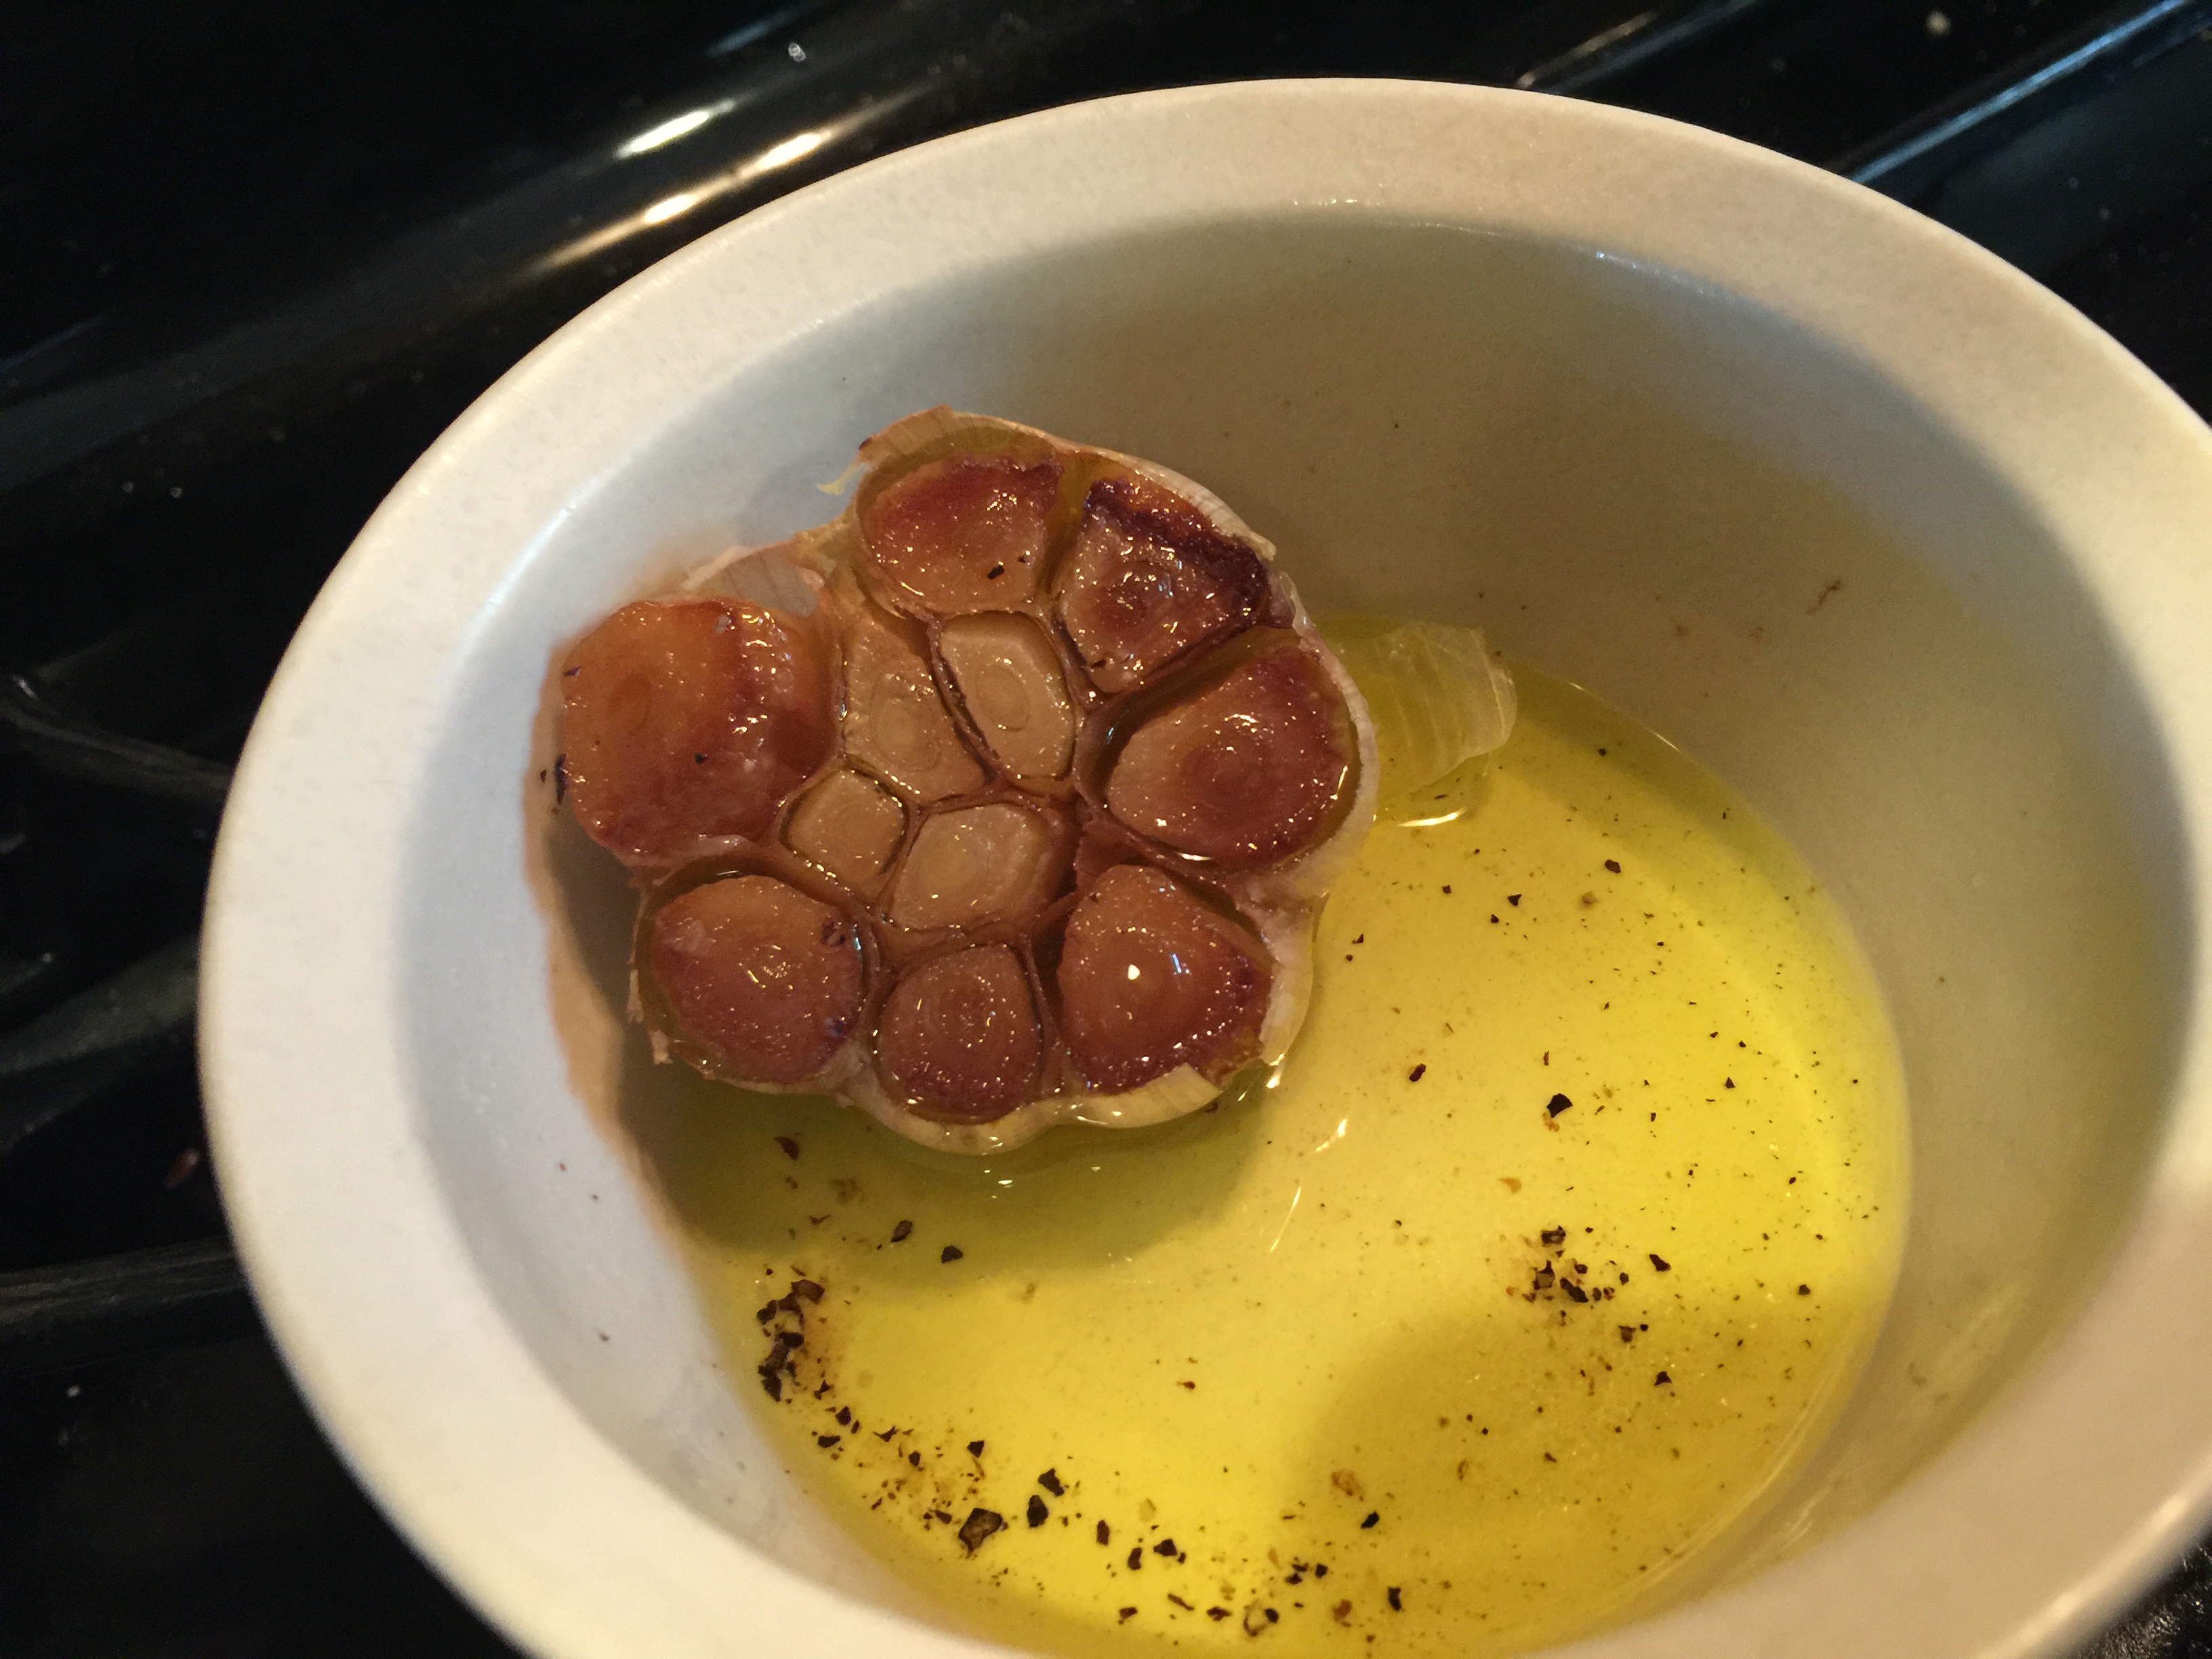
So that is what I did for this velvety soup.  It is super quick to put together, that is your active time making it.  First cut your squash in half carefully, please don’t sacrifice a finger here.  Scrape the seeds  out and discard.  (Or save them to roast and decorate your soup if you wish).  Place squash halves cut side down on cookie sheet and roast in a 400 degree oven for about an hour, I put parchment on my pan to save clean up time later.  Meanwhile cut the end off a head of garlic.  Put the cut side down in a ramekin or small oven safe bowl and drizzle with about 2 tablespoons of olive oil and a pinch of sea salt.  When you are 20 minutes from the end of roasting your squash add your ramekin covered with foil to the oven.  Your squash and garlic are done when they are golden brown.  (I flipped my garlic over for a visual, roast cut side down.)

img_1101


Remove squash and allow to cool before scraping the sweet flesh from the skin.  Squeeze the garlic from the skins into your blender and purée with squash and 2-3 cups of chicken stock (to make it vegetarian/vegan use vegetable stock).  I used my homemade stock this time but any stock will work.  Purée until smooth.  Empty blender into large saucepan and bring to a simmer.  Now is the time to adjust your seasoning.  Add 1 tablespoon dried sage, 2 teaspoons of dried thyme and salt and pepper to taste.   Now swirl in a tablespoon of apple cider vinegar to mellow out the sweetness of the squash and roasted garlic, feel free to add more if yours tastes extra sweet.  Allow to simmer for about 20 minutes.


When you are ready to serve top each bowl with a good shake of pumpkin pie spice and a small pinch of cayenne.  Add a crispy baguette, serve with a fresh salad and your meal is complete!

Cheers!

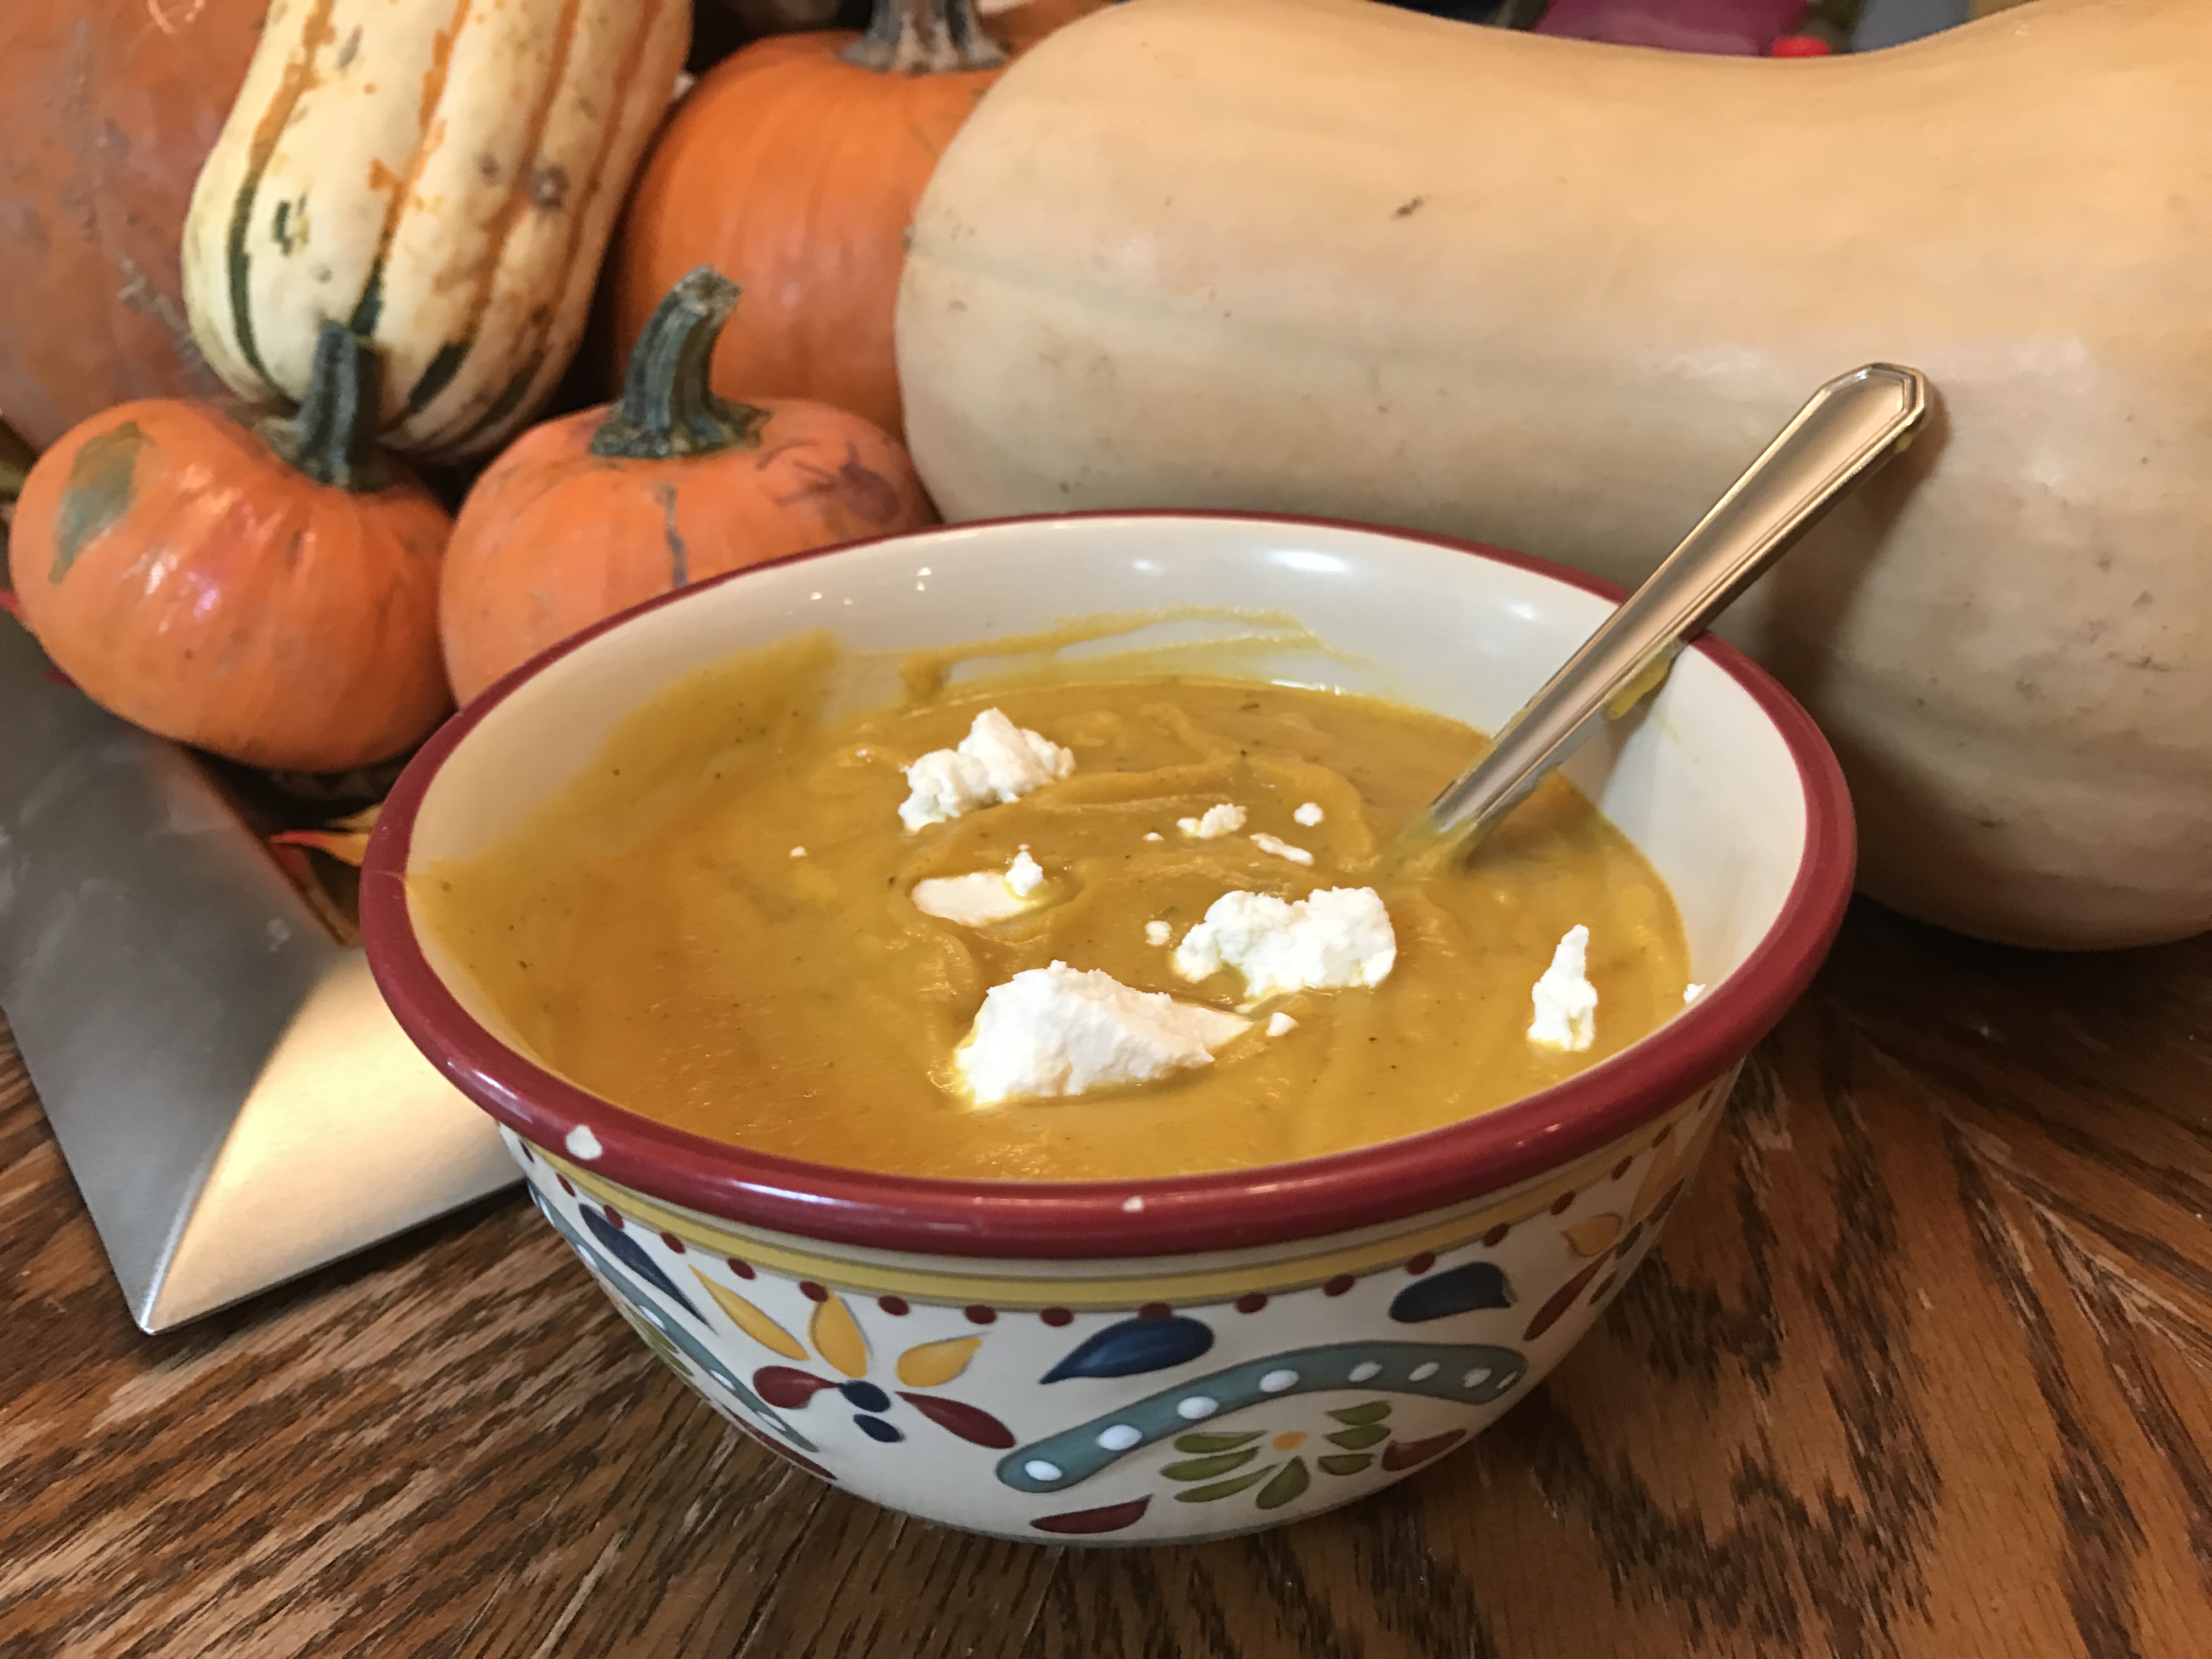
As a side note, I topped mine with Chèvre (creamy goat cheese), super yummy!  This would also be great with any sage seasoned sausage…

img_1128


Grilled Braised Beef Chuck Roast

image

Super excited for todays post!  After I made a stop at my local grocery store and grabbed a gorgeous 2# grass-fed beef chuck roast, I stashed it in my refrigerator and began to toss around the possibilities.  I could take the easy way out and just throw it in the crock pot, but it is a beautiful weekend and the grill is calling my name.  Not to mention as I am super pregnant, the less dishes the better!

So grilling it is!  As a side not this can totally be made inside with a stovetop and an oven if you are not into grilling or the weather is not cooperating.

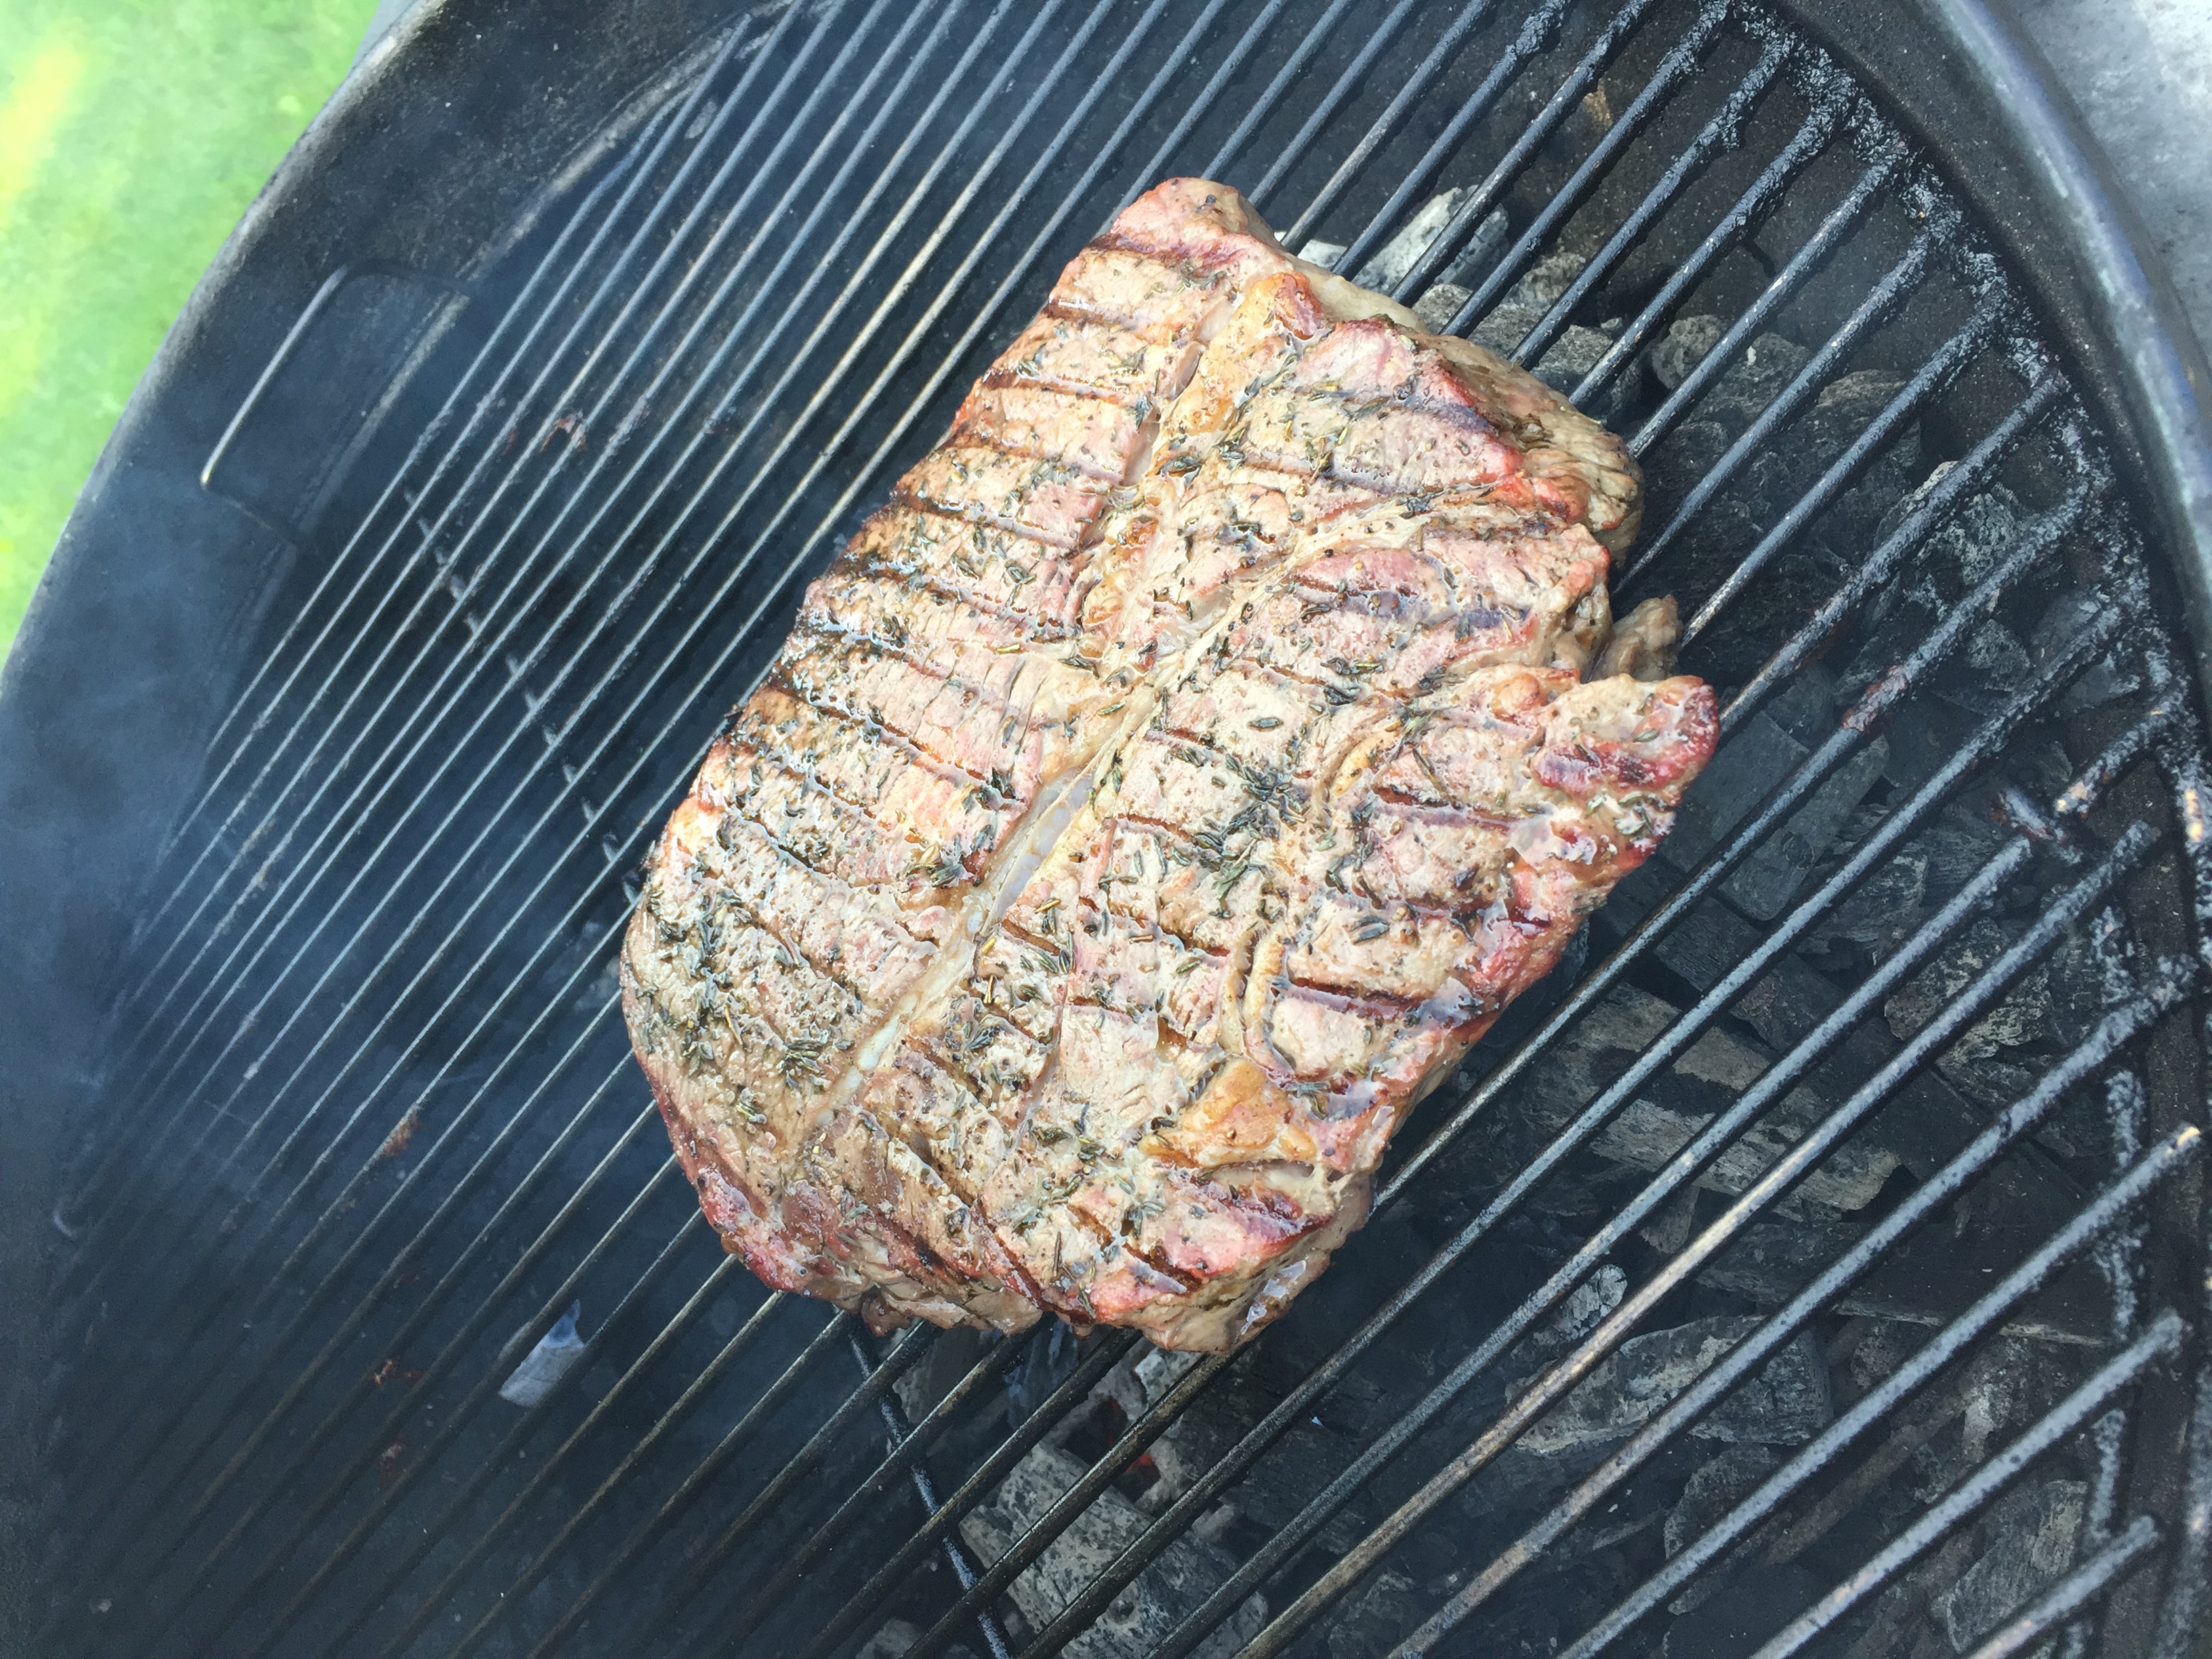
The assembly is super simple. Remove meat from refrigerator and allow to warm up to room temperature or as close to that as you are comfortable with.  Trying to sear a super cold piece of meat can be a bit trying.  Salt and pepper both sides of meat, sprinkle with some fresh or dried thyme, rub with some extra virgin olive oil and let it sit.

To prepare your grill you are going to need a direct and indirect cooking area.  I am a grill purist so I prefer charcoal, but if gas is your choice, hey I am not judging!  For charcoal you will need to start your coals and when they are glowing push them all to one side of your grill.  For gas, light the outer two regions of your grill leaving the middle one off.  (if you only have 2 regions, just light one).

While you are waiting for your grill to heat up, slice up a yellow onion and crush some garlic.  Place them into the bottom of a grill safe pan.  Disposable aluminum pans work great to avoid the dreaded dishes, but if you don’t like aluminum go for whichever pan you like.  Next add in 1 cup of dry red wine, and 1/2 cup of water.  For the wine I used petit syrah today, but any red on the dryer side will work.  Set this pan aside close to your grill so you can add the meat to the pan once it is seared.

image

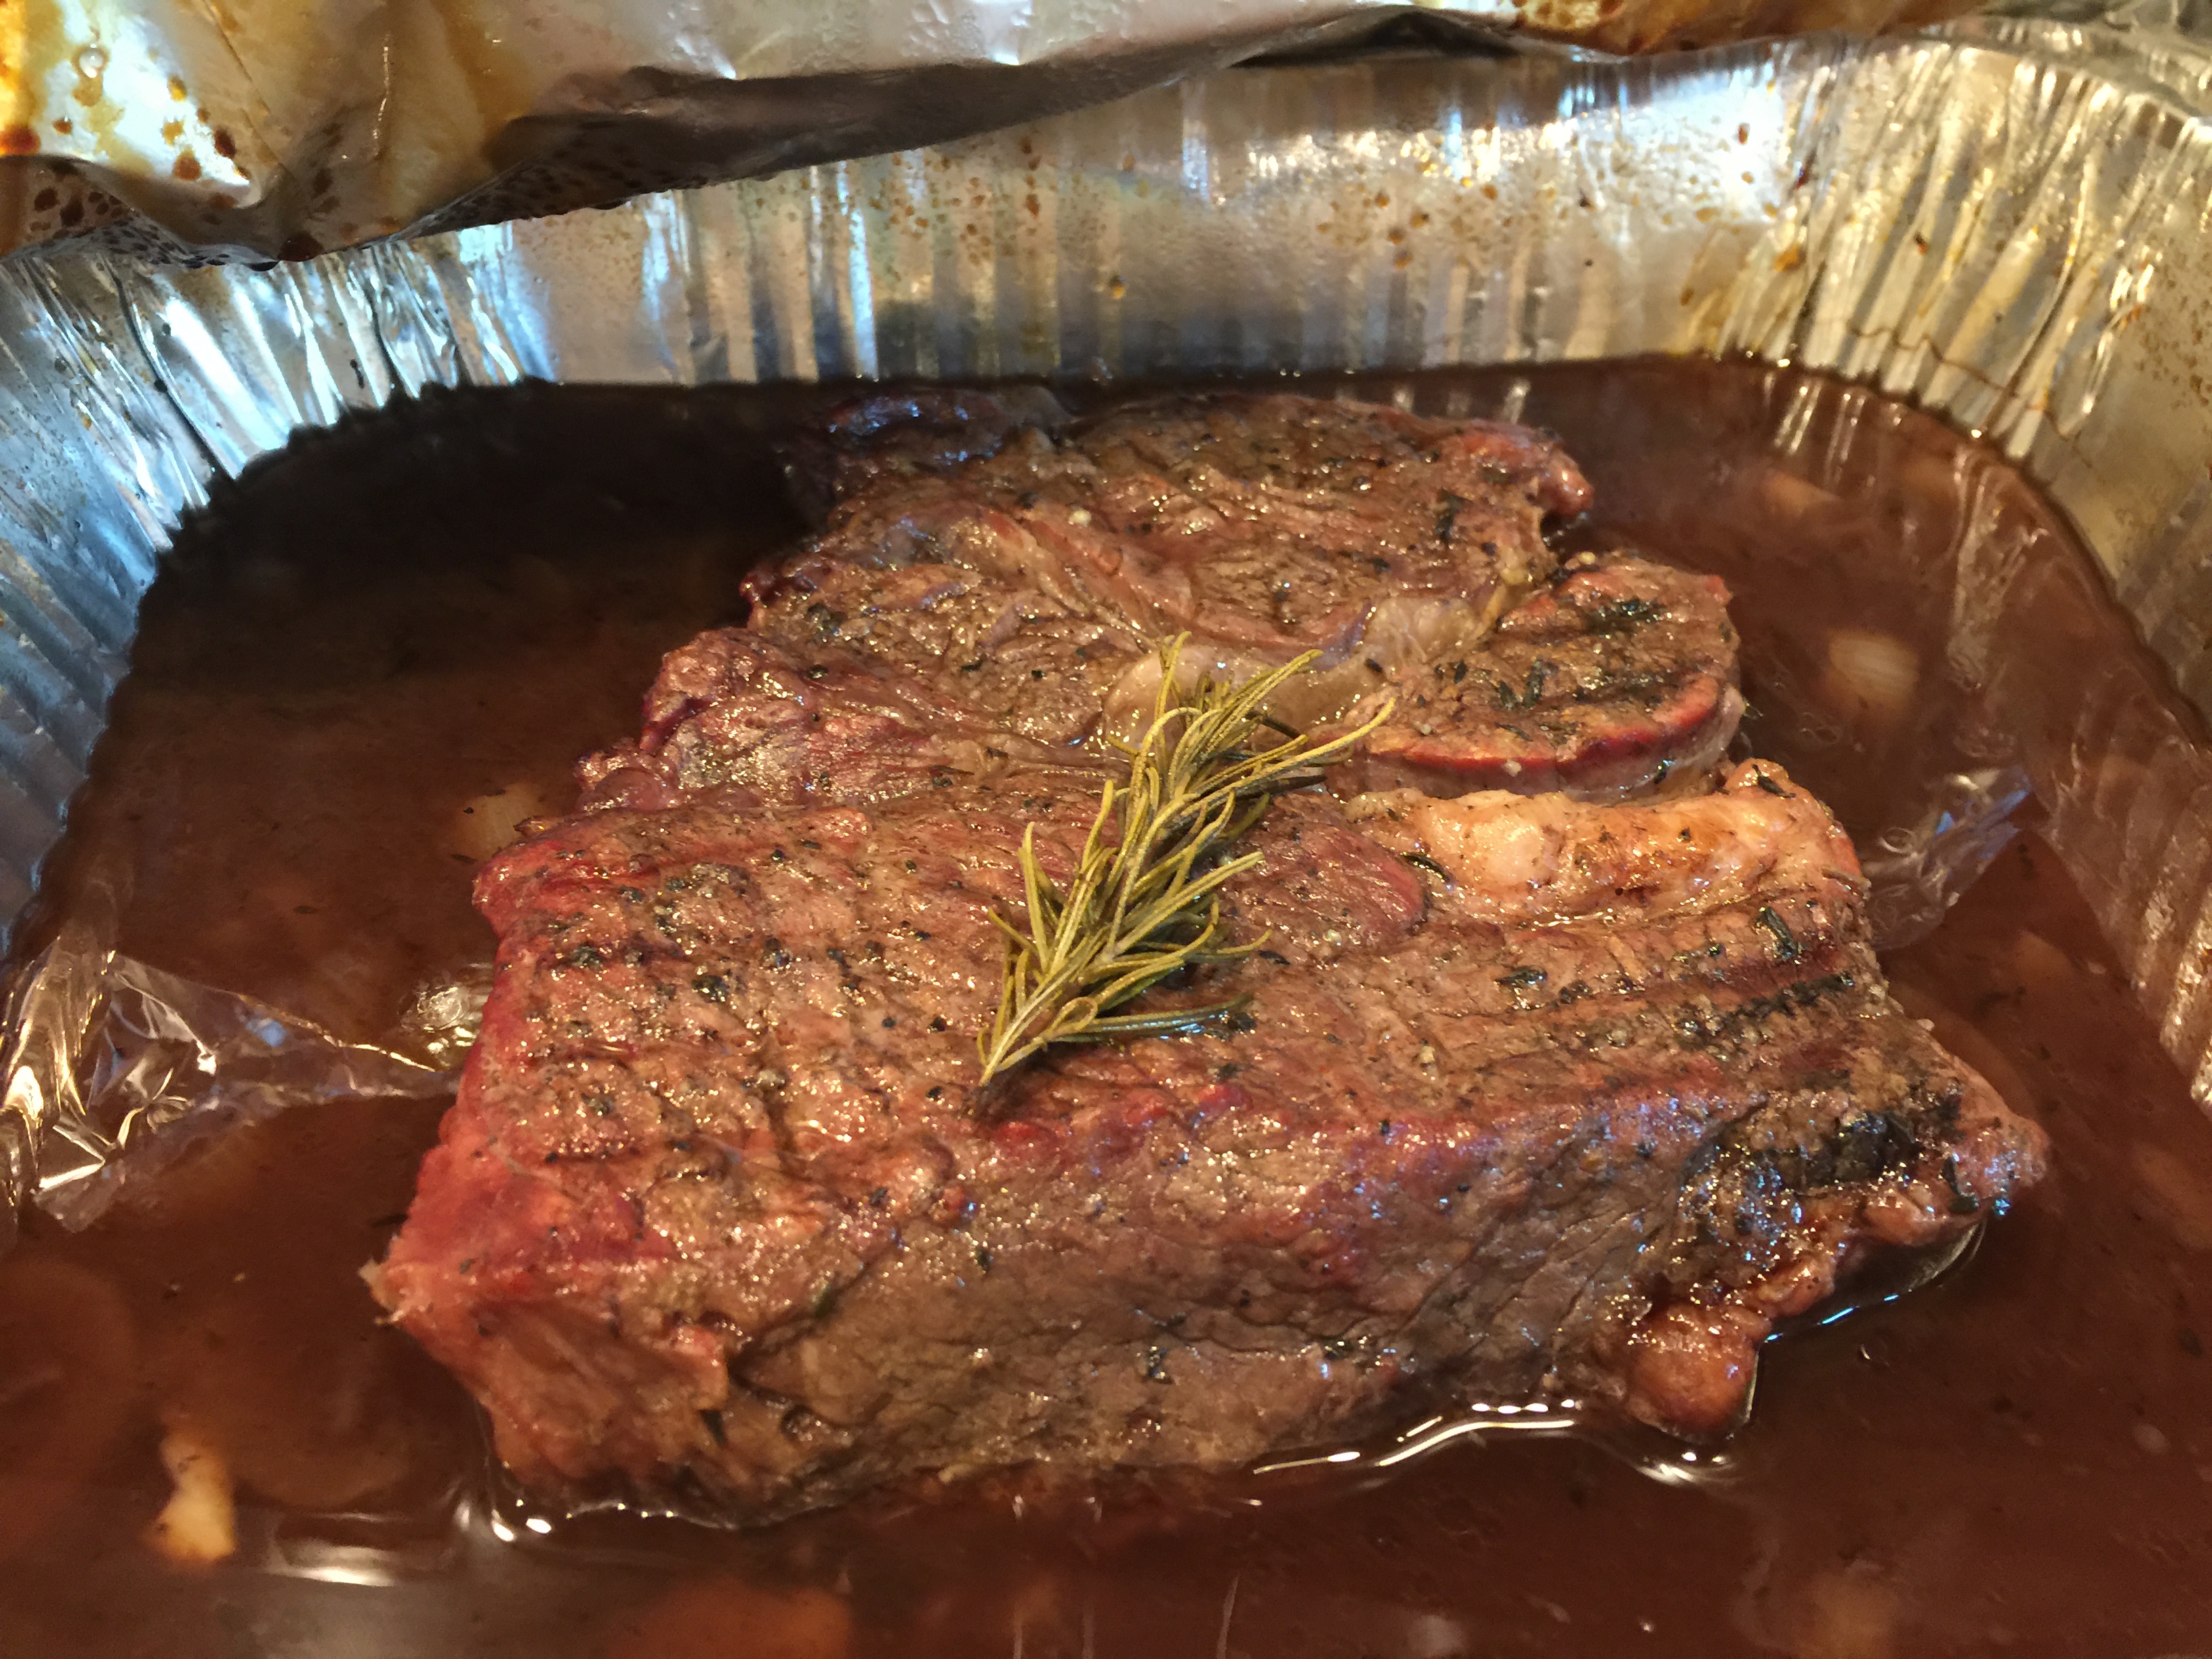
Once your grill is smoking hot and ready, sear your roast for about 3-4 minutes per side, getting a nice sear but not burning your roast.  Once both sides have been seared, place meat on top of onions and garlic then top with a fresh rosemary sprig and cover with foil or lid.

Place the pan on the indirect heat area in your grill and turn your grill down by choking the air down a lot on your charcoal.  Alternately with gas, just turn it down…You want to maintain a steady temperature around 275-300 degrees fahrenheit, so make sure to keep an eye on your thermometer.  Braise roast for 2 hours.

image

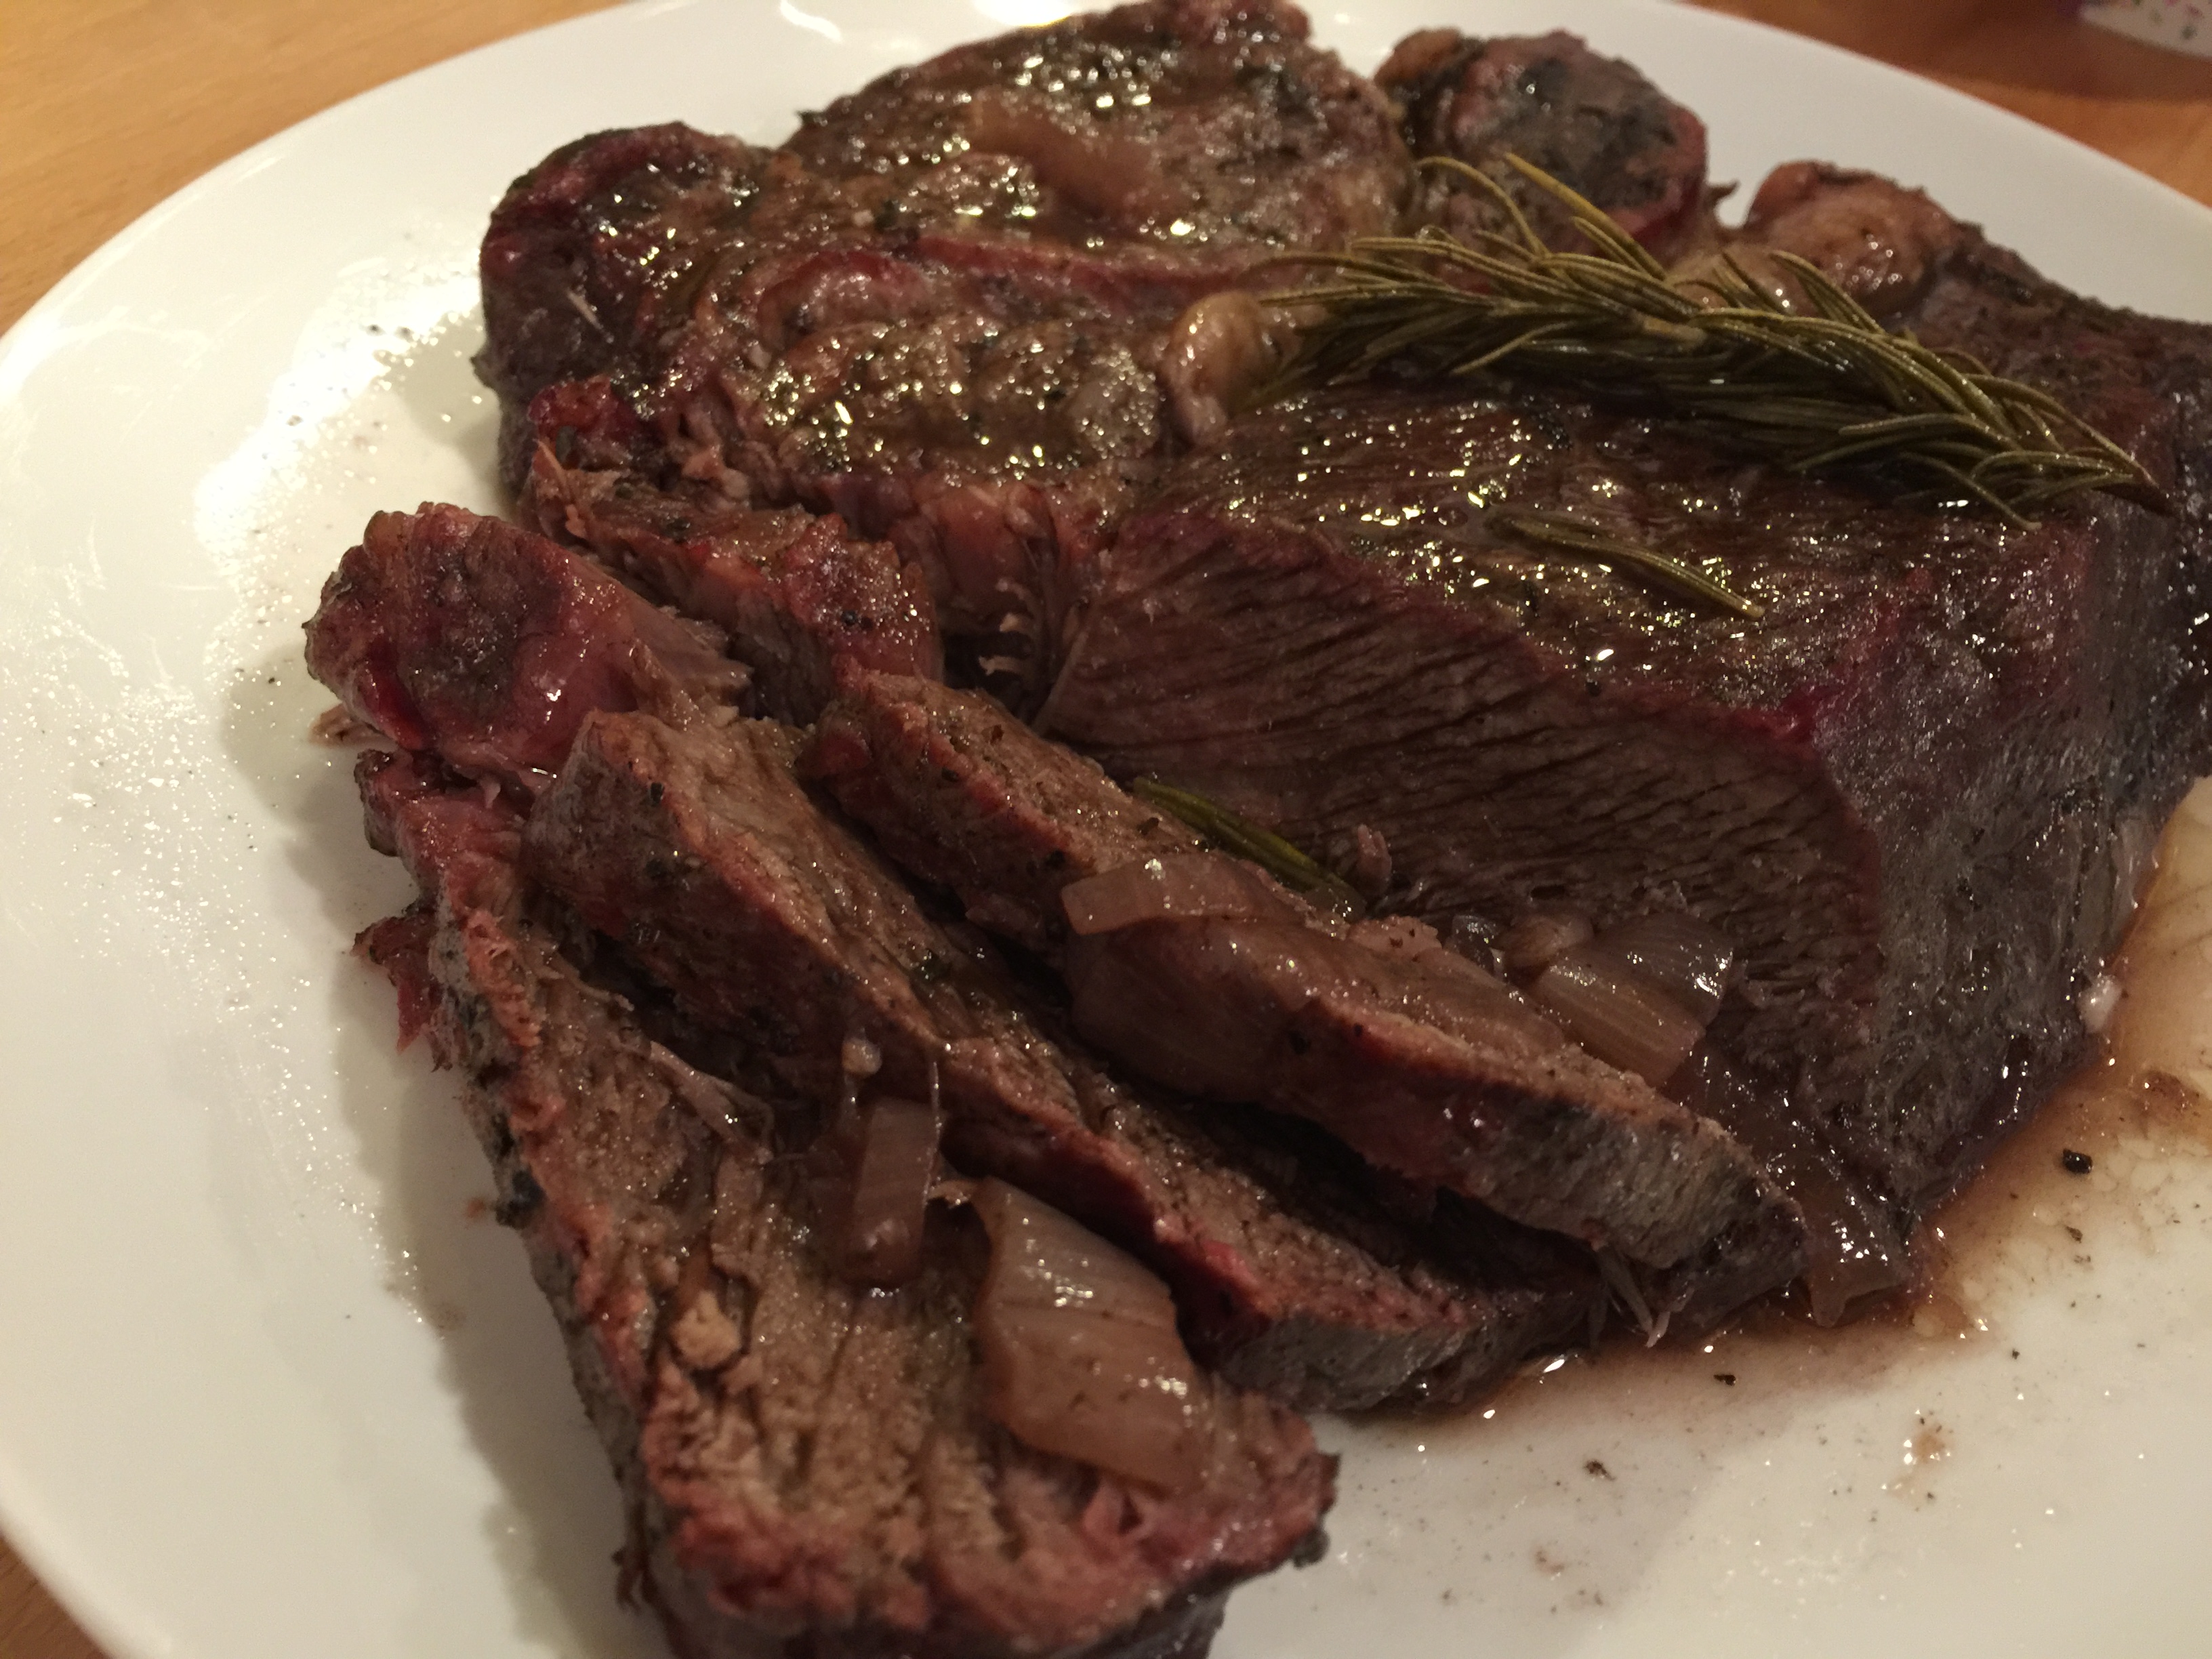
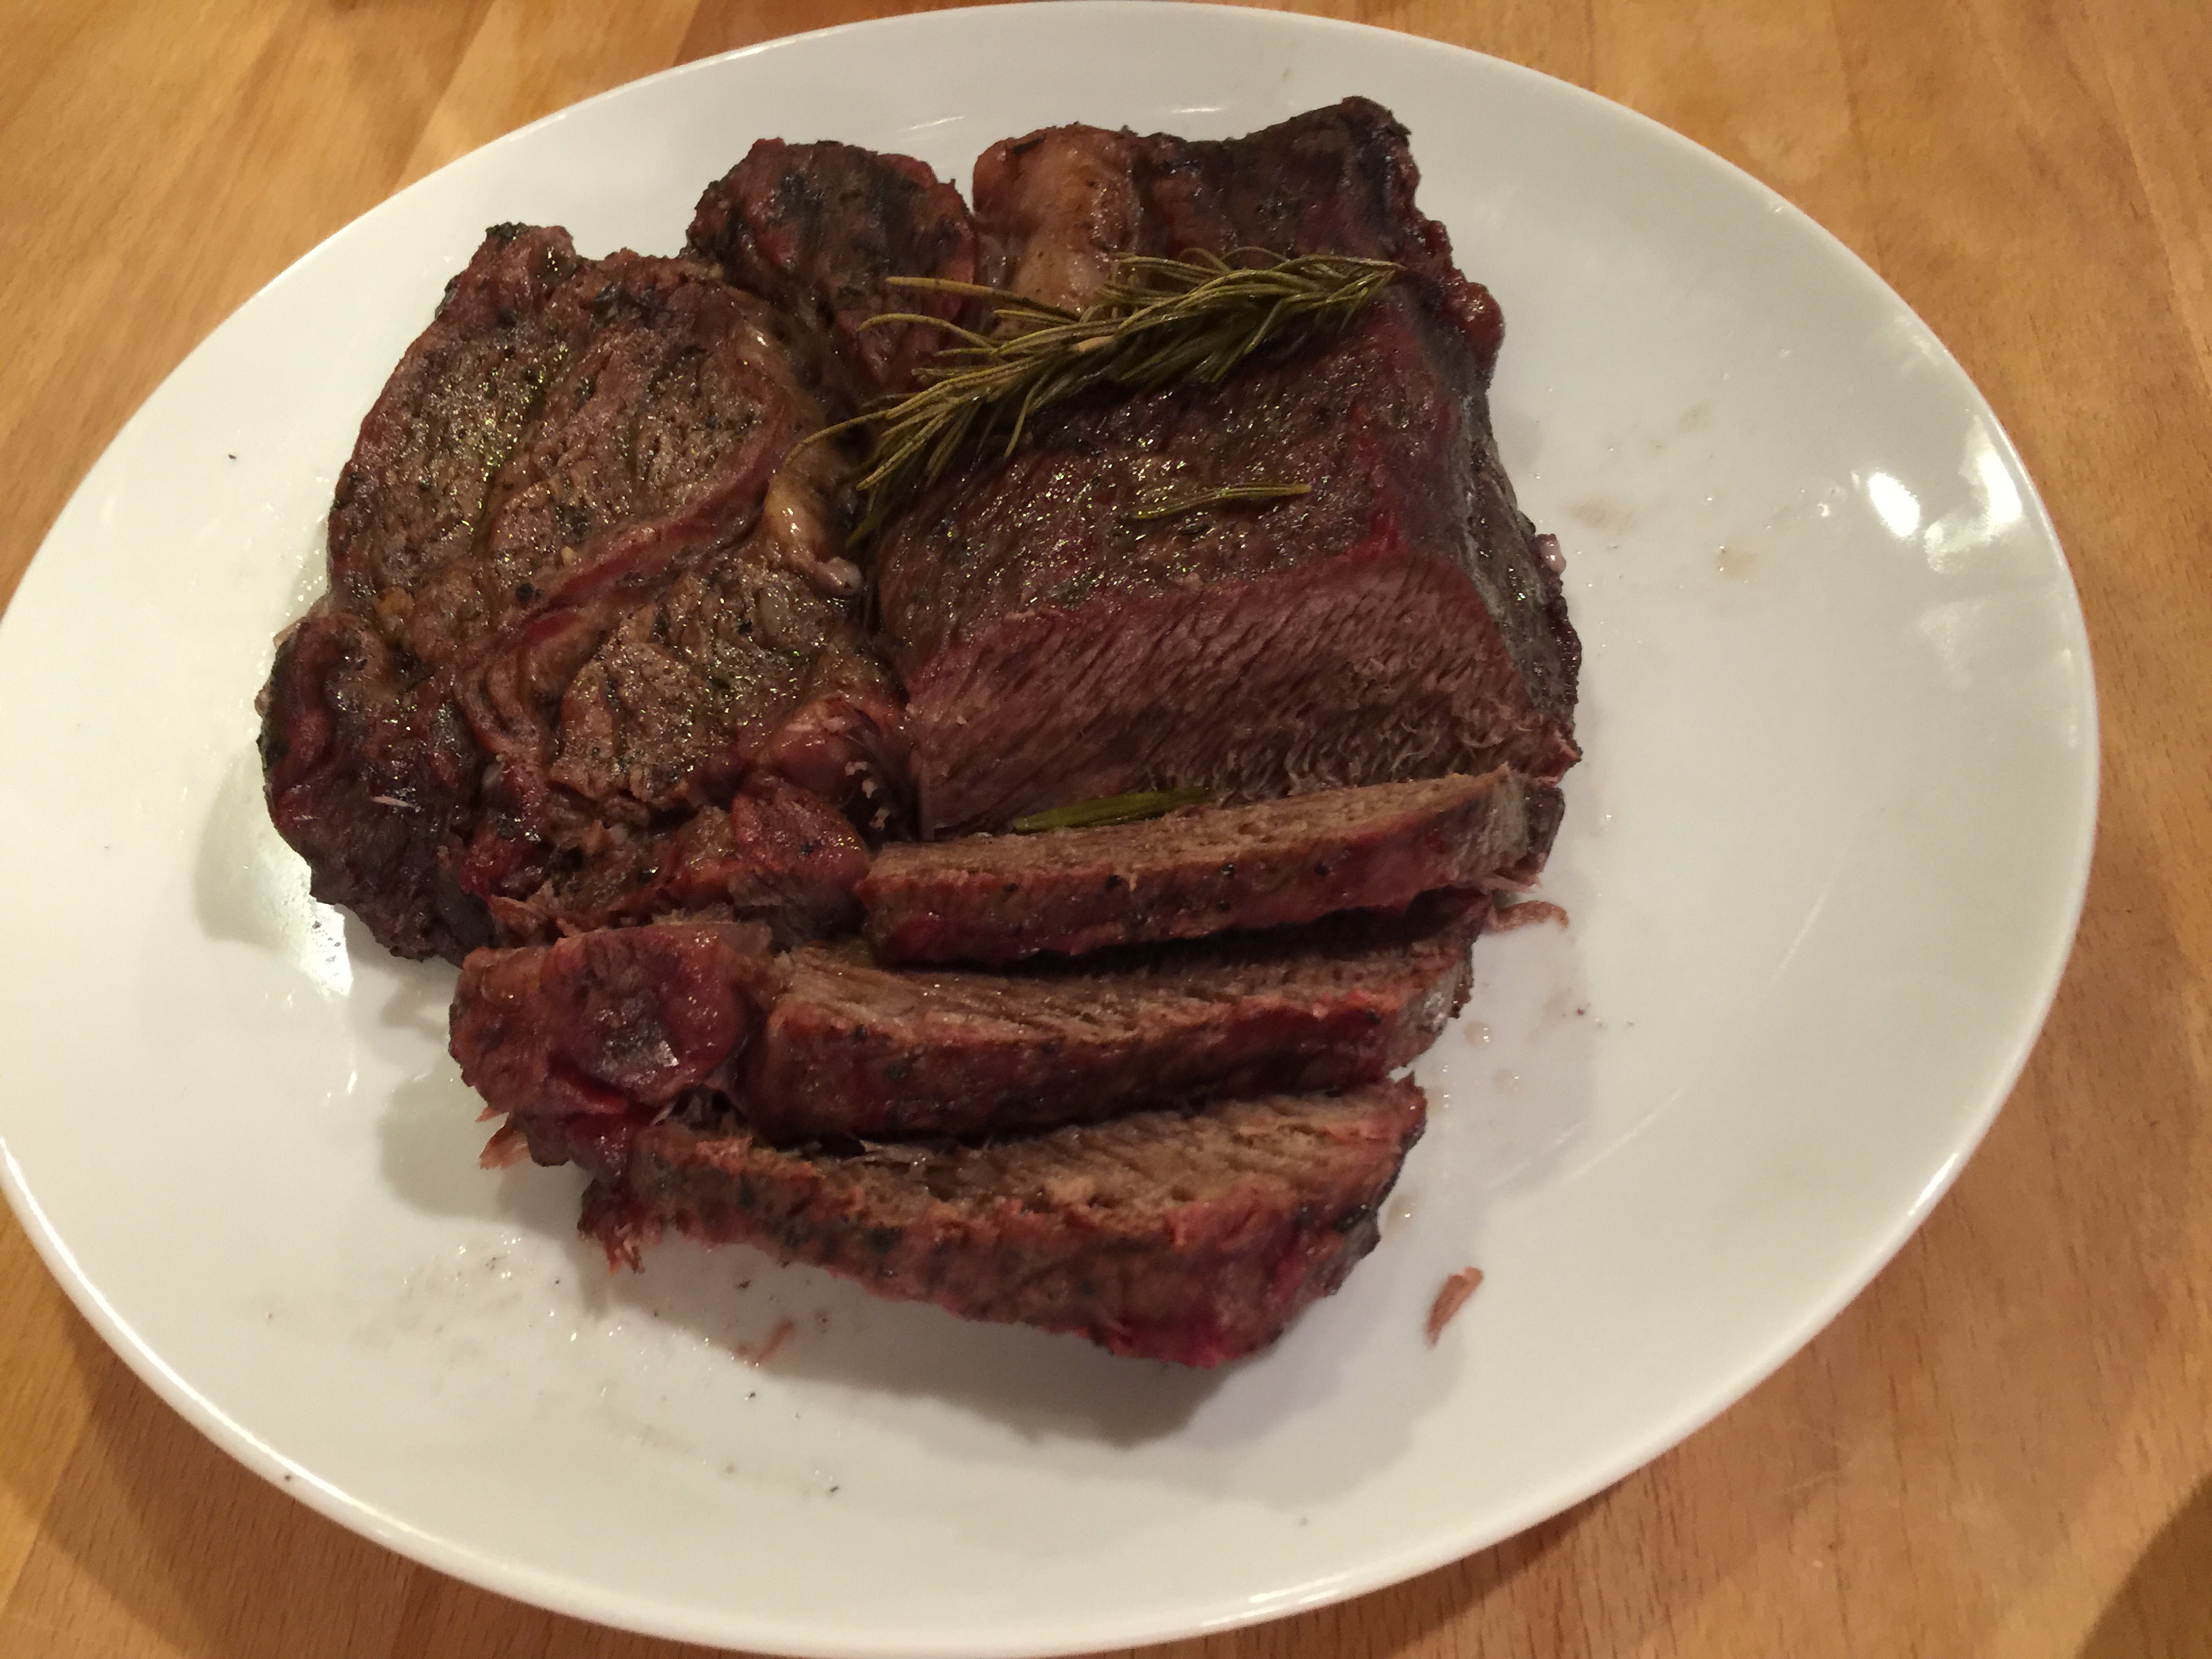
Remove roast from pan and allow to rest for 10-15 minutes.  While your meat is resting add 1/4 cup of balsamic vinegar to the pan juices and simmer mixture in a shallow pan on the stove to reduce it a little to thicken, this should take about 10 minutes.  Add a cup of milk, the fuller fat the creamier your sauce will be, and simmer an additional 2 minutes.  (I used coconut milk as we have some lactose issues in our home so feel free to mix it up!).

Slice your beautiful roast and serve with some fresh steamed veggies and roasted potatoes and you will be a hero!

Cheers!

image

Always choose organic or locally pastured meats whenever possible.


Basic Roasted Tomato Sauce

image

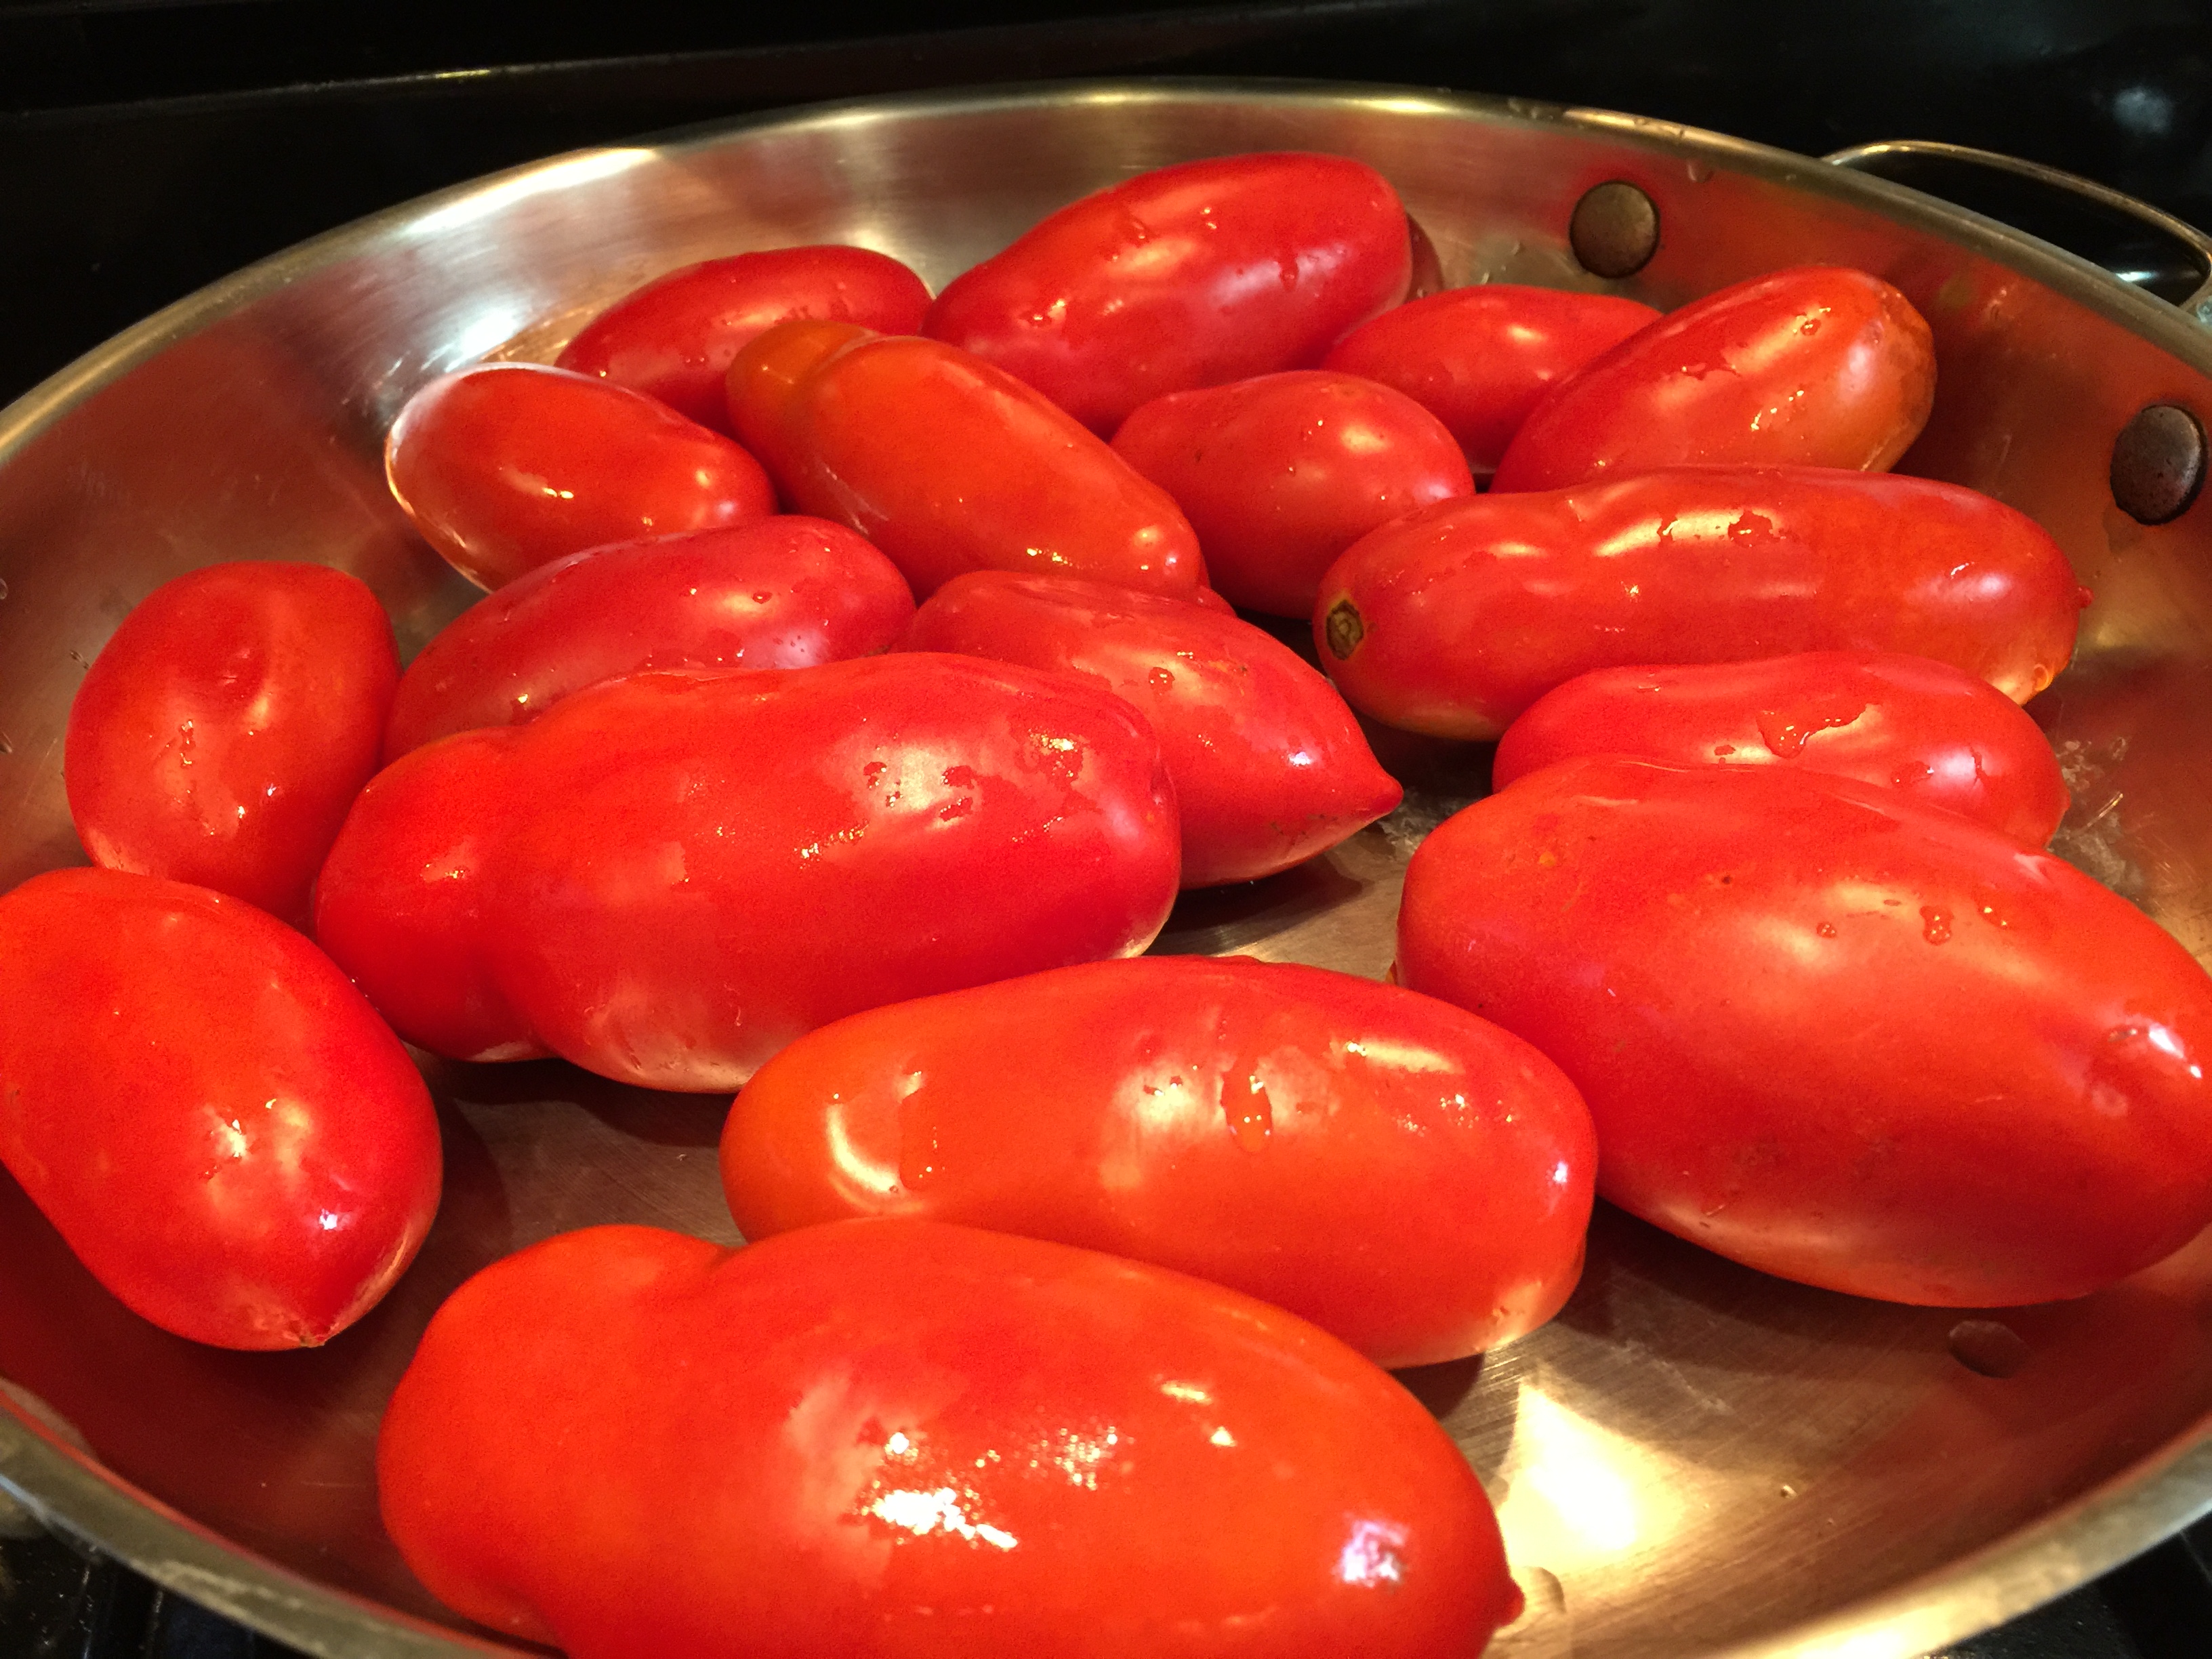
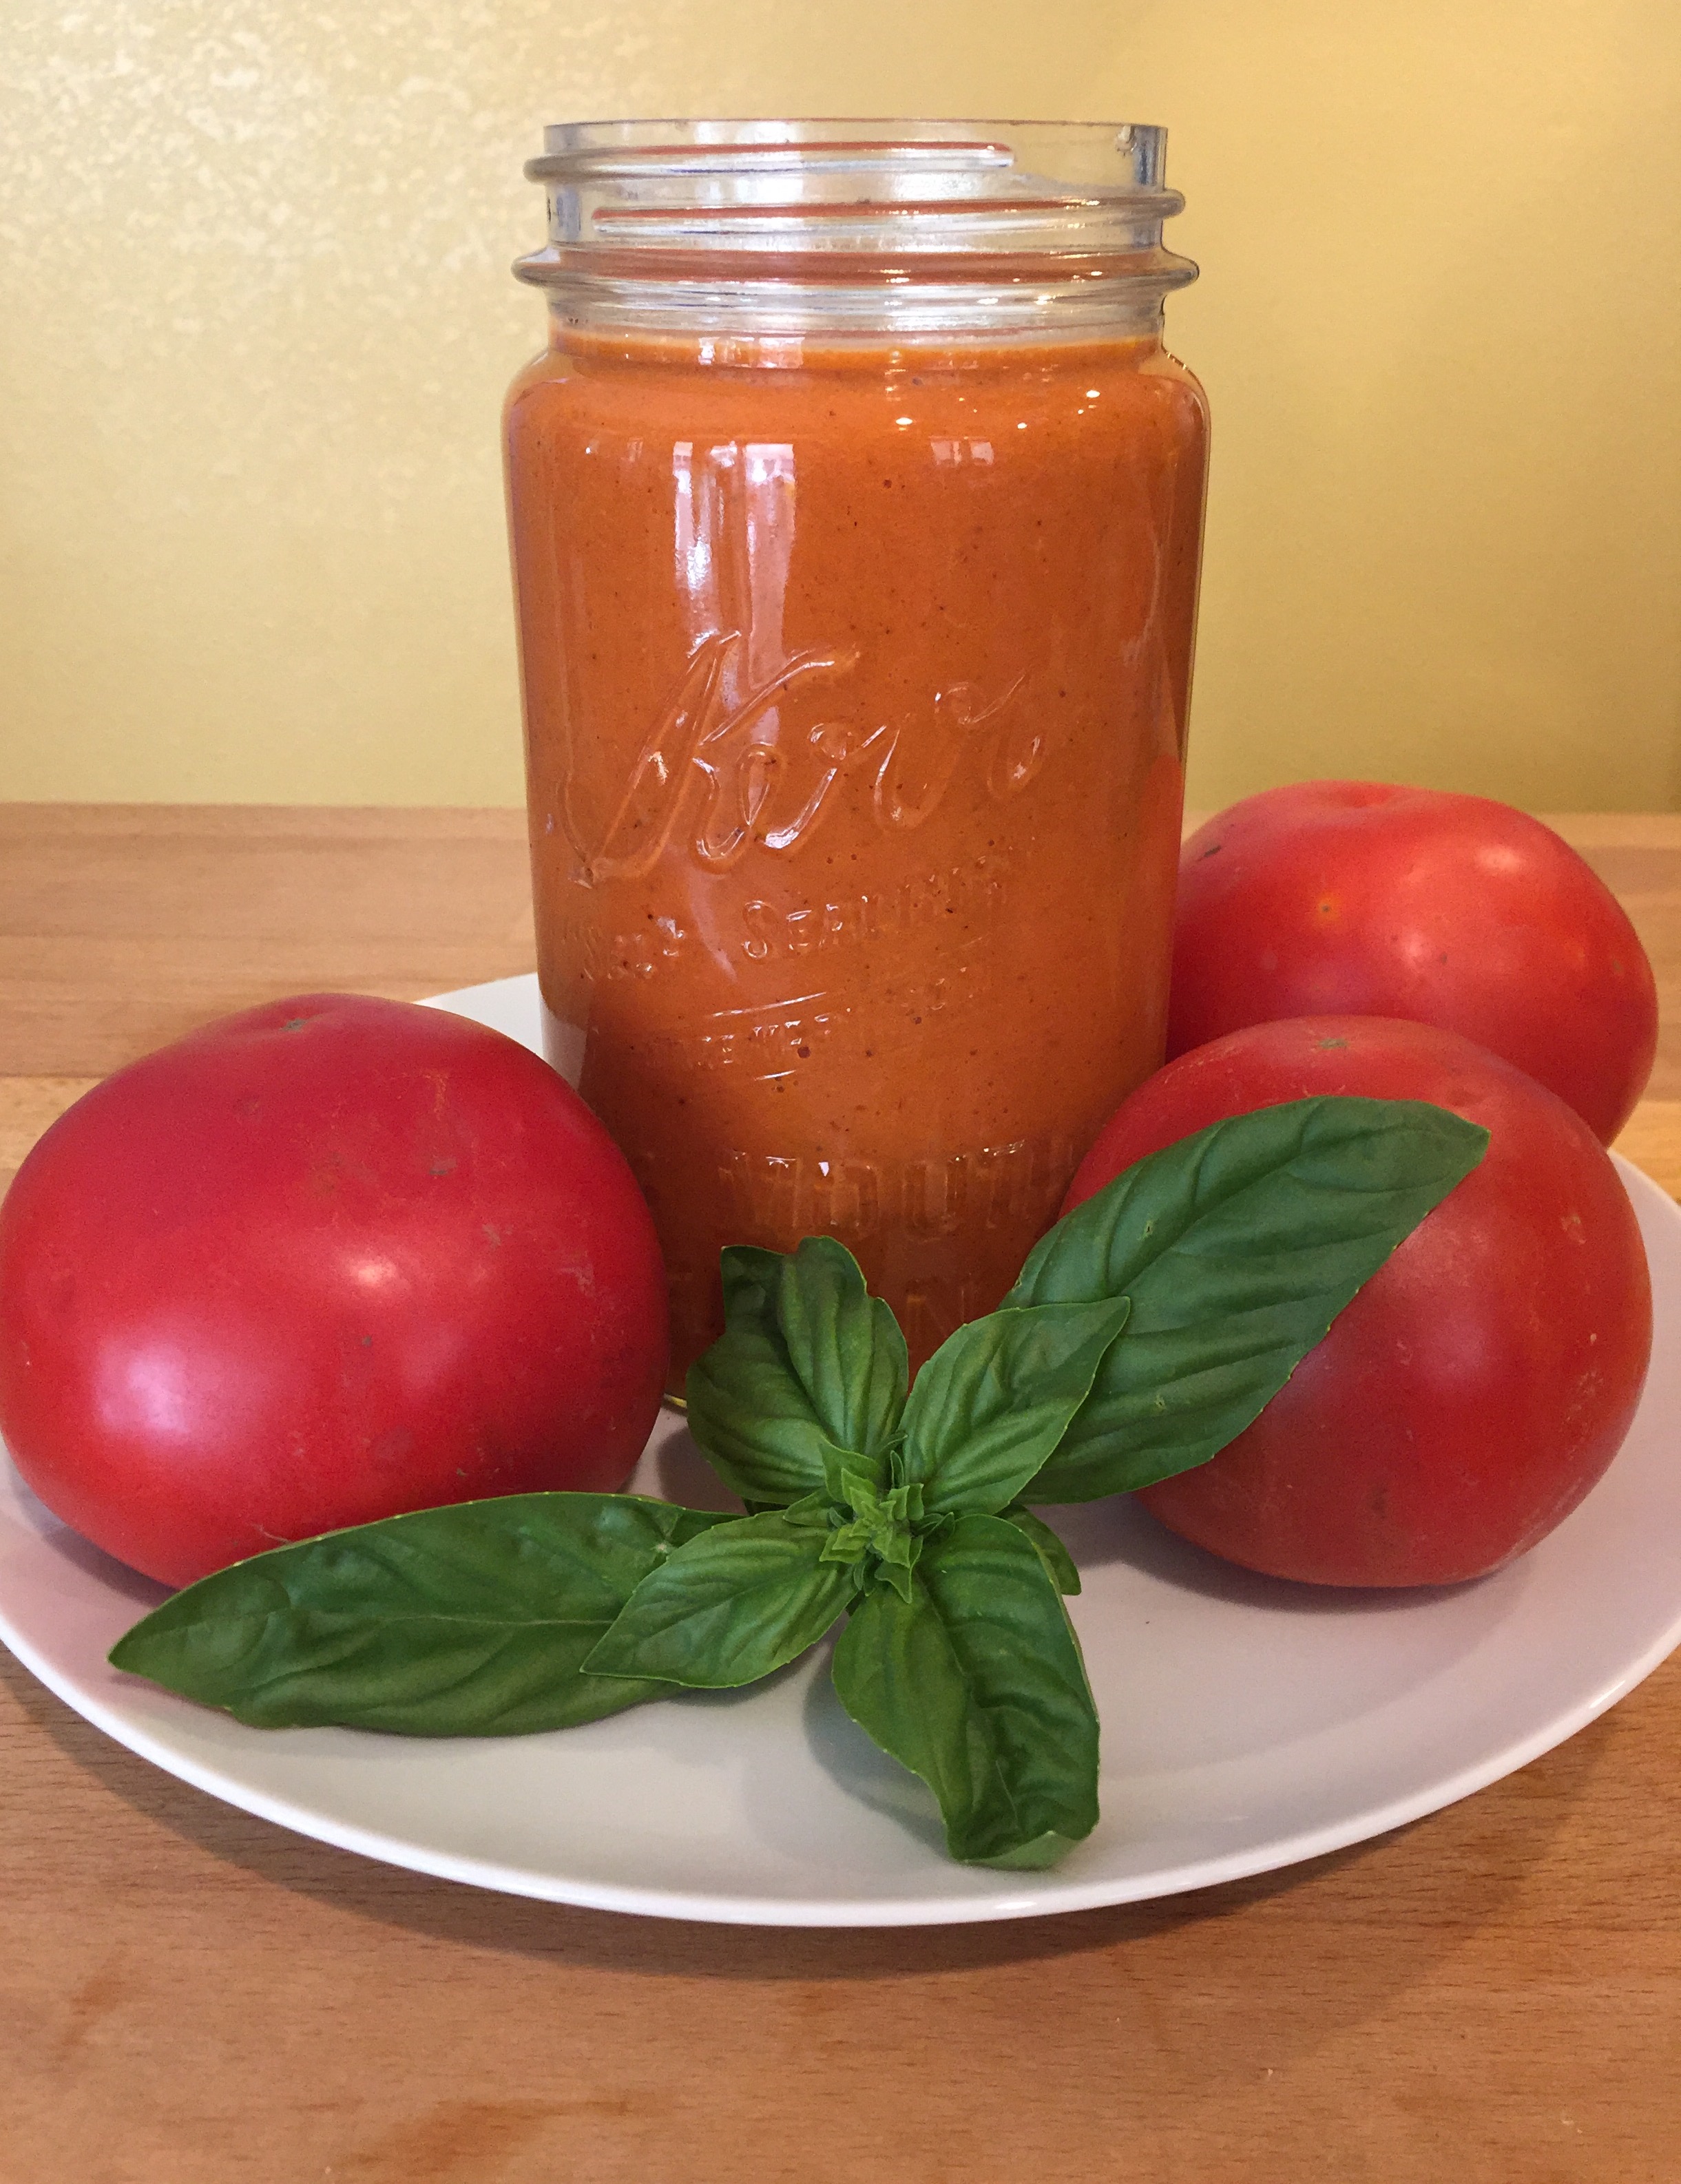
Are you wondering what to do with all of those fresh beautiful tomatoes that came in your CSA box or are taking over your garden?  There is the obvious, slice them into nice thick slices, smother them in olive oil and garlic and top them with sea salt, but you can eat that and make some great sauce too!  I have a couple old stand by tomato sauces that I like to make, which can be frozen or used within a few days kept refrigerated.  My favorite is roasted tomato sauce, and it couldn’t be easier…

I should mention this recipe is just a guideline use whatever type of tomatoes you have on hand. The carrots I add in for a touch of sweetness so feel free to adjust the amount up or down to your liking.

image

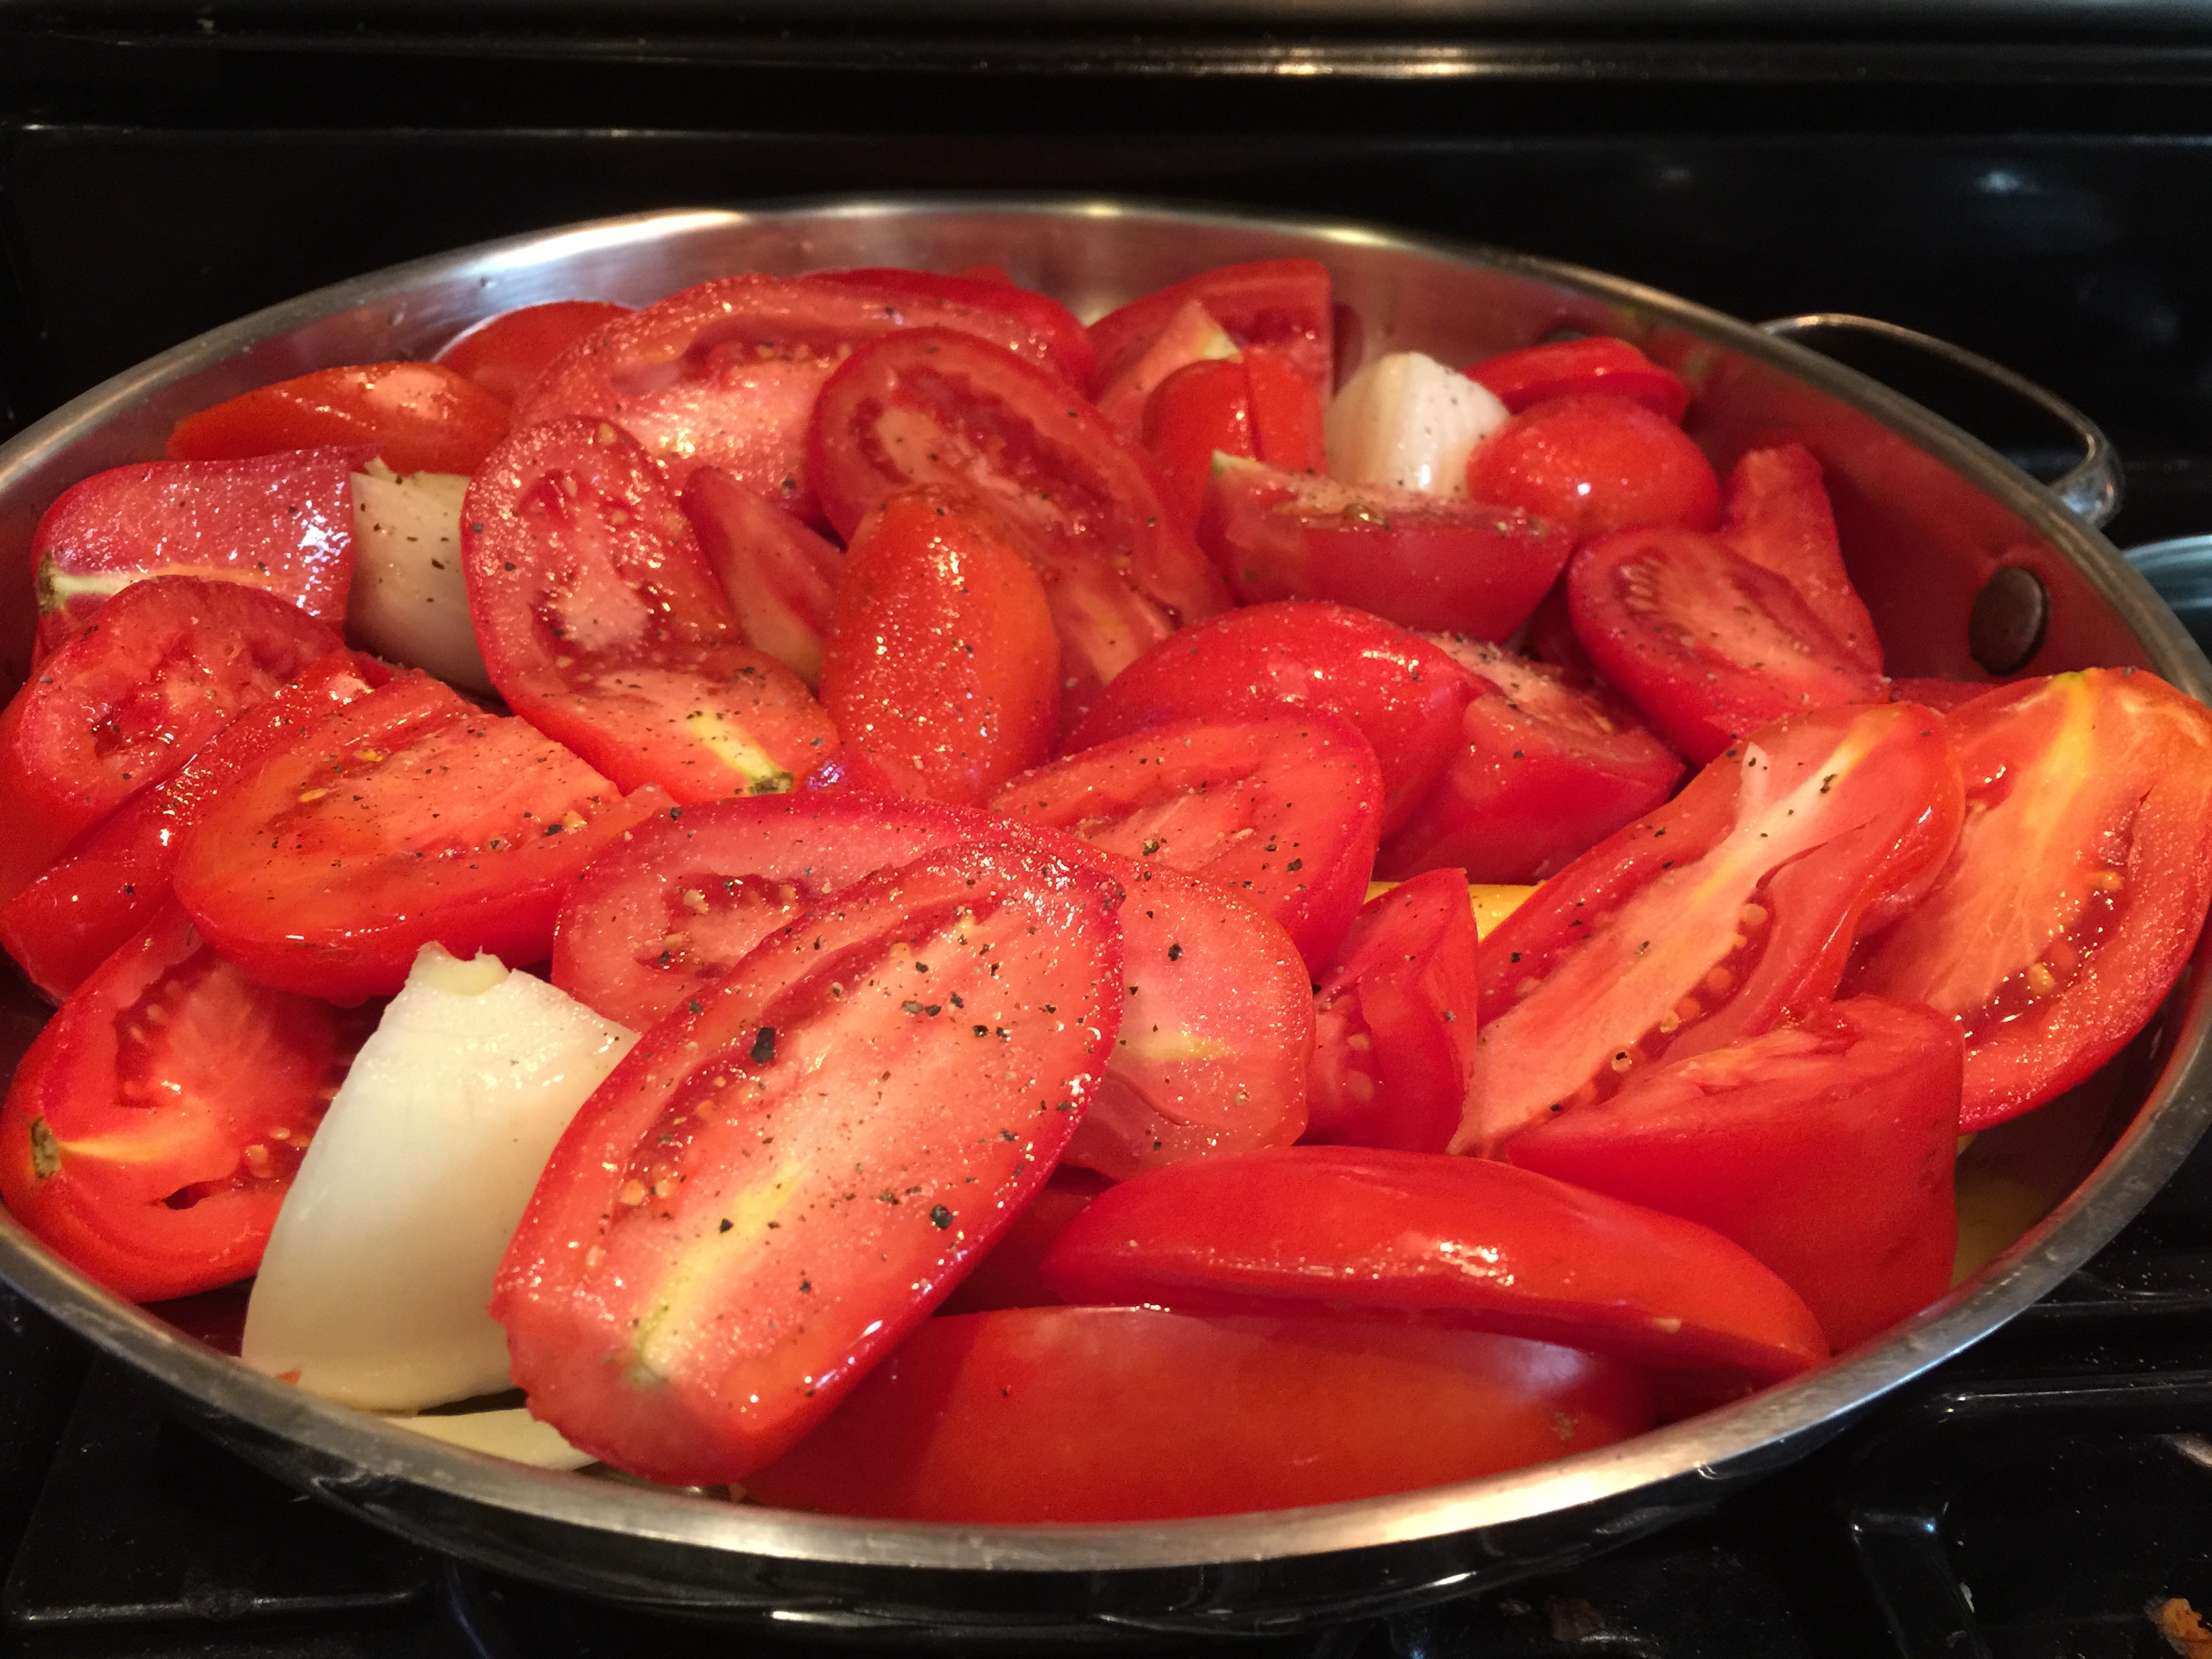
Slice your tomatoes into halves or quarters, drizzle them with olive oil, add a dash of salt and pepper, throw in some onion and carrot and roast at 400 degrees fahrenheit until nicely carmelized and super delicious (about 2 hours).  I also roast a head of garlic separately for about 20 minutes, as you don’t want to eat burnt garlic…well maybe you are into that, and thats okay, but I am definitely not.

image

image


Once this is cooled, grab your trusty blender and blend it all together.  You may have to blend it in a couple different batches, just mix them together at the end so all the flavors are evened out.

image

This sauce can be used as a base for whatever you want!

Some ideas…


Grab about 4 cups and…

Drizzle in some heavy cream, top with fresh basil and you have an absolutely beautiful batch of roasted tomato soup.

Add a few teaspoons of your favorite dried herbs, a pinch of red pepper flakes, a cup of vodka and simmer for about 10 minutes then toss with pasta and top with grated cheese and fresh basil.

Use as a pizza sauce by adding some oregano, fennel seeds and thyme.

Use as a chili base add your chili seasonings, browned meat, veggies and beans and you have a phenomenal bowl of chili.


The sky is the limit for this sauce!  I like to freeze whatever I don’t use right away into quart size zip lock bags to pull out and enjoy when I need something easy and quick for dinner tossed with pasta, as I prefer to steer clear of store bought sauces whenever possible.

Tonight it will be going on my eggplant pizzas…recipe to come!

Use your imagination and enjoy!


Cheers!


Eggplant fries with molasses and sea salt


image

I had to do it!  All the baked, healthy options one could make with eggplant and here I am with a pot of hot oil…I blame the fact that I am pregnant, or maybe I miss my family in Spain.

On a trip to Marbella, Spain several years ago to visit my beautiful family my cousins took me to a restaurant called Azafran (Spanish for Saffron).  We had the most simple and delicious appetizer, eggplant fries with molasses and sea salt.  Since I can’t fly to Spain on a whim as I am not independently wealthy, I decided to make my own version.  If only my kids had let me enjoy more than a few of them…well at least they got their veggies!

I used one Japanese eggplant and one Mediterranean as that is what my CSA box contained this week.  Any eggplant will work.

image

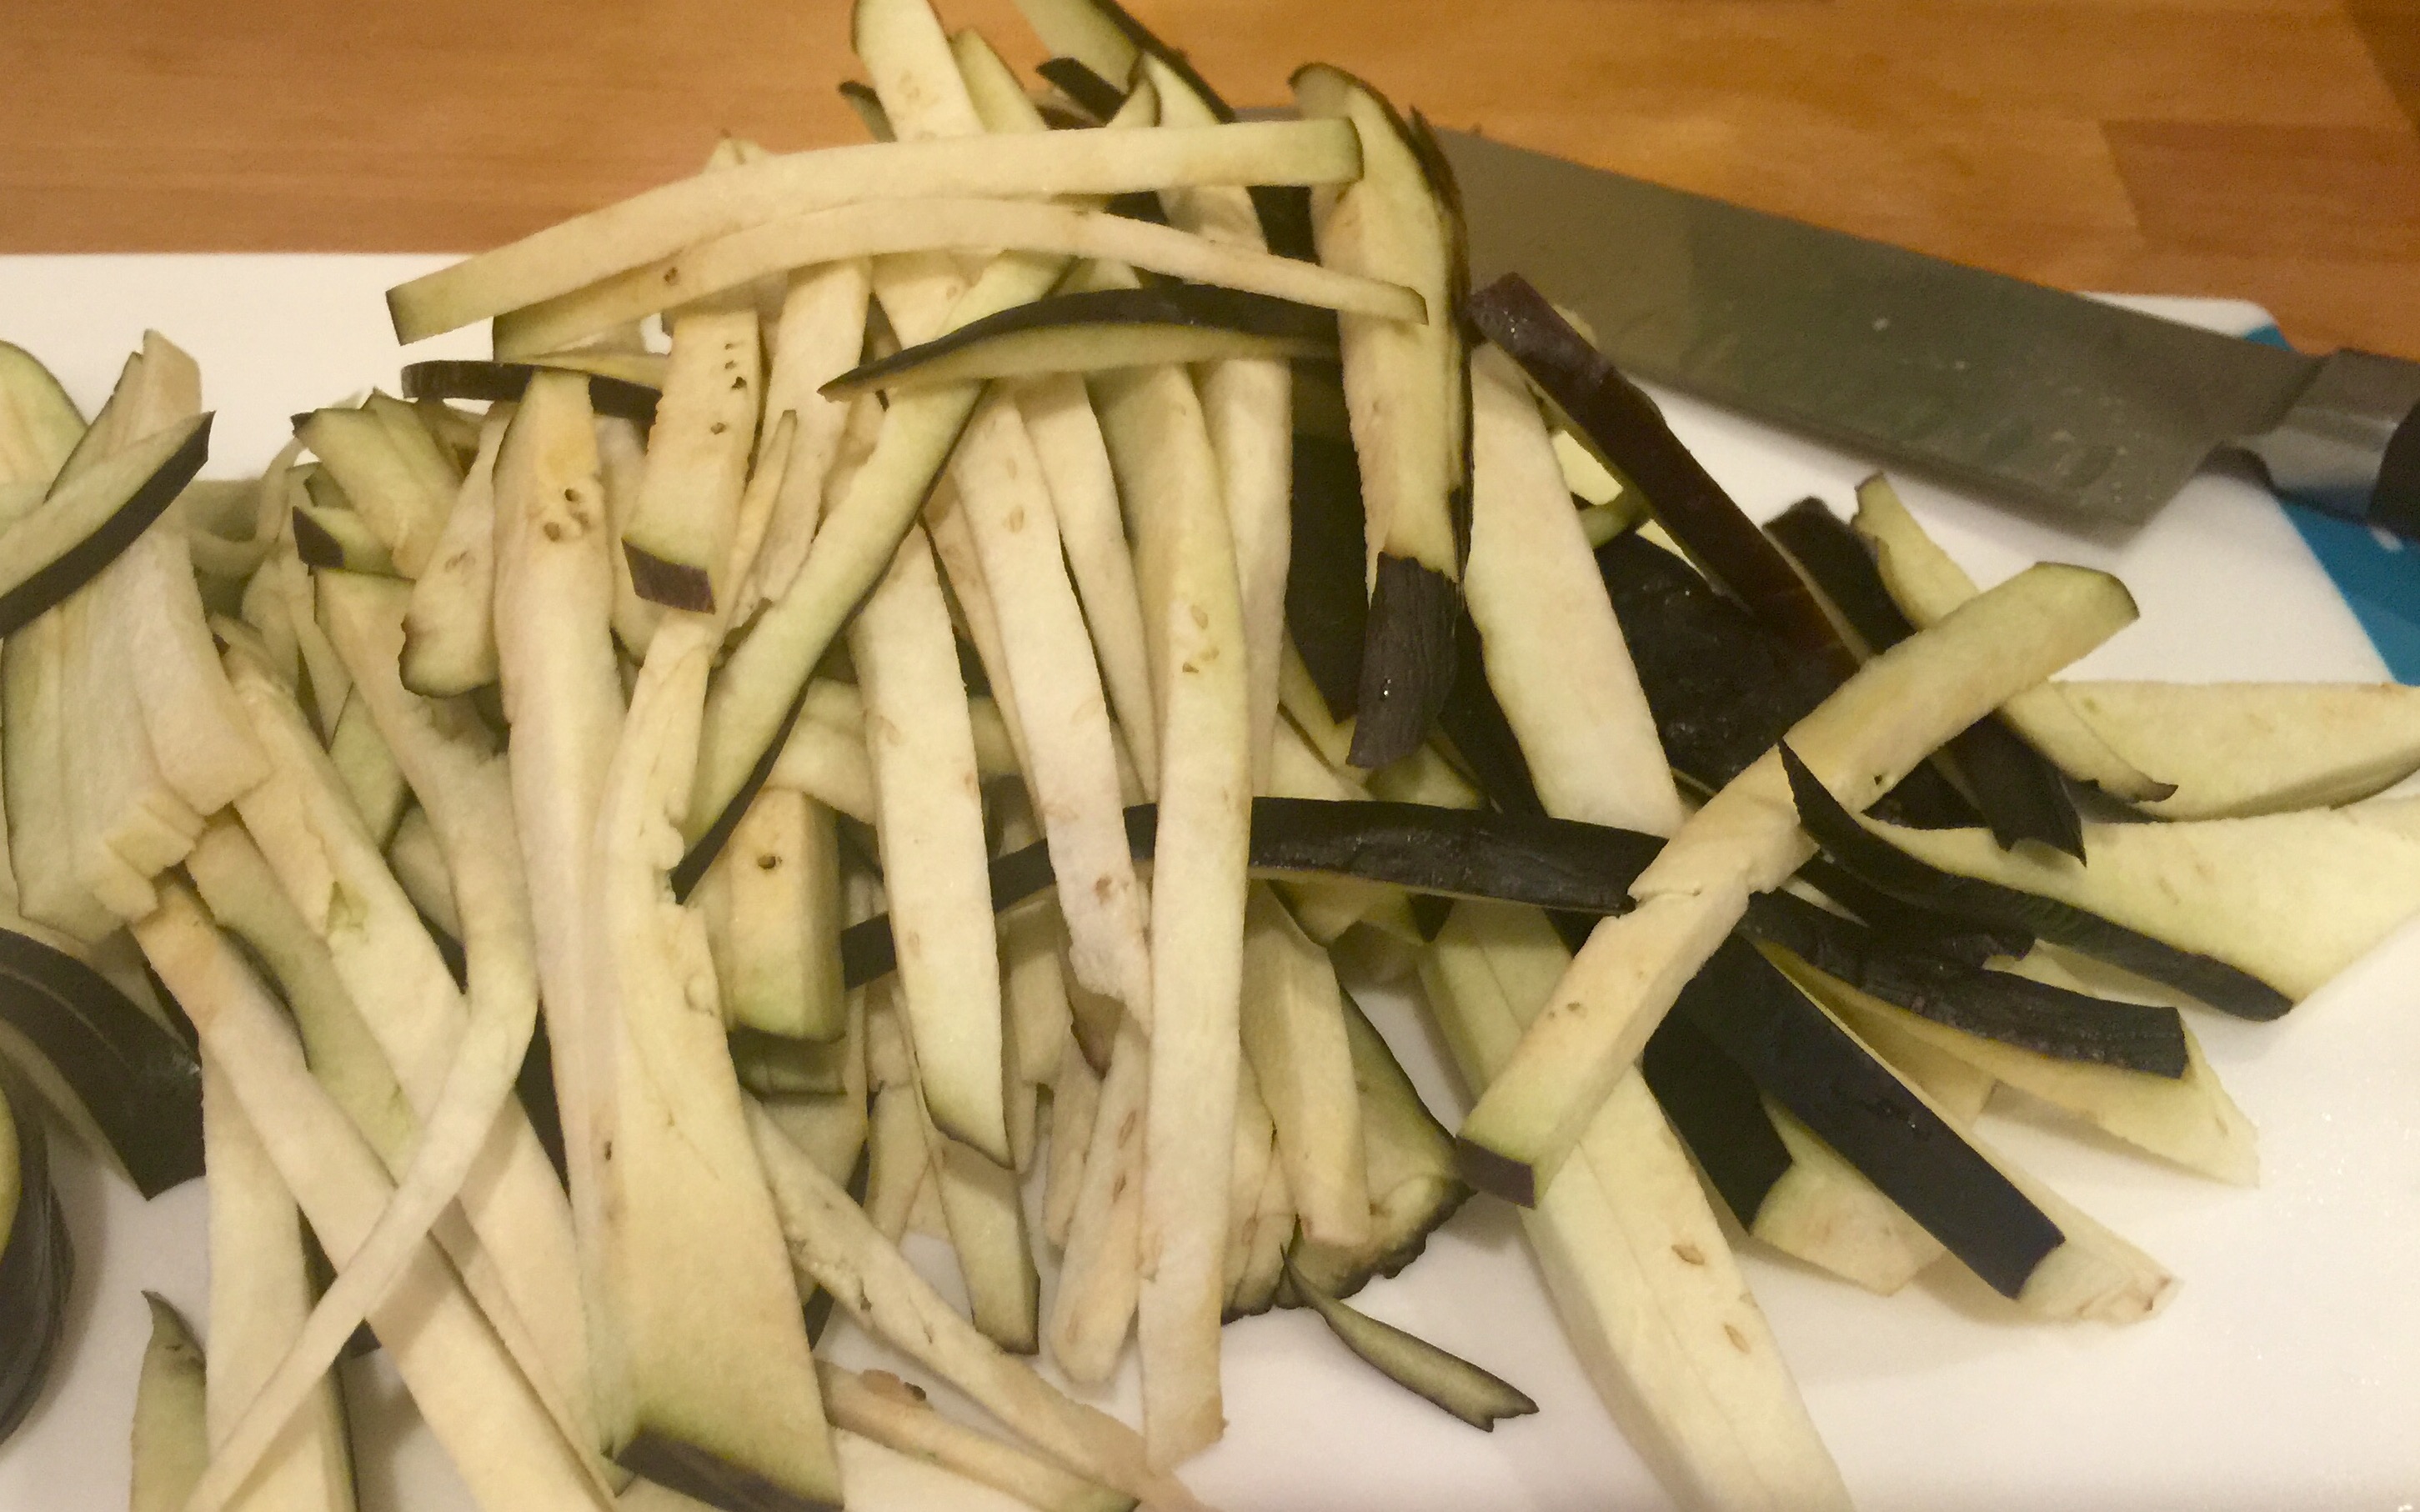
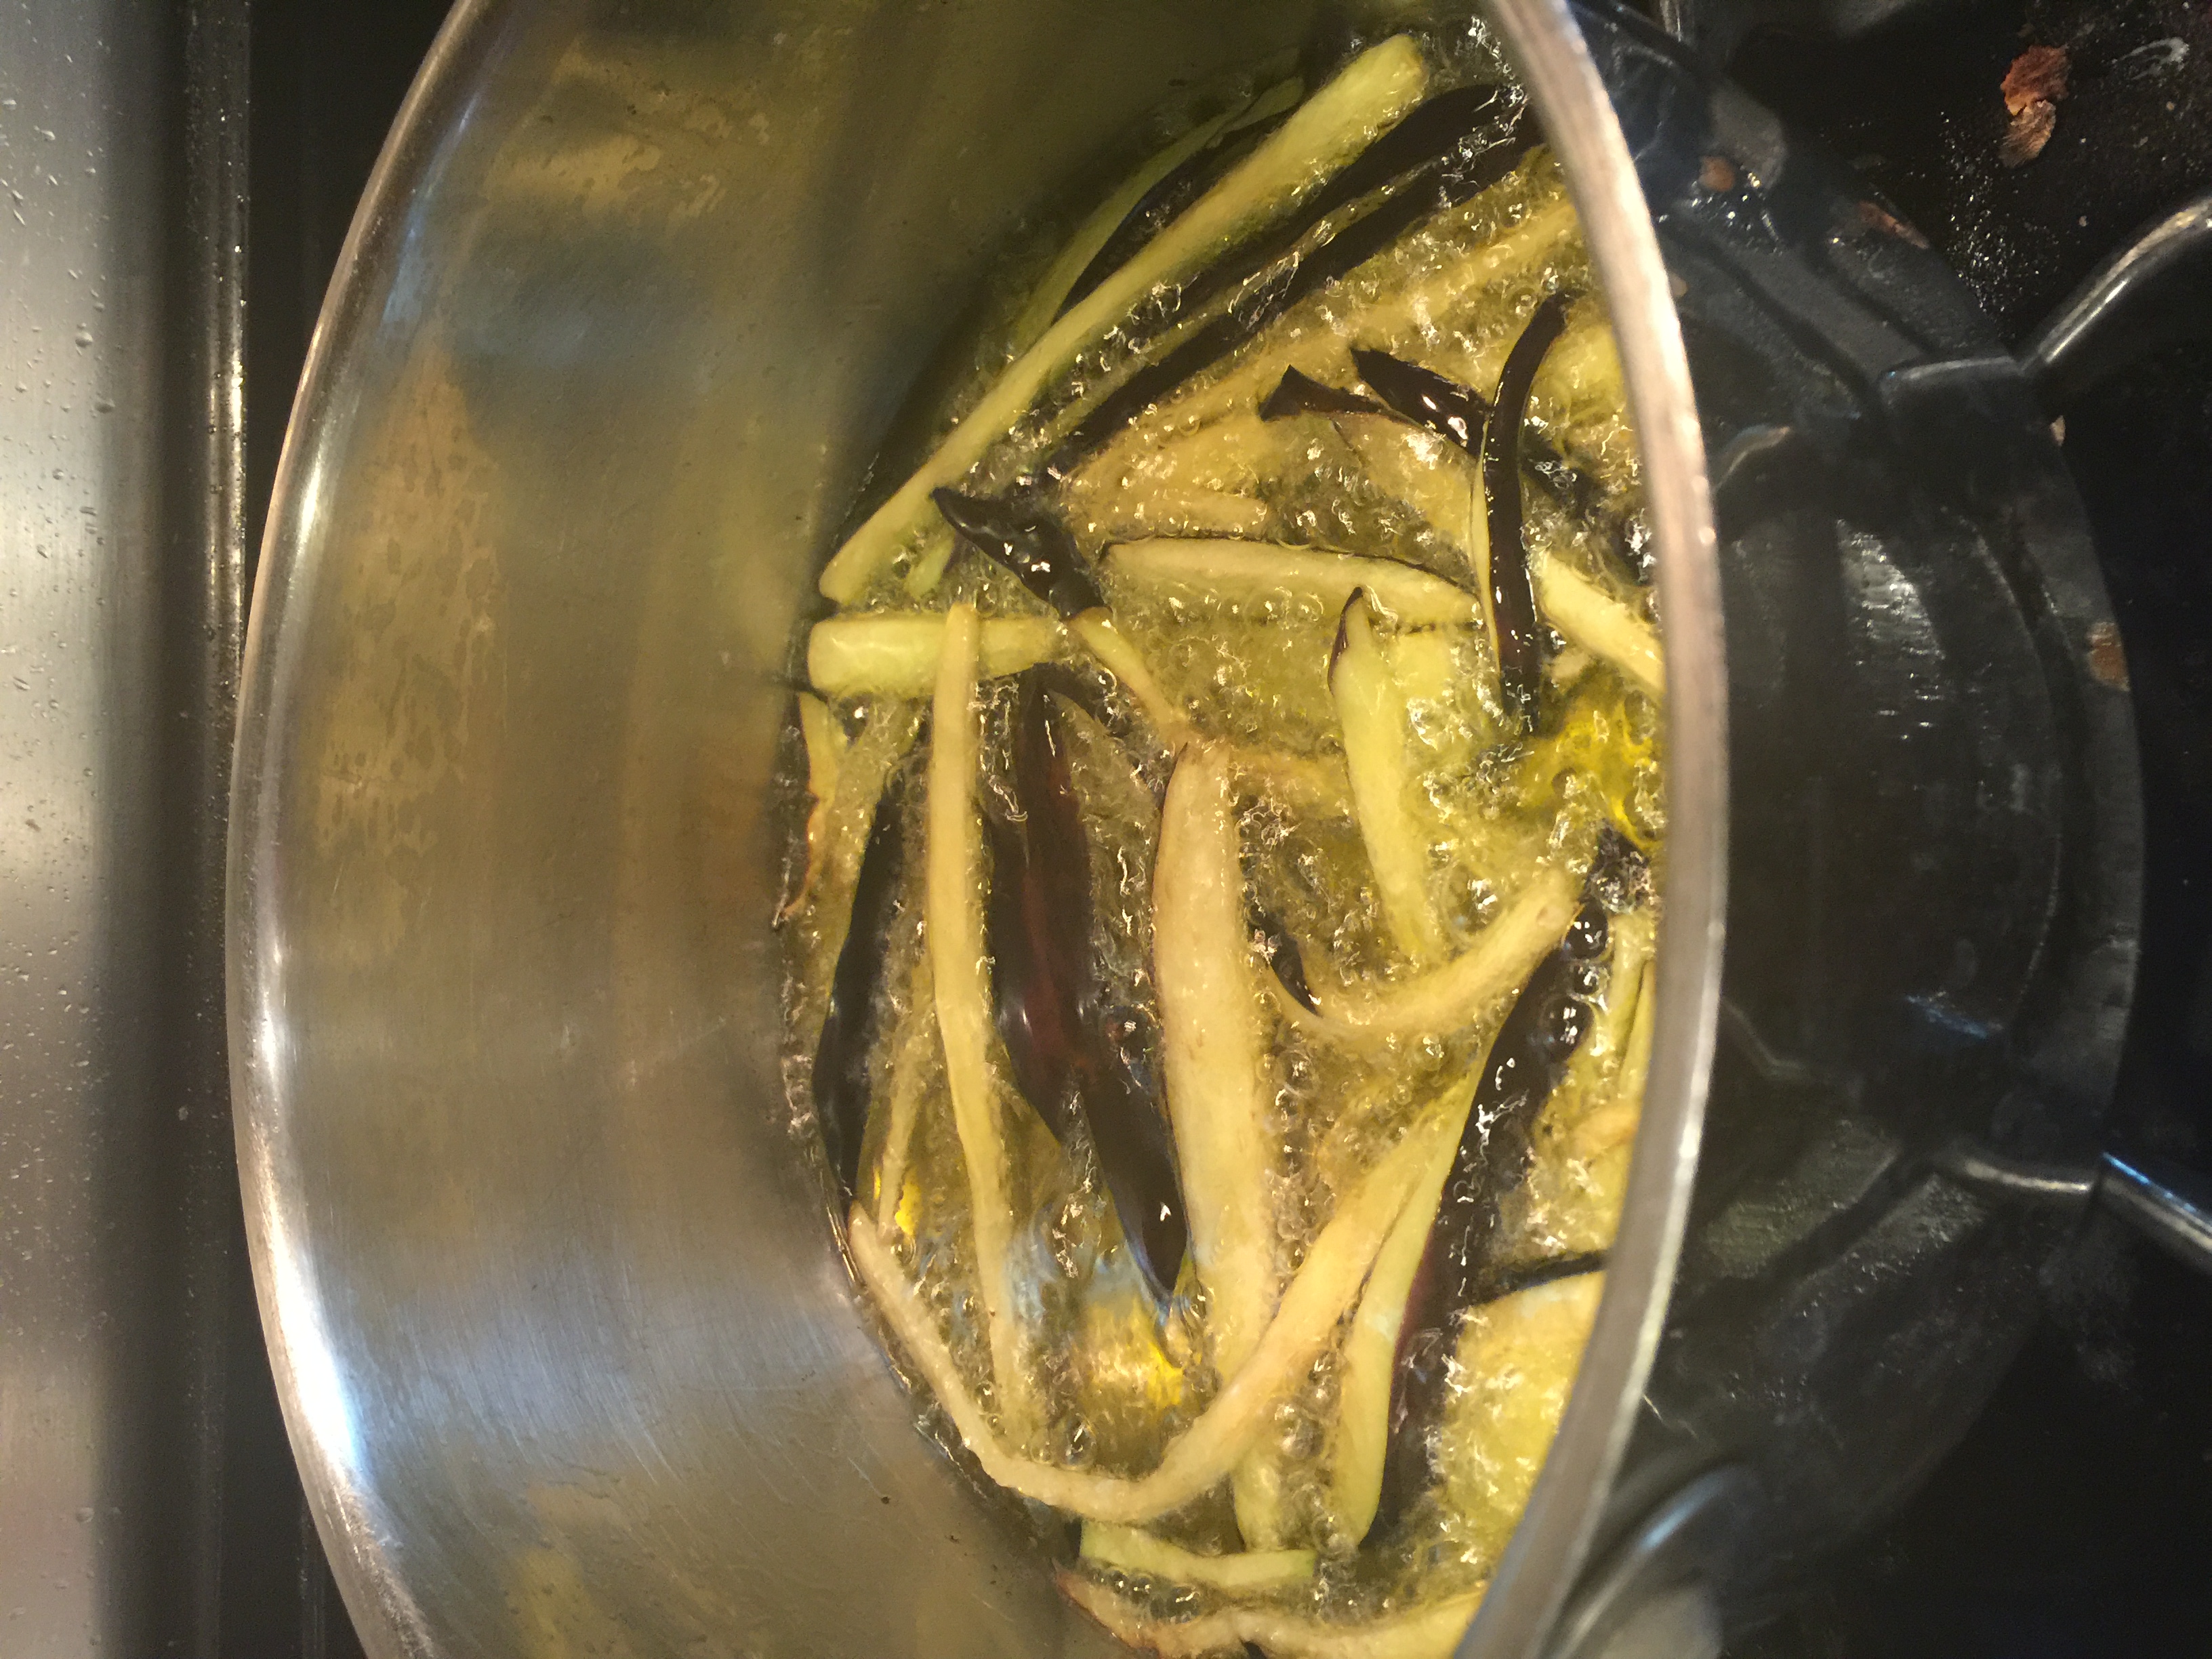
I began by slicing the eggplant into planks then slicing them into almost matchsticks keeping them long.  Coat the strips with a good amount of salt and lay out in a kitchen towel to remove some of the moisture.  After about 5-10 minutes roll them up in the towel and give them a little squeeze.  This will help them crisp up while frying.

Heat a couple inches of olive oil in a large sauce pan to 350 degrees F.  If you don’t have a thermometer no worries, just heat oil over medium to medium high heat.  You will know when it is ready by testing it with one of your fries or a chunk of bread.  When you drop the fry or bread in it should begin frying immediately.  If it doesn’t pull it out and wait a couple more minutes.

image

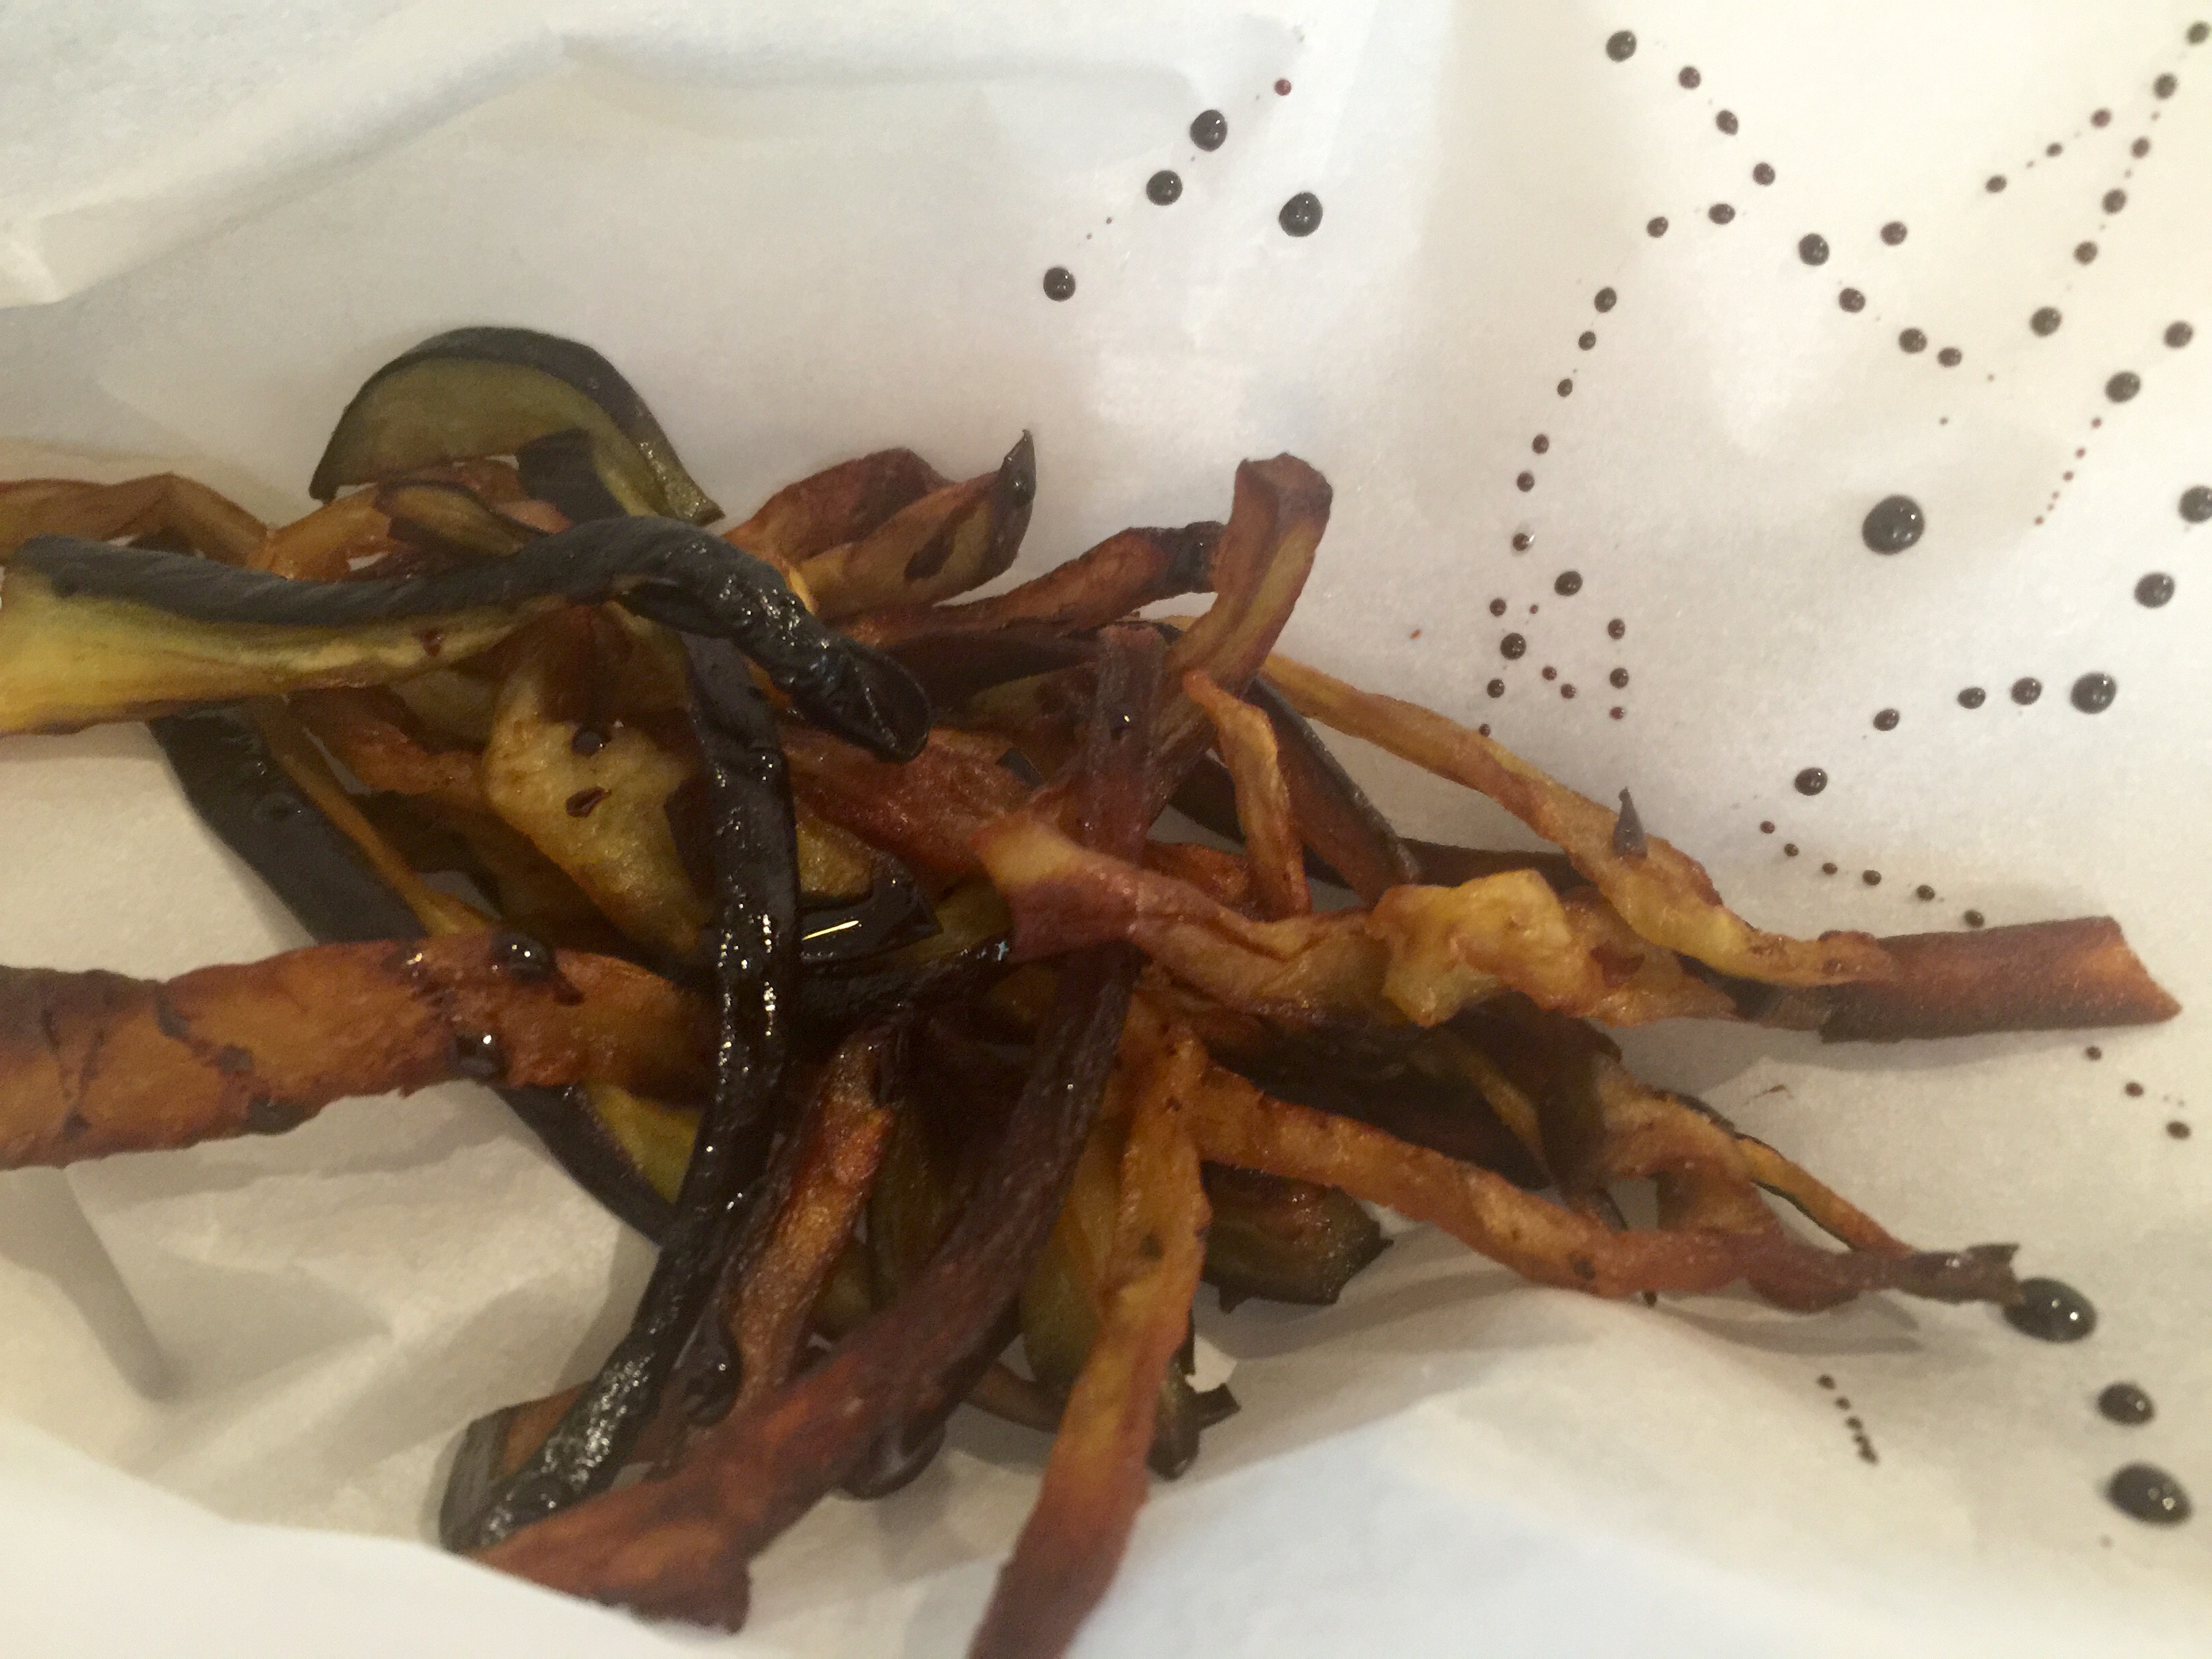
When the oil is ready add the eggplant strips in batches making sure not to crowd them. Fry 4-5 minutes per batch drain on paper towel and season them to taste with sea salt.  Pile finished fries on a plate and drizzle with a tablespoon or so of molasses and a pinch of sea salt.  Sit back and enjoy!

Cheers!


Stuffed Grilled Mini Meatloaves

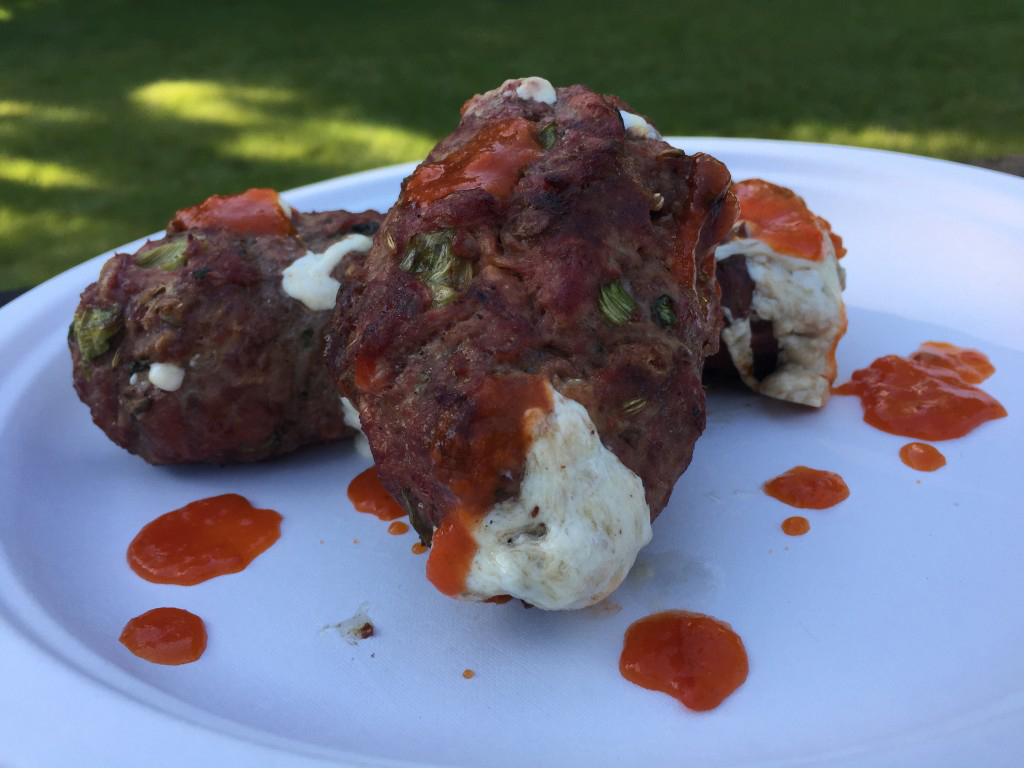
As I am staring at this package of organic ground beef I have visions of spaghetti or burgers yet again.  Yet there is a nagging voice in my head saying, come on you can do better…voila!  Stuffed mini meatloaves!  Truth be told I got my inspiration from several stuffed meatloaf recipes I had seen floating around in pinterest land.  I promise you this mini meatloaf recipe will blow your mind!  If you take the extra steps to throw it on the grill instead of in the oven you will enjoy that amazing burger char that can only be achieved by putting your meatloaf over a nice hot bed of coals, achieving the perfect sear.  Yummy!


This couldn’t be easier!  (well unless someone showed up and cleaned up my kitchen and heck the rest of my house while they are at it).  First you prepare the meat.  Chop the onions, crush the garlic, finely chop the kale so your kids don’t see it, chop the herbs, grate your cheese, and toast the bread then tear it into pieces.  Now put EVERYTHING together in a large bowl except the cheese you are stuffing these sweet babies with.  Then roll them into 6 individual football like shapes.  Flatten them a bit making a small indent in the middle.  Add your cheese, then carefully seal them by bring the meat up and around the cheese from the sides.  Make sure there are no holes as you do not want your cheese sneaking out before you get to enjoy it!

…

Read More »

One Pot Chicken, Summer Vegetable and Brown Rice Sauté

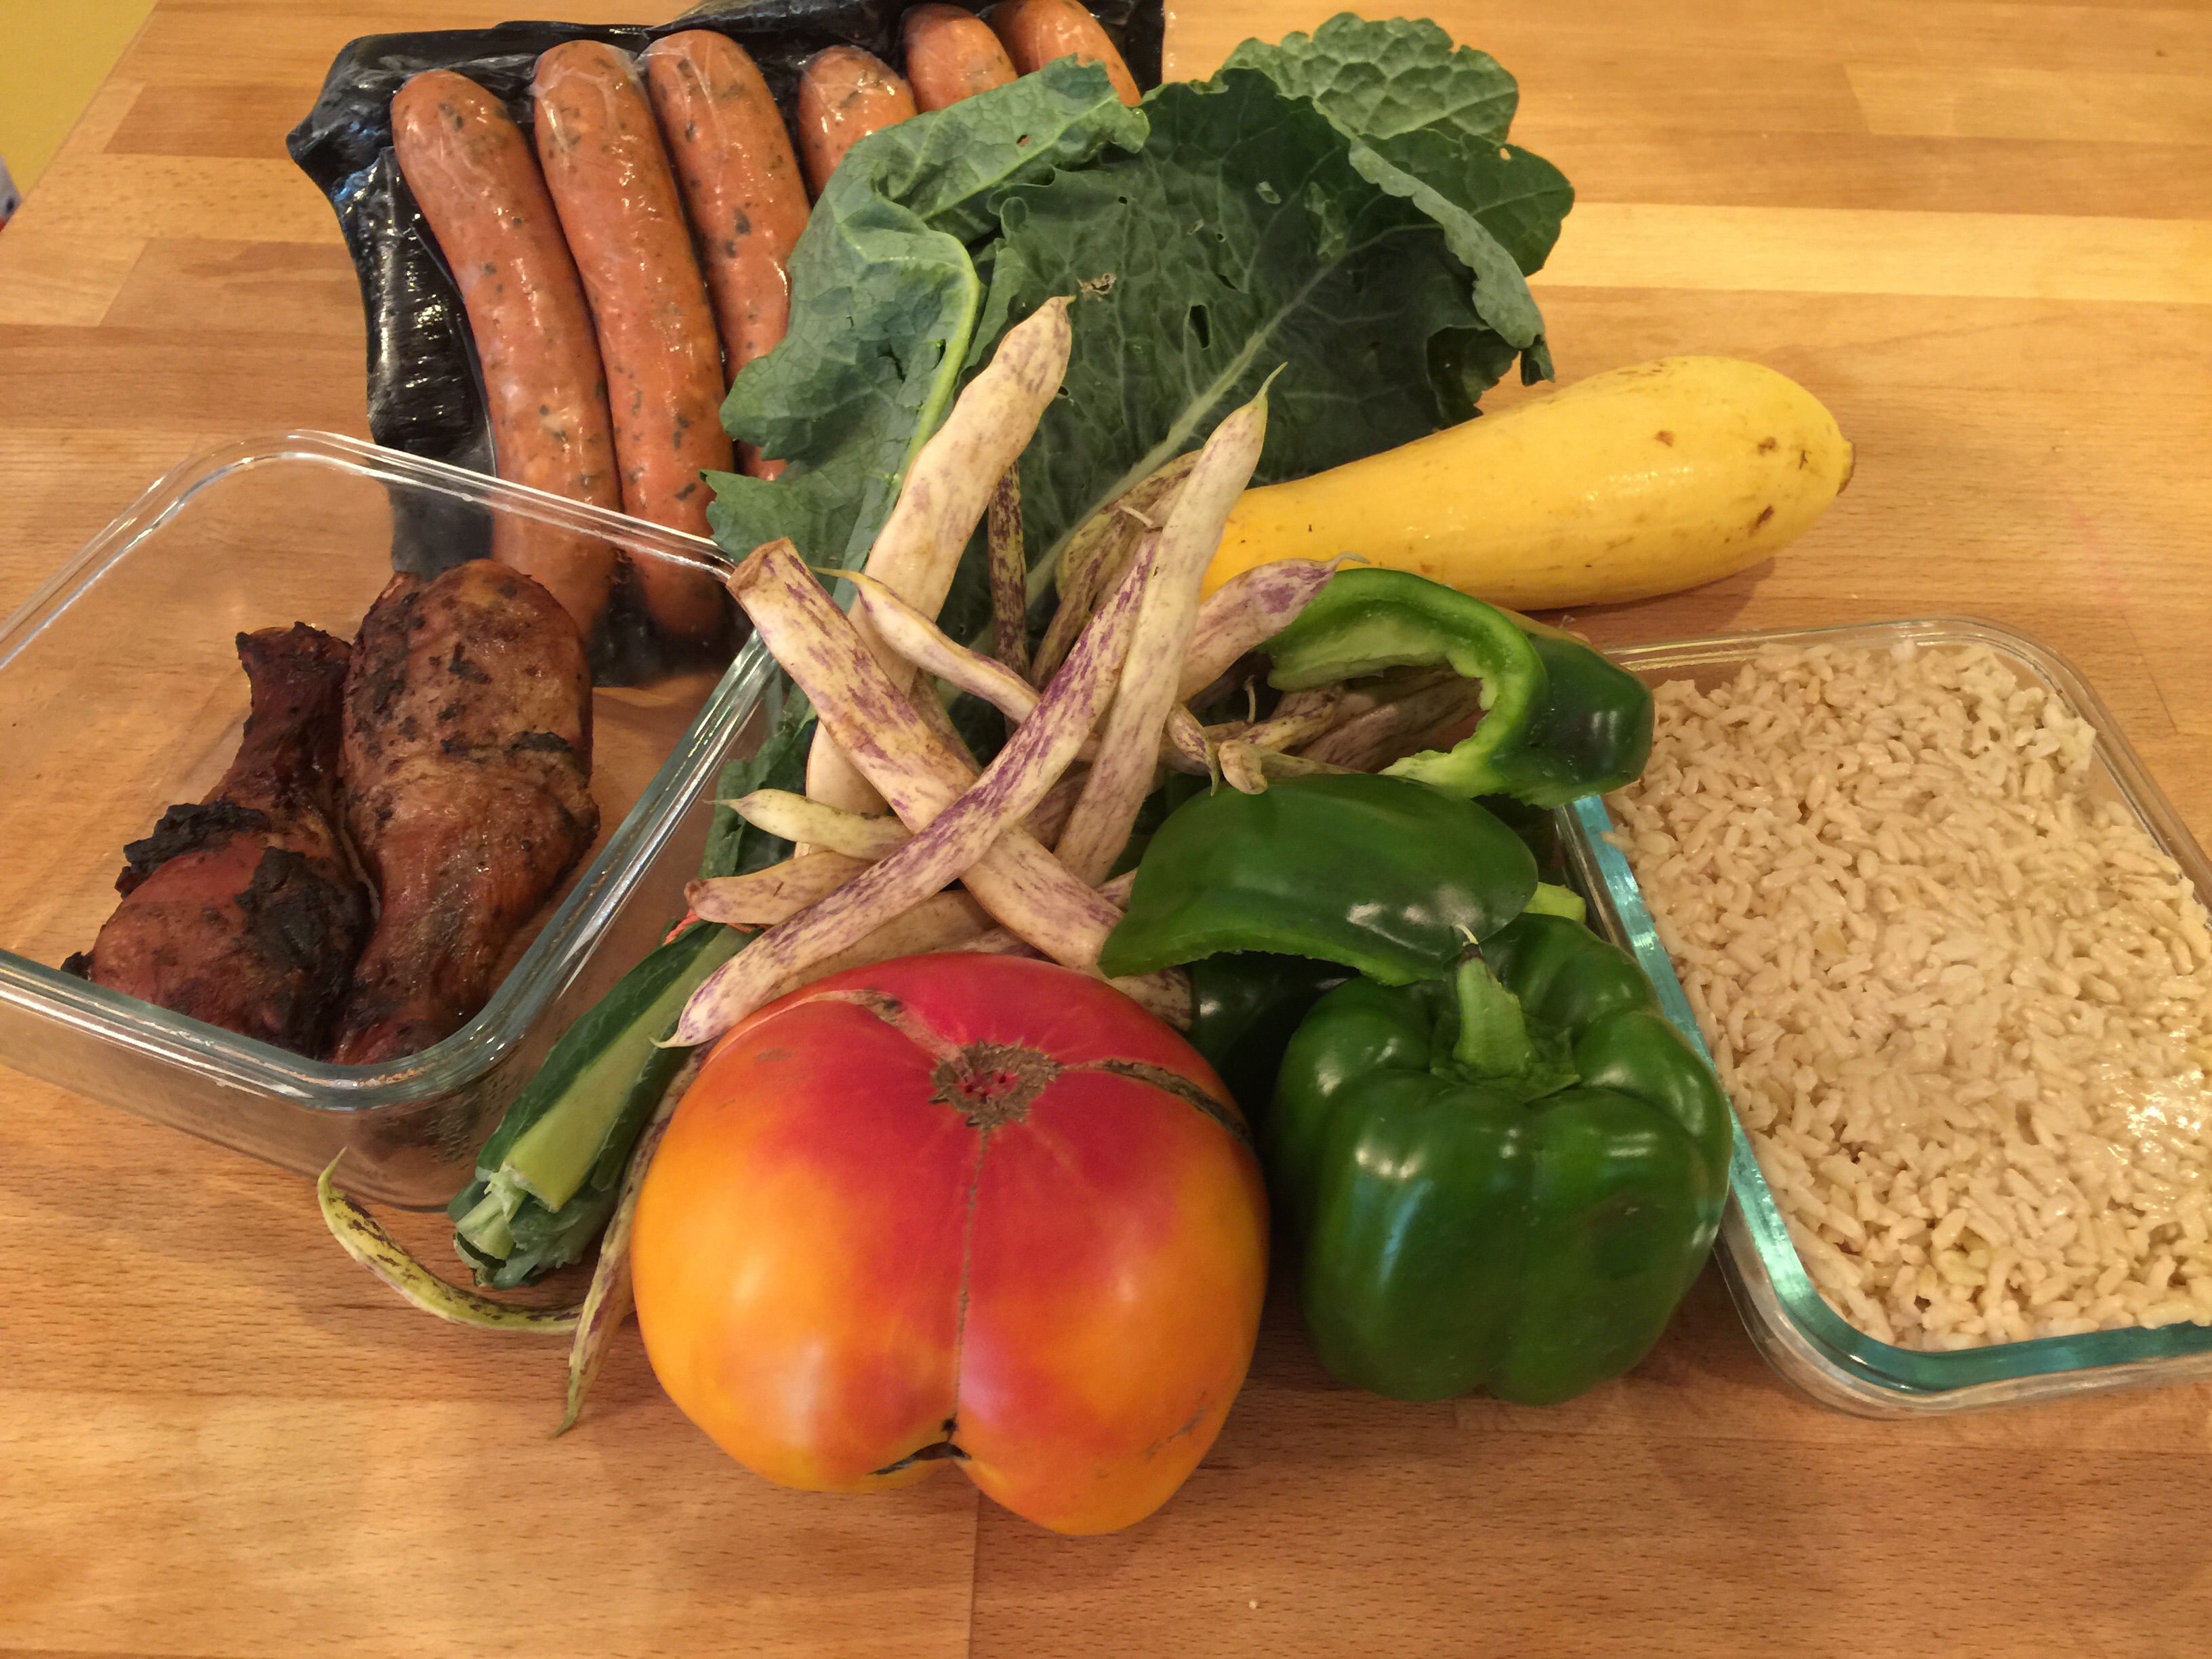
This is one of my all time favorite ways to make dinner when I am on a limited time schedule!  You know when your kids have to be run to an after school activity right around dinner time, dance, swim class, parkour…fill in the blank, I am sure all parents out there know exactly what I am talking about.  You open the fridge to find leftover chicken (or burgers, steak, sausage…), some leftover rice or other grain, and a mixed grouping of veggies.  Sure you could just reheat everything, use 3 pans, and watch your families face when you declare leftovers for dinner…or you can sauté some garlic and onions, toss in some diced fresh veggies, add your leftover meat, your leftover rice and voila a truly beautiful one pot wonder is served.

Refrigerator contents

…

Read More »

Beef Taco Bowls with Spicy Seasoned Potatoes


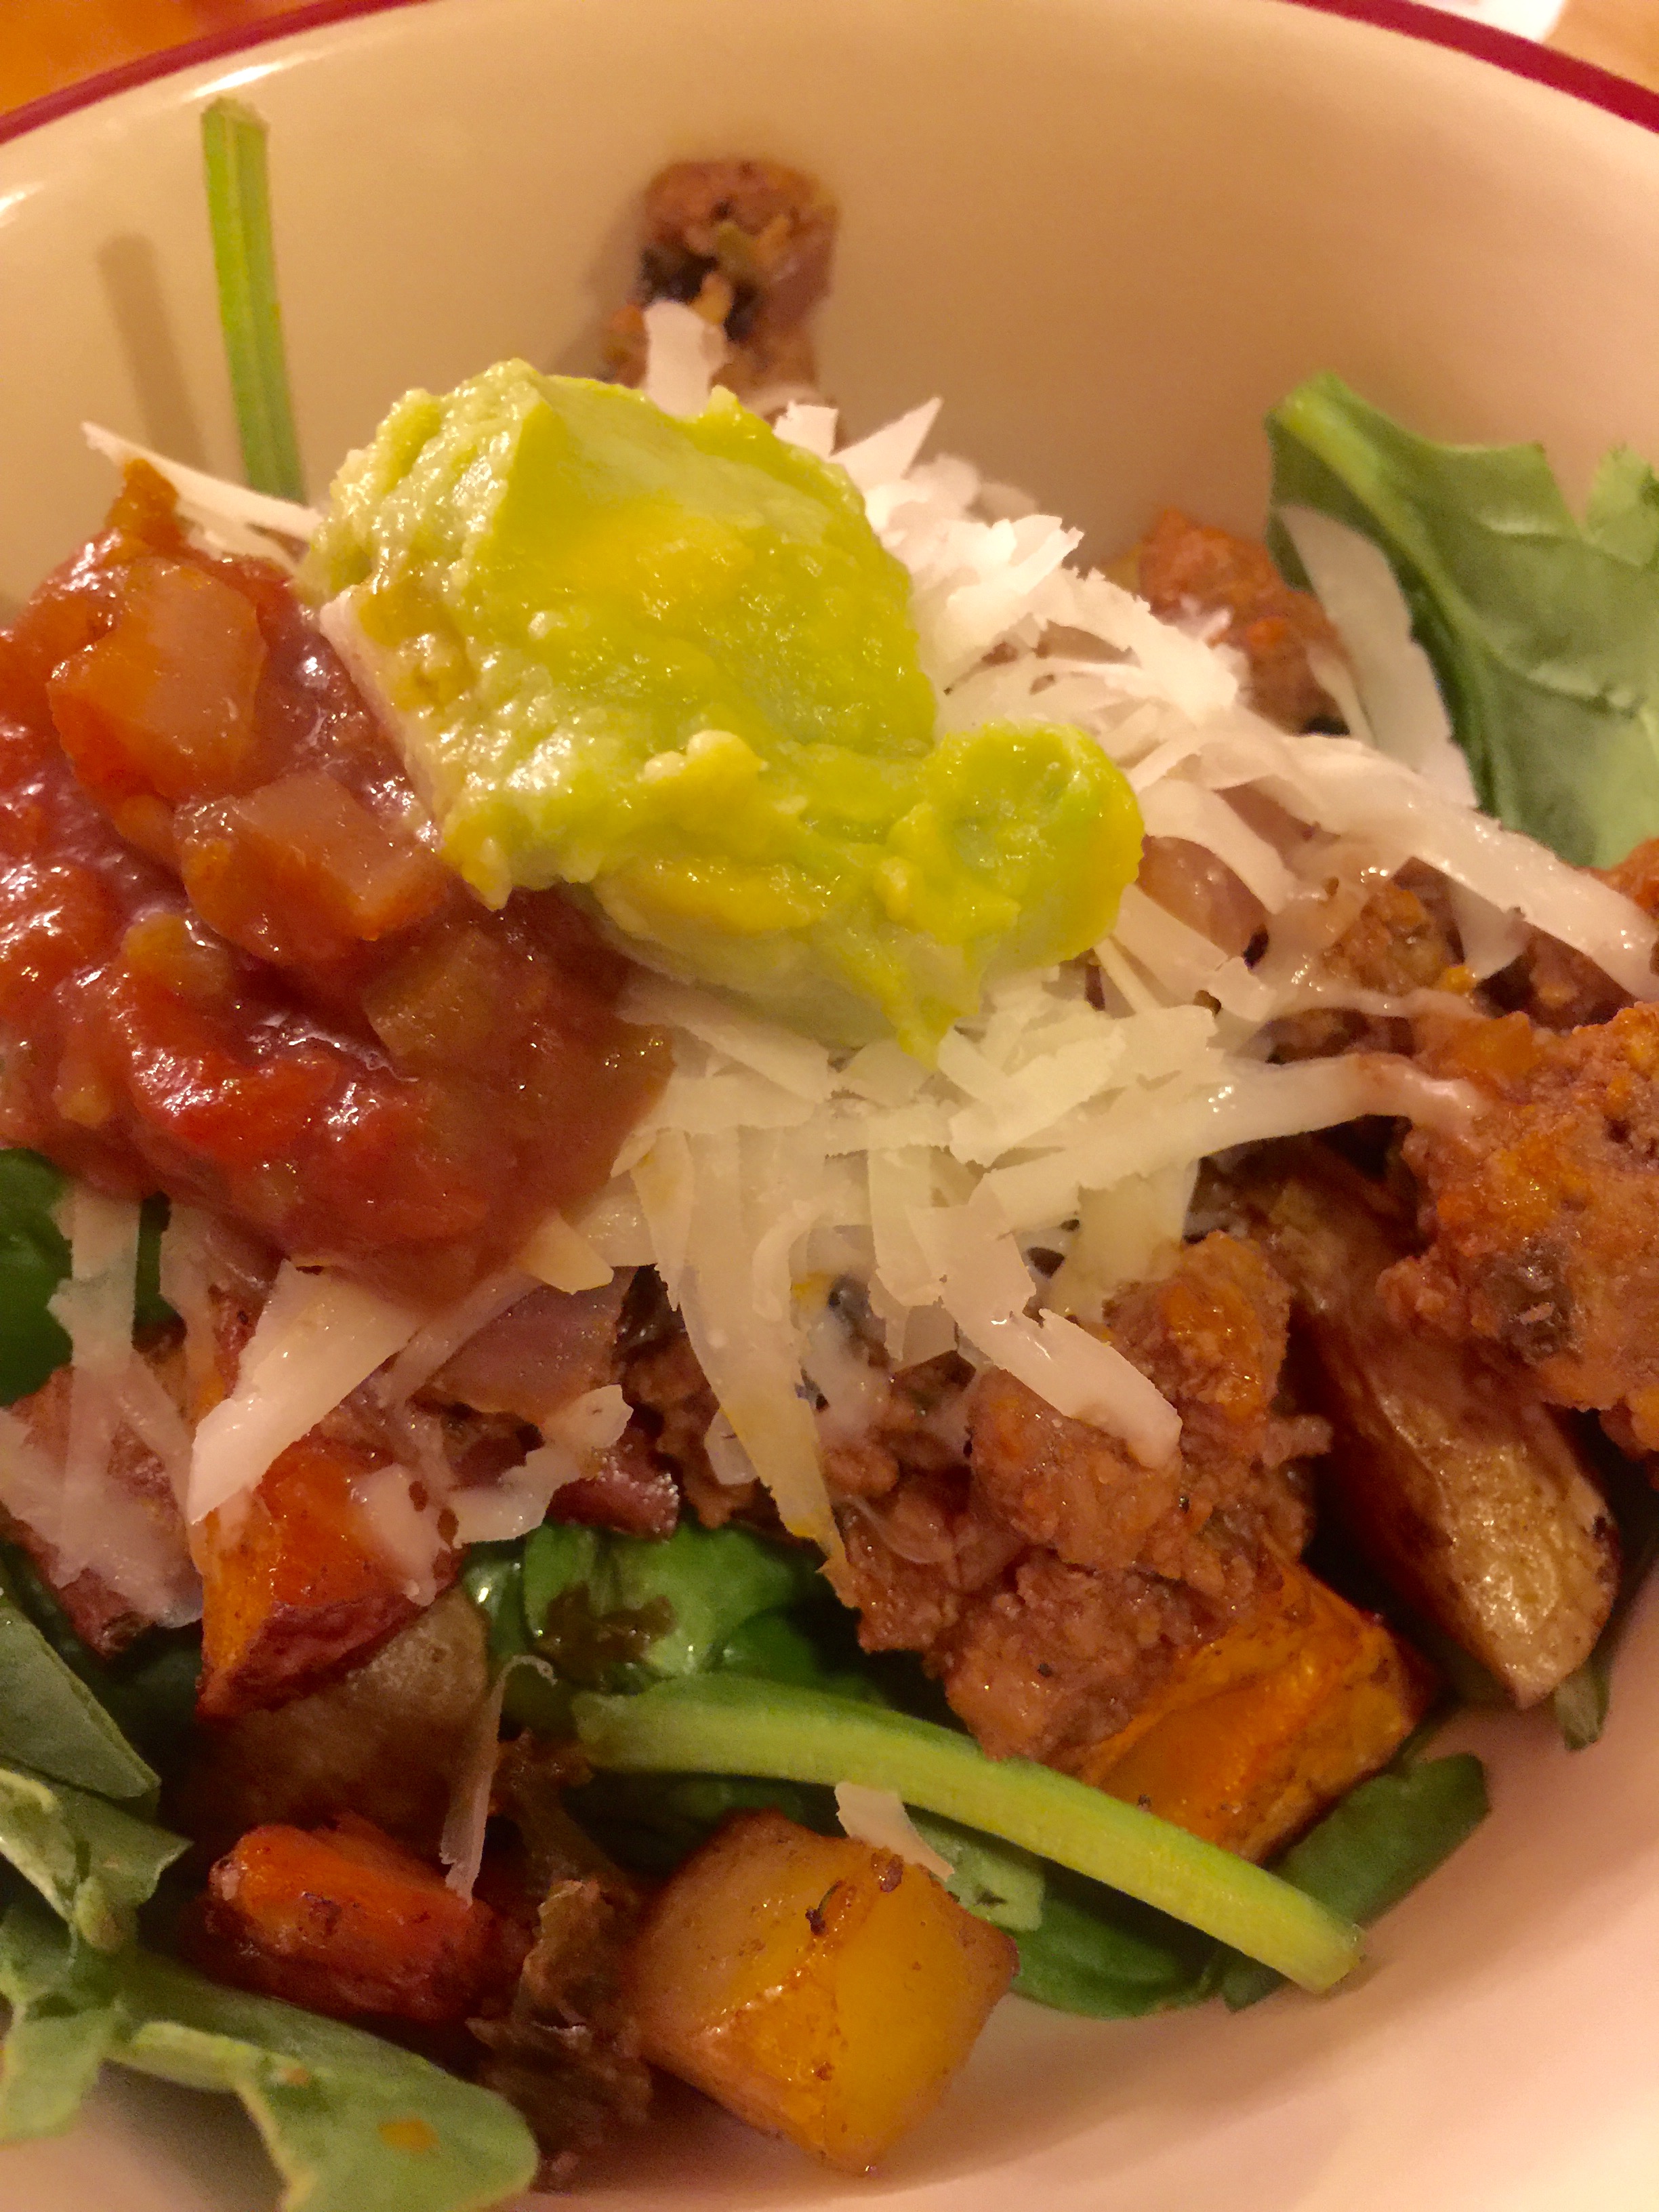
Beef Taco Bowl with Spicy Seasoned Potatoes


While enjoying the last days of our Indian Summer, I reach for something quick to make for dinner since the daylight is gone by 5 and we HAVE to play outside after school until it gets dark.  On the days I am lucky enough to prep a little, dinner can actually be ready by 5;30.  Other days, well, it’s a houseful of crabby kids or we end up eating eggs or peanut butter sandwiches for dinner.  Today I got lucky, and with about 15 minutes of prep work during nap time, I had my taco bowls teed up and ready to cook when dinner time rolled around.  I chopped everything, measured my spices, and fully prepped the potatoes.  An hour before dinner I turned on the oven (potatoes were already on a cookie sheet in the oven from earlier).  30 minutes before dinner I stirred the potatoes, returned them to the oven, grabbed a sauté pan and put my taco meat together.  It was on the table in under 30 minutes! (not including the potato roasting time of course!)

…

Read More »

  • « Previous Page
  • 1
  • 2

Meet the Author

MaryJo is a busy mom with 3 beautiful children. She enjoys paddle boarding, kayaking. and cross country skiing. She loves food...cooking it, eating it and especially sharing it with everyone.

Connect With Me

  • Facebook

Copyright © 2026 · Foodie Pro Theme by Shay Bocks · Built on the Genesis Framework · Powered by WordPress