Just Another Mom HQ

Just another Mom's guide to a healthy lifestyle

  • Home
  • Recipes
  • Essential Oils
    • Visit My Oils Page
  • All Natural Products
  • Sydi’s Blog

Autumn Butternut Squash Crust Quiche with Sausage and Kale


Ahh fall, the crunchy leaves under our feet, the beautiful colors, pumpkin spice…

Sorry to interrupt your daydream but…

I love making quiche as a make ahead meal, it is a great option for a busy night when there is not time to cook.  It’s also a great grab and go breakfast!

For the crust of this quiche I used butternut squash, but you can use any sturdy vegetable.  Think sweet potato, any winter squash, even regular potatoes or beets.

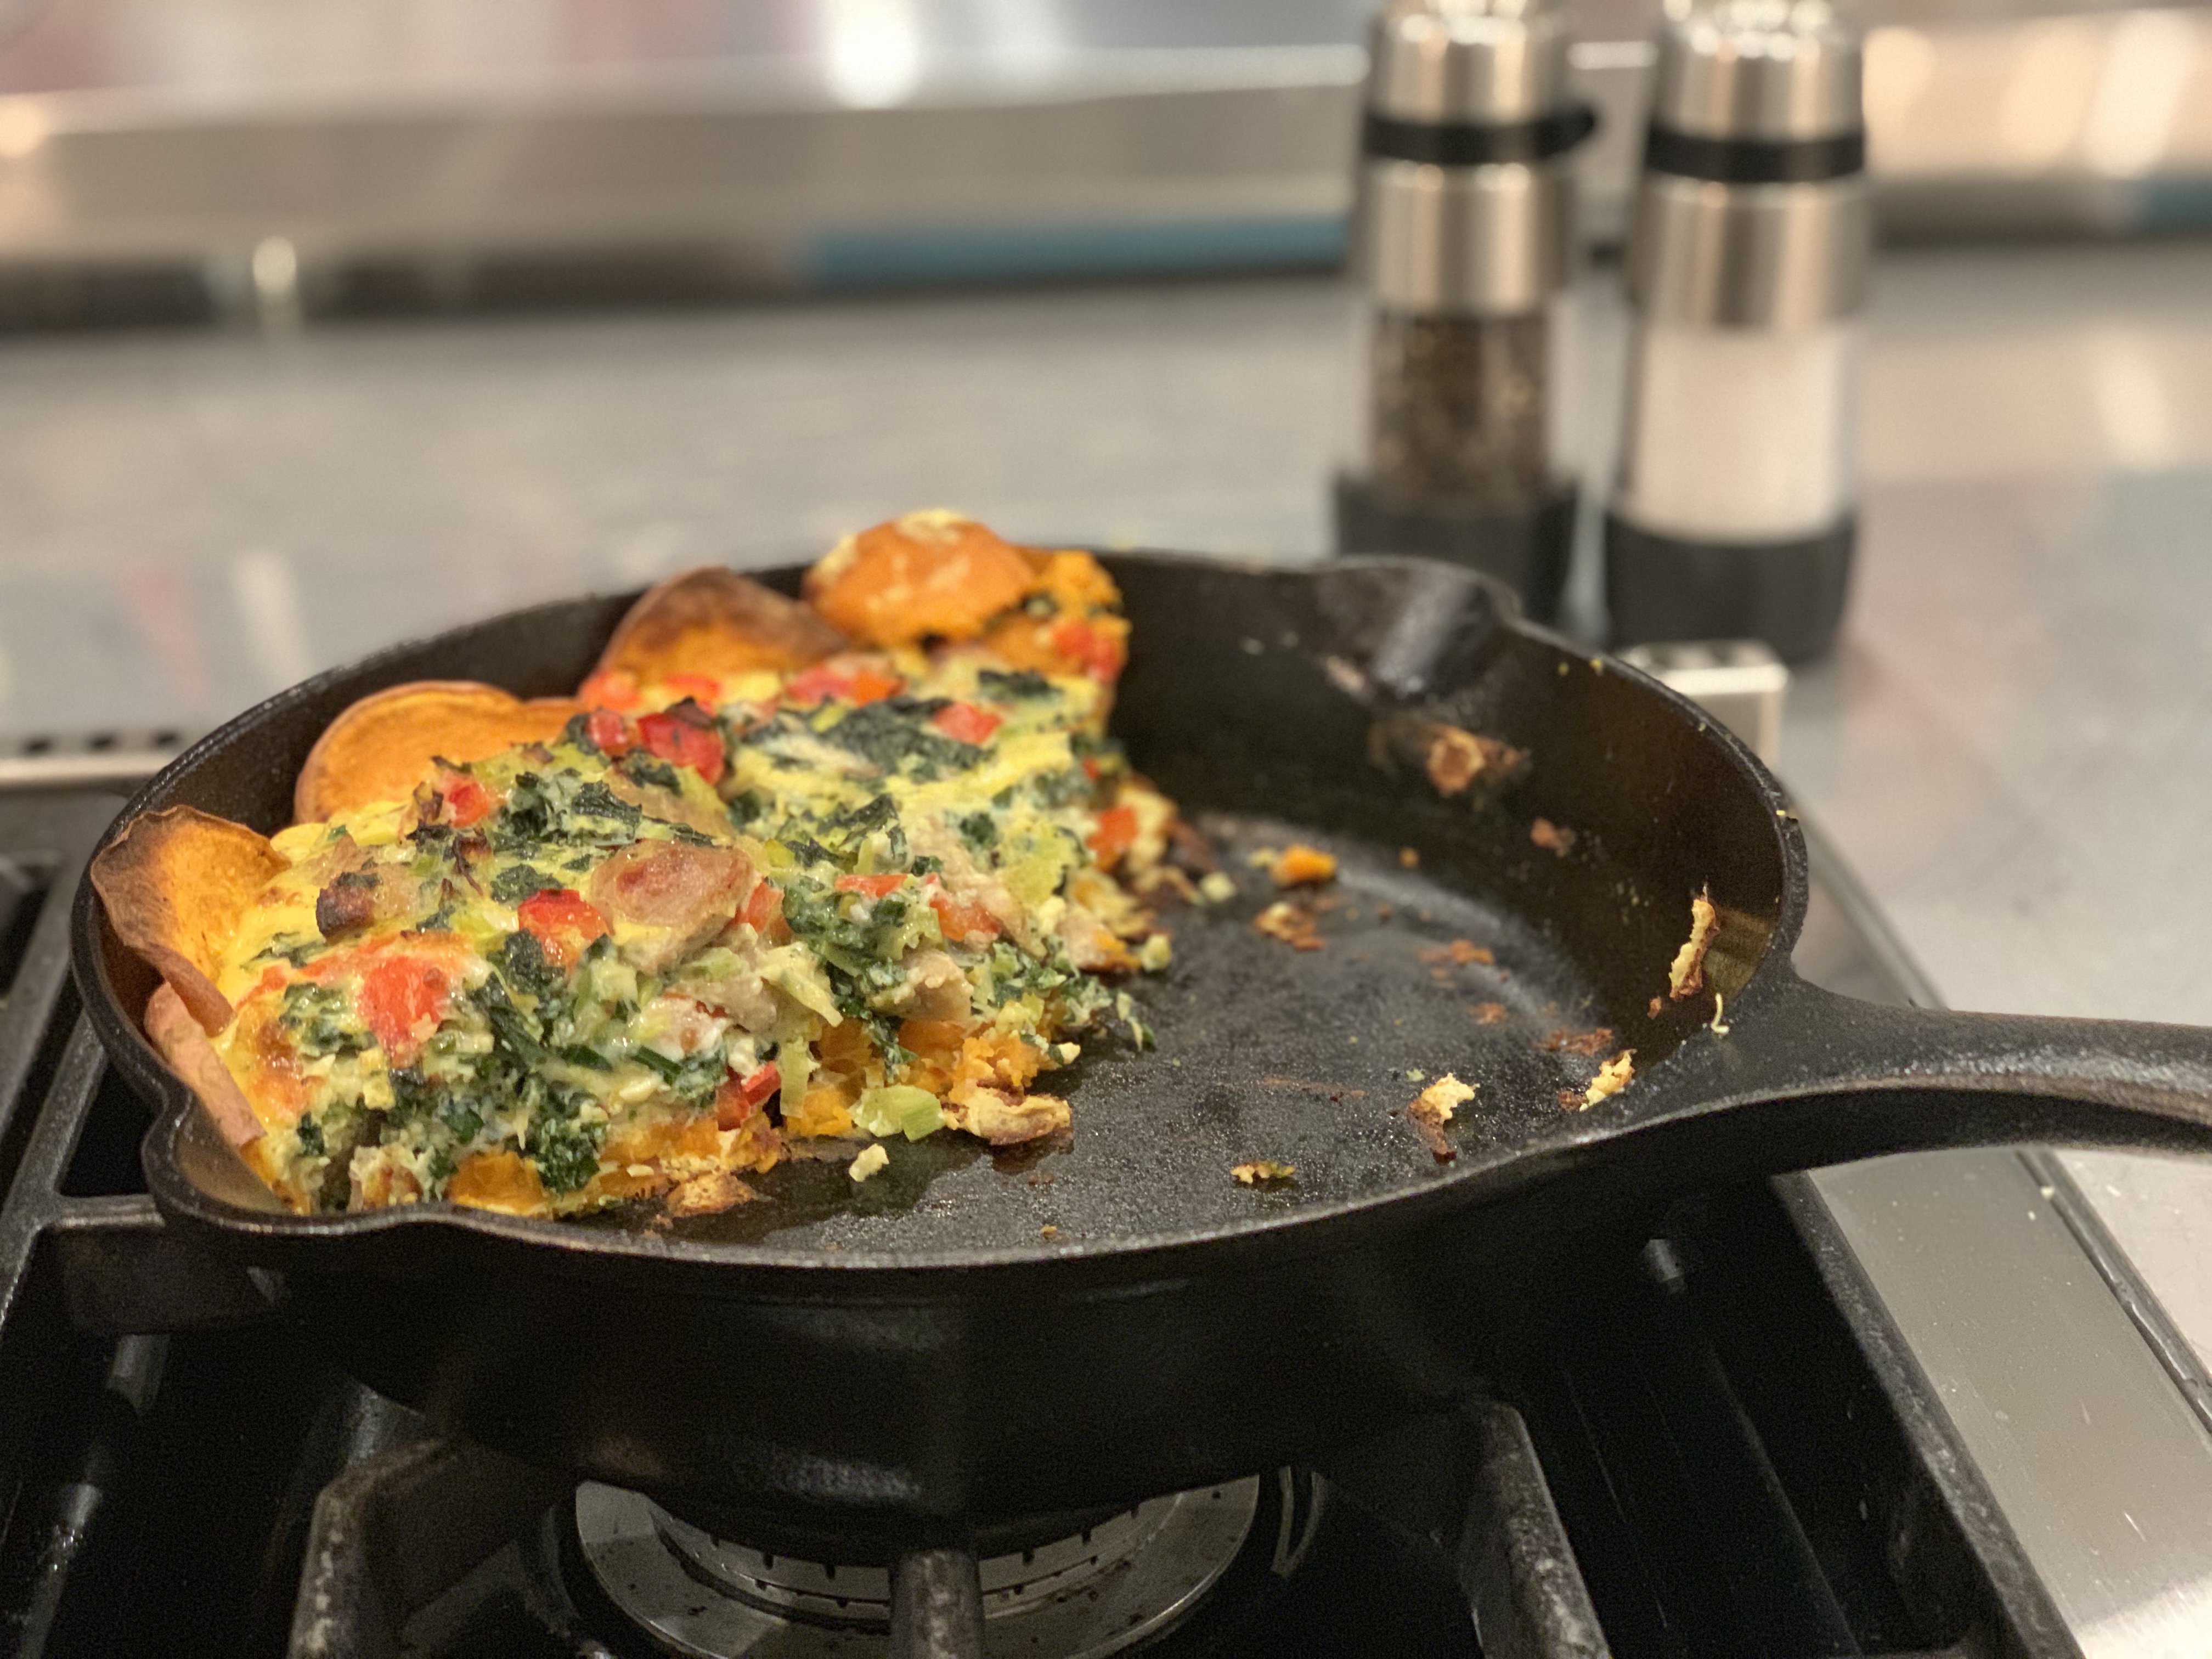
To get started slice the bulb shaped end off butternut squash.  Peel both parts of the squash, and remove seeds.  Slice the long part of the squash into thin rounds, the bottom half into thin slices.  Toss them with salt, pepper and a touch of oil and lay them in the bottom of a pie pan or skillet being sure to overlap them to form the crust.  If there are holes don’t worry, the eggs we add later will help it stay together.

Roast the crust in the oven until squash softens and begins to brown.  Set aside.

For the filling, remove the casings and brown your chicken sausage in a bit of oil.  Alternately you can use cut up breakfast sausage, or fully cooked chicken sausage, just brown it in a pan to get some extra flavor.

While your meat is browning throw in the other vegetables, garlic, thyme, salt and pepper.

Once the sausage is browned and onions, peppers and kale are softened remove from heat and allow to cool slightly.

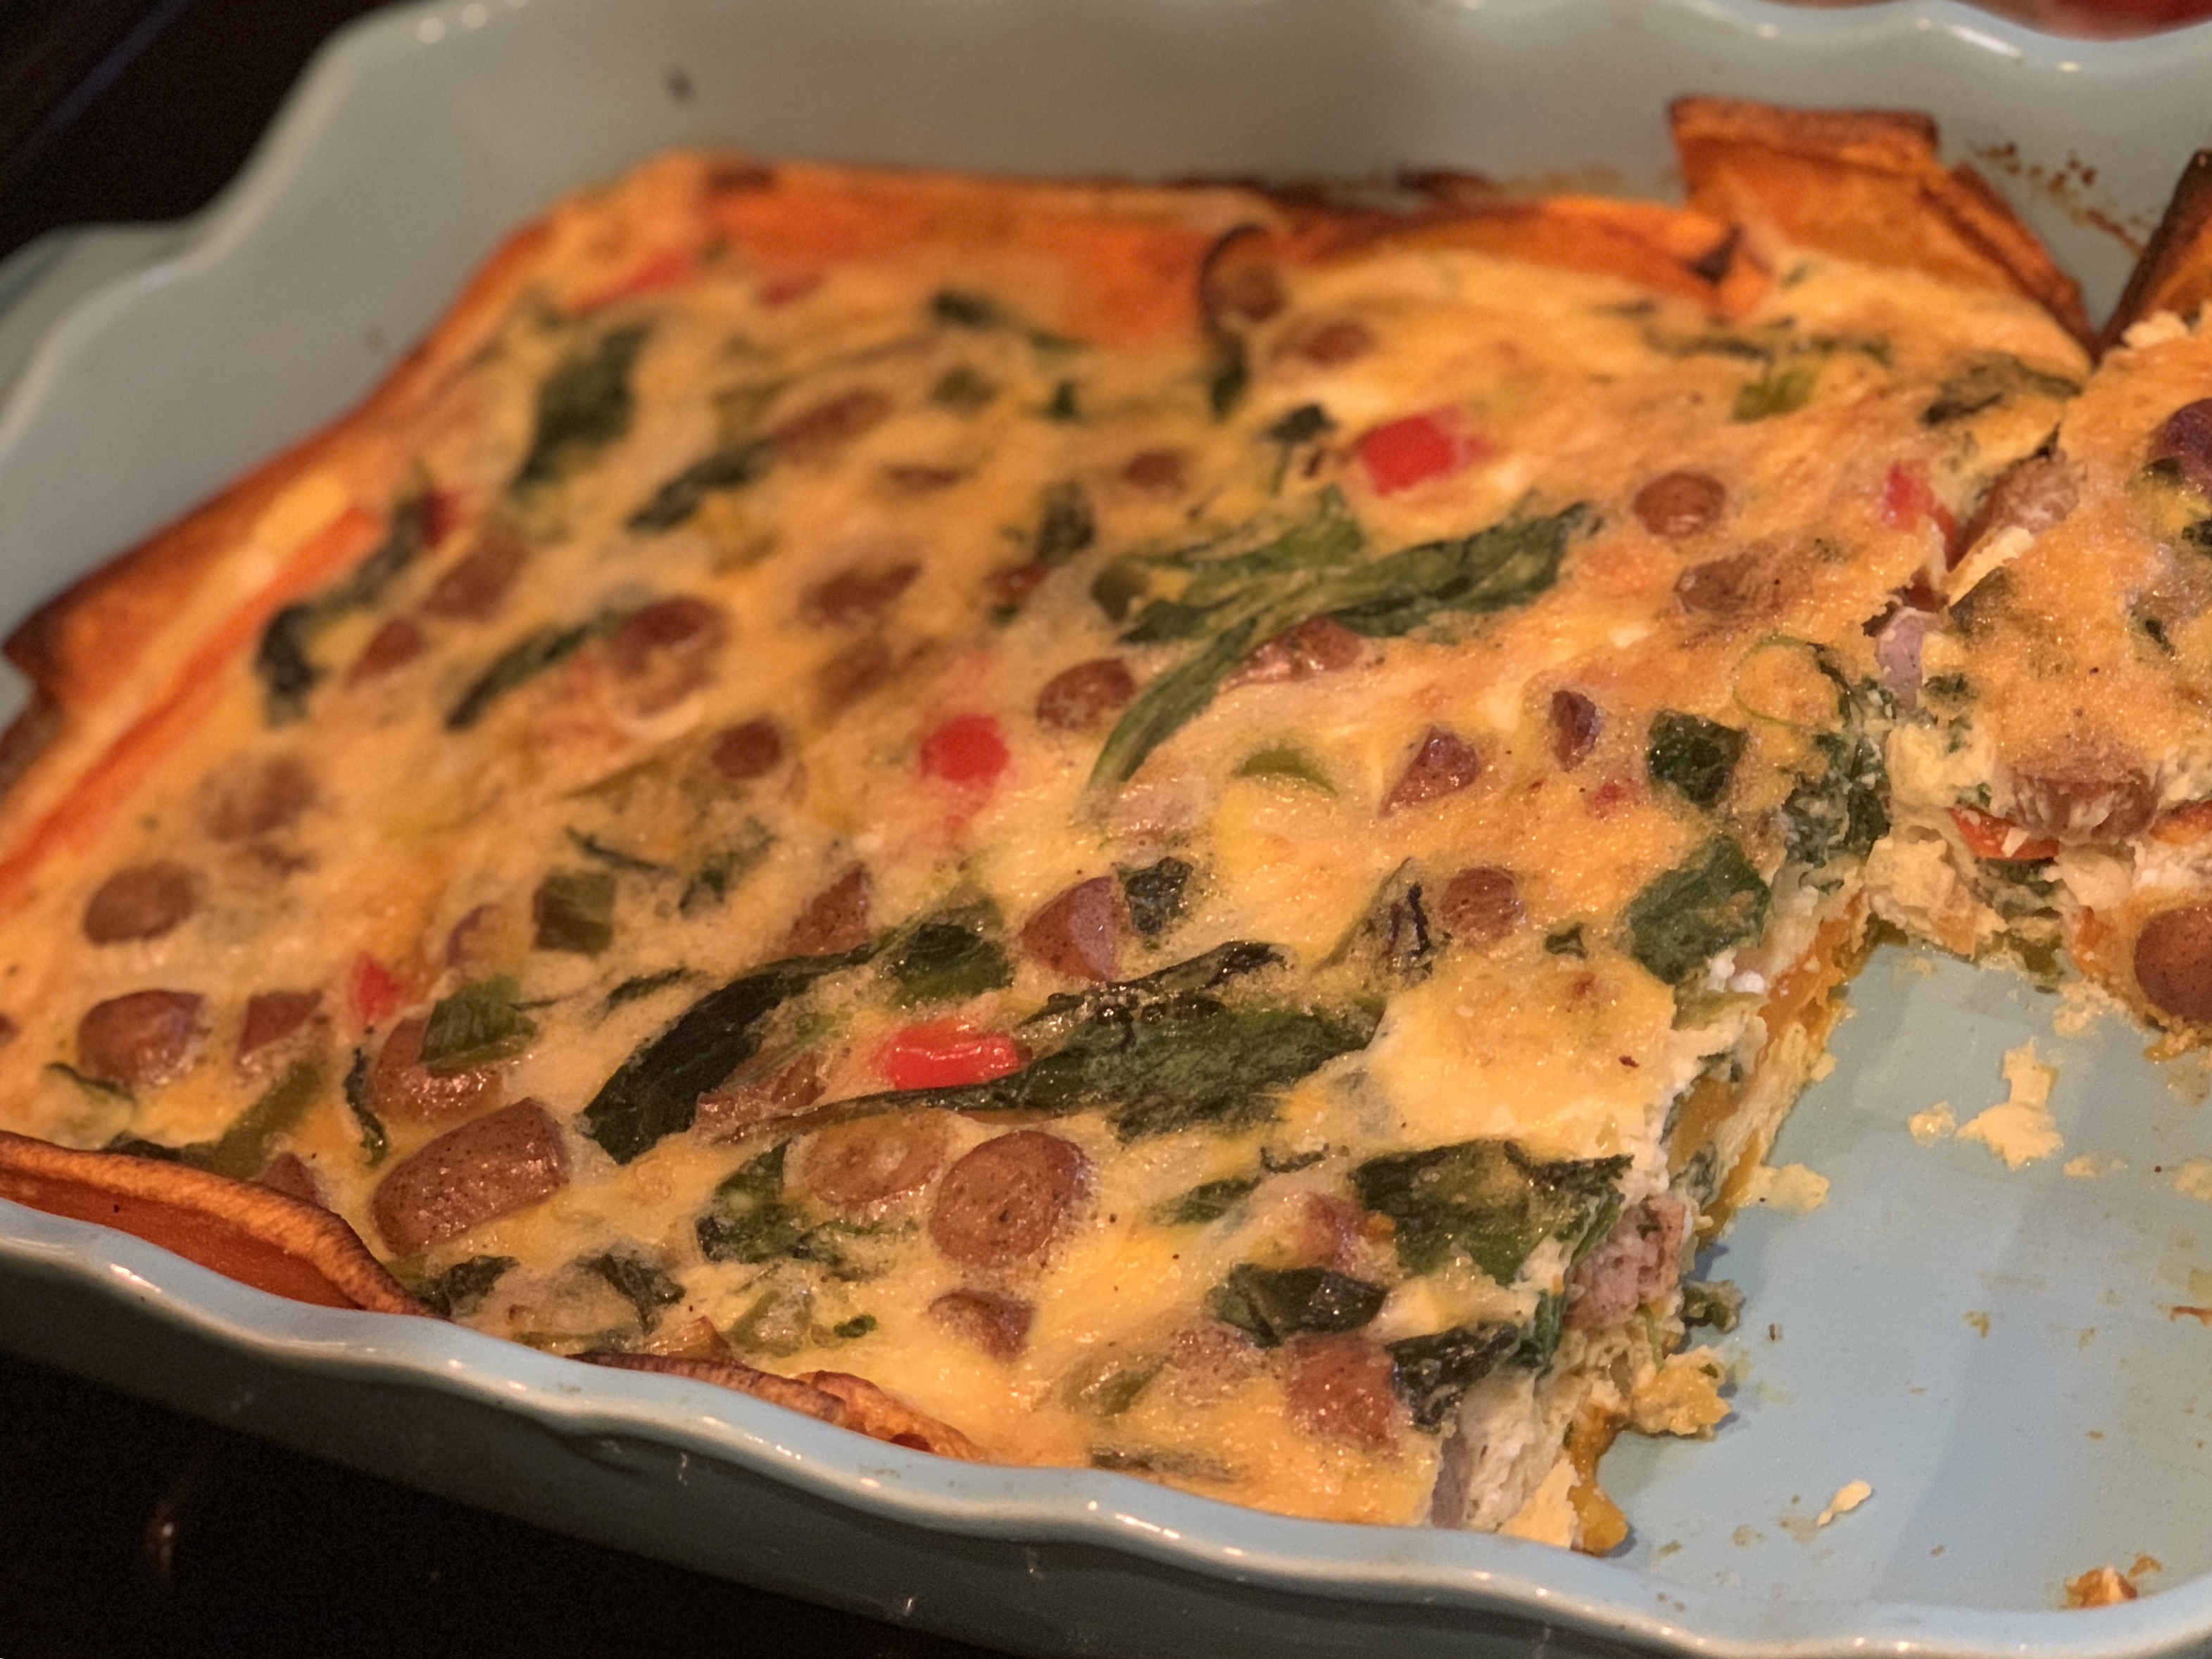
Crack the eggs into a bowl, season with salt and pepper.  Now add the milk and beat the eggs for a minute or so.  Stir in cheese if you are using it (a tablespoon or two of nutritional yeast would be a great sub for the cheese if you can’t have it) then add in the sausage mixture.  Pour the whole works into your squash crust and bake until eggs are set, about 20-25 minutes.

My kids even enjoy these quiche so I usually don’t mess around with a single batch, instead I double the recipe and use a casserole pan.  Just be sure to adjust baking time accordingly (5 minutes more is the most I have added).  Please forgive my pictures it seems my quiche always gets hit before I can snap a proper shot.

You can make this ahead and serve at room temperature, straight out of the oven or refrigerator, or reheated.  It’s a great grab and go breakfast or a nice make ahead dinner.


Enjoy!


Crunchy Korean BBQ Chicken Wings Instapot


I know what you are thinking, crispy chicken wings from a pressure cooker? Lady you are nuts! But hey don’t stop reading I promise you will be impressed. My husband was blown away thinking I fried them.
It’s super easy too…and fast too!

If your wings aren’t split, cut them apart. Also now would be a great time to trim off any excess fat that may be hanging off your wings.

Place the metal trivet that came with your pressure cooker (if you don’t have a trivet you can grab yours here) and place it in the pot. Salt and pepper your wings and place them on the trivet in layers.


Add one cup of chicken stock, or just water if you don’t have the stock, but the stock adds some great flavor so it’s worth it! Seal the lid on your Instapot and set to manual cook 9 minutes.

Preheat your oven to broil.

While you wait for the wings to cook prepare the sauce. Heat a small saucepan over medium high heat. Drop the coconut oil in and once melted add the garlic and allow to sauté for a minute or two. Be careful garlic burns super fast. Now add the balance of ingredients and allow to simmer while your wings are becoming amazingly juicy.

Once the pressure cooker is done, do a quick release by flipping the top to vent.

Drop your wings in the sauce tossing to coat.
Place wings on a sheet pan prepared with foil and allow to broil for about 6 minutes. Flip over and broil another 2-3 minutes. Be careful, after the first 6 minutes you may need to lower your rack as the sugars in the sauce can get a bit smokey.

Remove from oven, give them another toss in the sauce and serve with celery sticks and blue cheese if you wish. I had to make a second batch right away as they disappeared pretty quickly after I made them…
Cheers!

Jamaican Jerk Chicken

Many of my friends have been subject to my Grilled Jamaican Jerk Chicken recipe.  Some have cried over a bowl of it they loved it so much, as the sweat poured off their faces… (you know who you are.) Others have begged for the recipe and added it to their regular meal rotation.

Challenged with teaching a class on batch cooking, I have taken it a step farther.  In the past I have marinated my chicken in this tangy, sweet and spicy sauce, then grilled them, but for my class I used the sauce as a way to bring back life to some leftover chicken thighs and roasted vegetables.

I prefer to double the marinade recipe so I have extra sauce and marinate bone-in chicken thighs or legs for at least an hour, overnight is better.  Then grill them using the indirect cooking method for 45 minutes.

Still awesome is this Jerk sauce with roasted vegetables over rice, prepared with coconut milk instead of water.

You can also use this sauce on fish, pork or turkey.  Your day after Thanksgiving turkey sandwich will be amazing if you mix a spoonful of this sauce with some mayo and spread it on your sandwich, or drizzle it over whatever leftovers you have.  Make a delicious Jerk Chicken pizza, pasta, quesadillas …the options are endless.

To prepare for use as a sauce over cooked chicken and vegetables heat pan over medium heat.  Swirl in olive oil and begin to cook the diced onions.  Sauté onions for about 5 minutes until they begin to become translucent.  Add garlic and other spices and continue to sauté for an additional 2 minutes.  Add balance of ingredients and allow to simmer for about 10 minutes to allow all the flavors to marry.  Toss with your chicken and vegetables and serve over rice.

To use as a marinade, add all ingredients to a large zip top bag.  Mix well.  Add chicken and allow to marinate for at least an hour, preferably overnight.  Remove meat from marinade and fully cook on the grill or in the oven.  While chicken cooks, bring marinade to a boil, then allow to simmer for about 10 minutes.  Top chicken with extra sauce and/or serve on the side.

Either way you choose to go with it, enjoy!


This recipe was originally adapted from a post from literally over 10 years ago I found here

http://classic-recipes.com/page/poultry/jerkchk.htm

Use organic non-gmo ingredients whenever possible.

Pressure Cooker Butternut Squash Risotto

Recipe remix time!  Move over Pumpkin Spice Latte!  I know we all love risotto and I also understand the time commitment involved in making a great pan of it.  Three kids and a crazy schedule does not equal risotto.  So today I decided to remake my Pumpkin Risotto with Browned Butter Sage Leaves but this time using my trusty Instapot.

I changed up a couple of ingredients since the amount of liquid used is significantly less, and the cook time is slashed as well.  Butternut Squash has less water than pumpkin and is more readily available right now making it an awesome choice for this delicious fall inspired risotto.

By taking the extra step to roast the Butternut Squash you are coaxing all the sweet natural sugars out of the squash really making it shine!  You could just brown it in the instapot, but you won’t achieve the same result.  It will still be awesome, but it could be even more awesome if you can roast it.

To start peel and dice the squash.  Toss it with extra virgin olive oil and salt and pepper.  Roast in a 450 degree oven for about 30-45 minutes or until it is soft and golden.  While this is roasting get to work on your risotto and browned butter sage leaves.

If you have never had browned butter Sage leaves you are in for a treat!  Grab your butter stick and melt in a pan over medium heat.  Keep an eye on it after it melts and let it continue cooking until the fat separates and you see a nice brown color.  Don’t go to far or you will have burnt butter.  Just a nice deep golden brown.  Now drop in your Sage leaves and allow to cook for 2-3 minutes.  They are done when you begin to see spots on them.  Allow to cool on paper towels and set aside.  These will finish off your dish with a little sophistication at the very end.

Brown butter fried sage leaves

Saute your diced vegetables, garlic and herbs on sauté setting in about a tablespoon of oil.  Remove veggies and add the the measuring cup.

Next sauté the sausage in a little more oil until cooked through.  Add rice and continue to cook for about 2-3 minutes. The rice will turn clear then almost white again.  Add wine and allow to simmer down until most of the liquid is gone, this should take only a couple of minutes.

Now add the chicken stock to the measuring cup with the vegetables (except the squash) and make sure you have exactly 4 cups in there.  No more no less.  This is super important.  Add to the pot and seal lid.  Make sure the lid is set to pressure.

Press manual and adjust to 7 minutes.  When your machine is finished (about 20 minutes between coming to pressure and the actual cook time) shut it off right away and do a Quick Release.  Once all the steam is released carefully open the lid and remove the pot.  Stir in approximately 4 cups of the roasted squash, and your shredded cheese (cheese is optional but delicious).

To serve top each dish with a few fried Sage leaves and enjoy with a crisp salad and a great glass of wine.

Enjoy!  Blessings

Grill smokey sweet and tangy chicken legs

IMG_4481

Welcome fall!  Today I grabbed some beautiful chicken legs and soaked them in a sweet tangy marinade for the day.  I had some apple cider hanging out in my refrigerator that needed to be consumed and decided to use this as the base for my marinade.  The chicken hung out in this marinade in a zip top bag for several hours while we went about our other business.  I came back to flip it a couple of times to make sure the chicken was soaking up all the yummy juices.

Making the marinade is super simple, mix all ingredients together in a zip top bag and add chicken.  Seal bag and flip it over a bunch of times to coat the chicken.  Place on a plate and put it back in the refrigerator for the day.

After about 8 hours (if you only have a couple that is fine too, I don’t always plan so well in advance either), prepare your grill.  First I grabbed a large handful of maple chips and gave them a quick soak in some water to amplify the smoke flavor.  My plan is to use the leftover chicken in my smoked chicken carbonara recipe, but that is another post.  I am a charcoal purist as many of you know, so I am preparing my charcoal and setting up the grill for the indirect cooking method.  To do this, start your coals via chimney starter, electric starter or lighter fluid.  When the coals are glowing and ready to cook on, push them all to one side of your grill leaving the other side open with no charcoal.  If you use gas, only light half of your grill leaving the other half of your burners off.  The indirect cooking method gives you the opportunity to slow cook something, or to basically use your grill like an oven while imparting the smokey grill flavors into your food.

Once your grill is ready to go, add the handful of soaked maple chips and choke down the heat to about 225 degrees fahrenheit.  Place your marinated legs on the indirect side (charcoal-less or the side that is turned off if using gas).  Cover your grill and walk away.  Come back periodically in the next two hours to make sure the temperature isn’t swinging up or down too much.  Approximately two hours later (all grills cook differently so please use a thermometer to temp your meat), your chicken should be at 180 degrees.  Pull the meat from your grill and let it rest for 10 minutes to let all the juices redistribute.

Serve with a side of grilled potatoes, and a side salad and enjoy the season.  Cheers!

Pumpkin and Sausage Risotto with Browned Butter Sage Leaves


Though I know we are all dreading the weather changing, there are a few perks to our cooler fall-like temperatures, one of them is the infamous pumpkin.  Thank you to my friends at the Garden of Weedin for the beautiful pie pumpkins that helped inspire this dish.

As I was preparing to make a crock pot full of chili and a grill full of chicken wings to enjoy this fall-ish sunday afternoon with a couple of our good friends, my husband through down the challenge.  Chicken and chili…come on, that sounds way too easy!  You can do better!  Hmmm, well anyone who knows me knows I do not take a challenge lightly, especially a food challenge.  So I glanced around the kitchen, caught sight of my beautiful orange pumpkins and the aha moment…consider this challenge accepted.

…

Read More »

One Pot Chicken, Summer Vegetable and Brown Rice Sauté

This is one of my all time favorite ways to make dinner when I am on a limited time schedule!  You know when your kids have to be run to an after school activity right around dinner time, dance, swim class, parkour…fill in the blank, I am sure all parents out there know exactly what I am talking about.  You open the fridge to find leftover chicken (or burgers, steak, sausage…), some leftover rice or other grain, and a mixed grouping of veggies.  Sure you could just reheat everything, use 3 pans, and watch your families face when you declare leftovers for dinner…or you can sauté some garlic and onions, toss in some diced fresh veggies, add your leftover meat, your leftover rice and voila a truly beautiful one pot wonder is served.

Refrigerator contents

…

Read More »

Meet the Author

MaryJo is a busy mom with 3 beautiful children. She enjoys paddle boarding, kayaking. and cross country skiing. She loves food...cooking it, eating it and especially sharing it with everyone.

Connect With Me

  • Facebook

Copyright © 2025 · Foodie Pro Theme by Shay Bocks · Built on the Genesis Framework · Powered by WordPress