Just Another Mom HQ

Just another Mom's guide to a healthy lifestyle

  • Home
  • Recipes
  • Essential Oils
    • Visit My Oils Page
  • All Natural Products
  • Sydi’s Blog

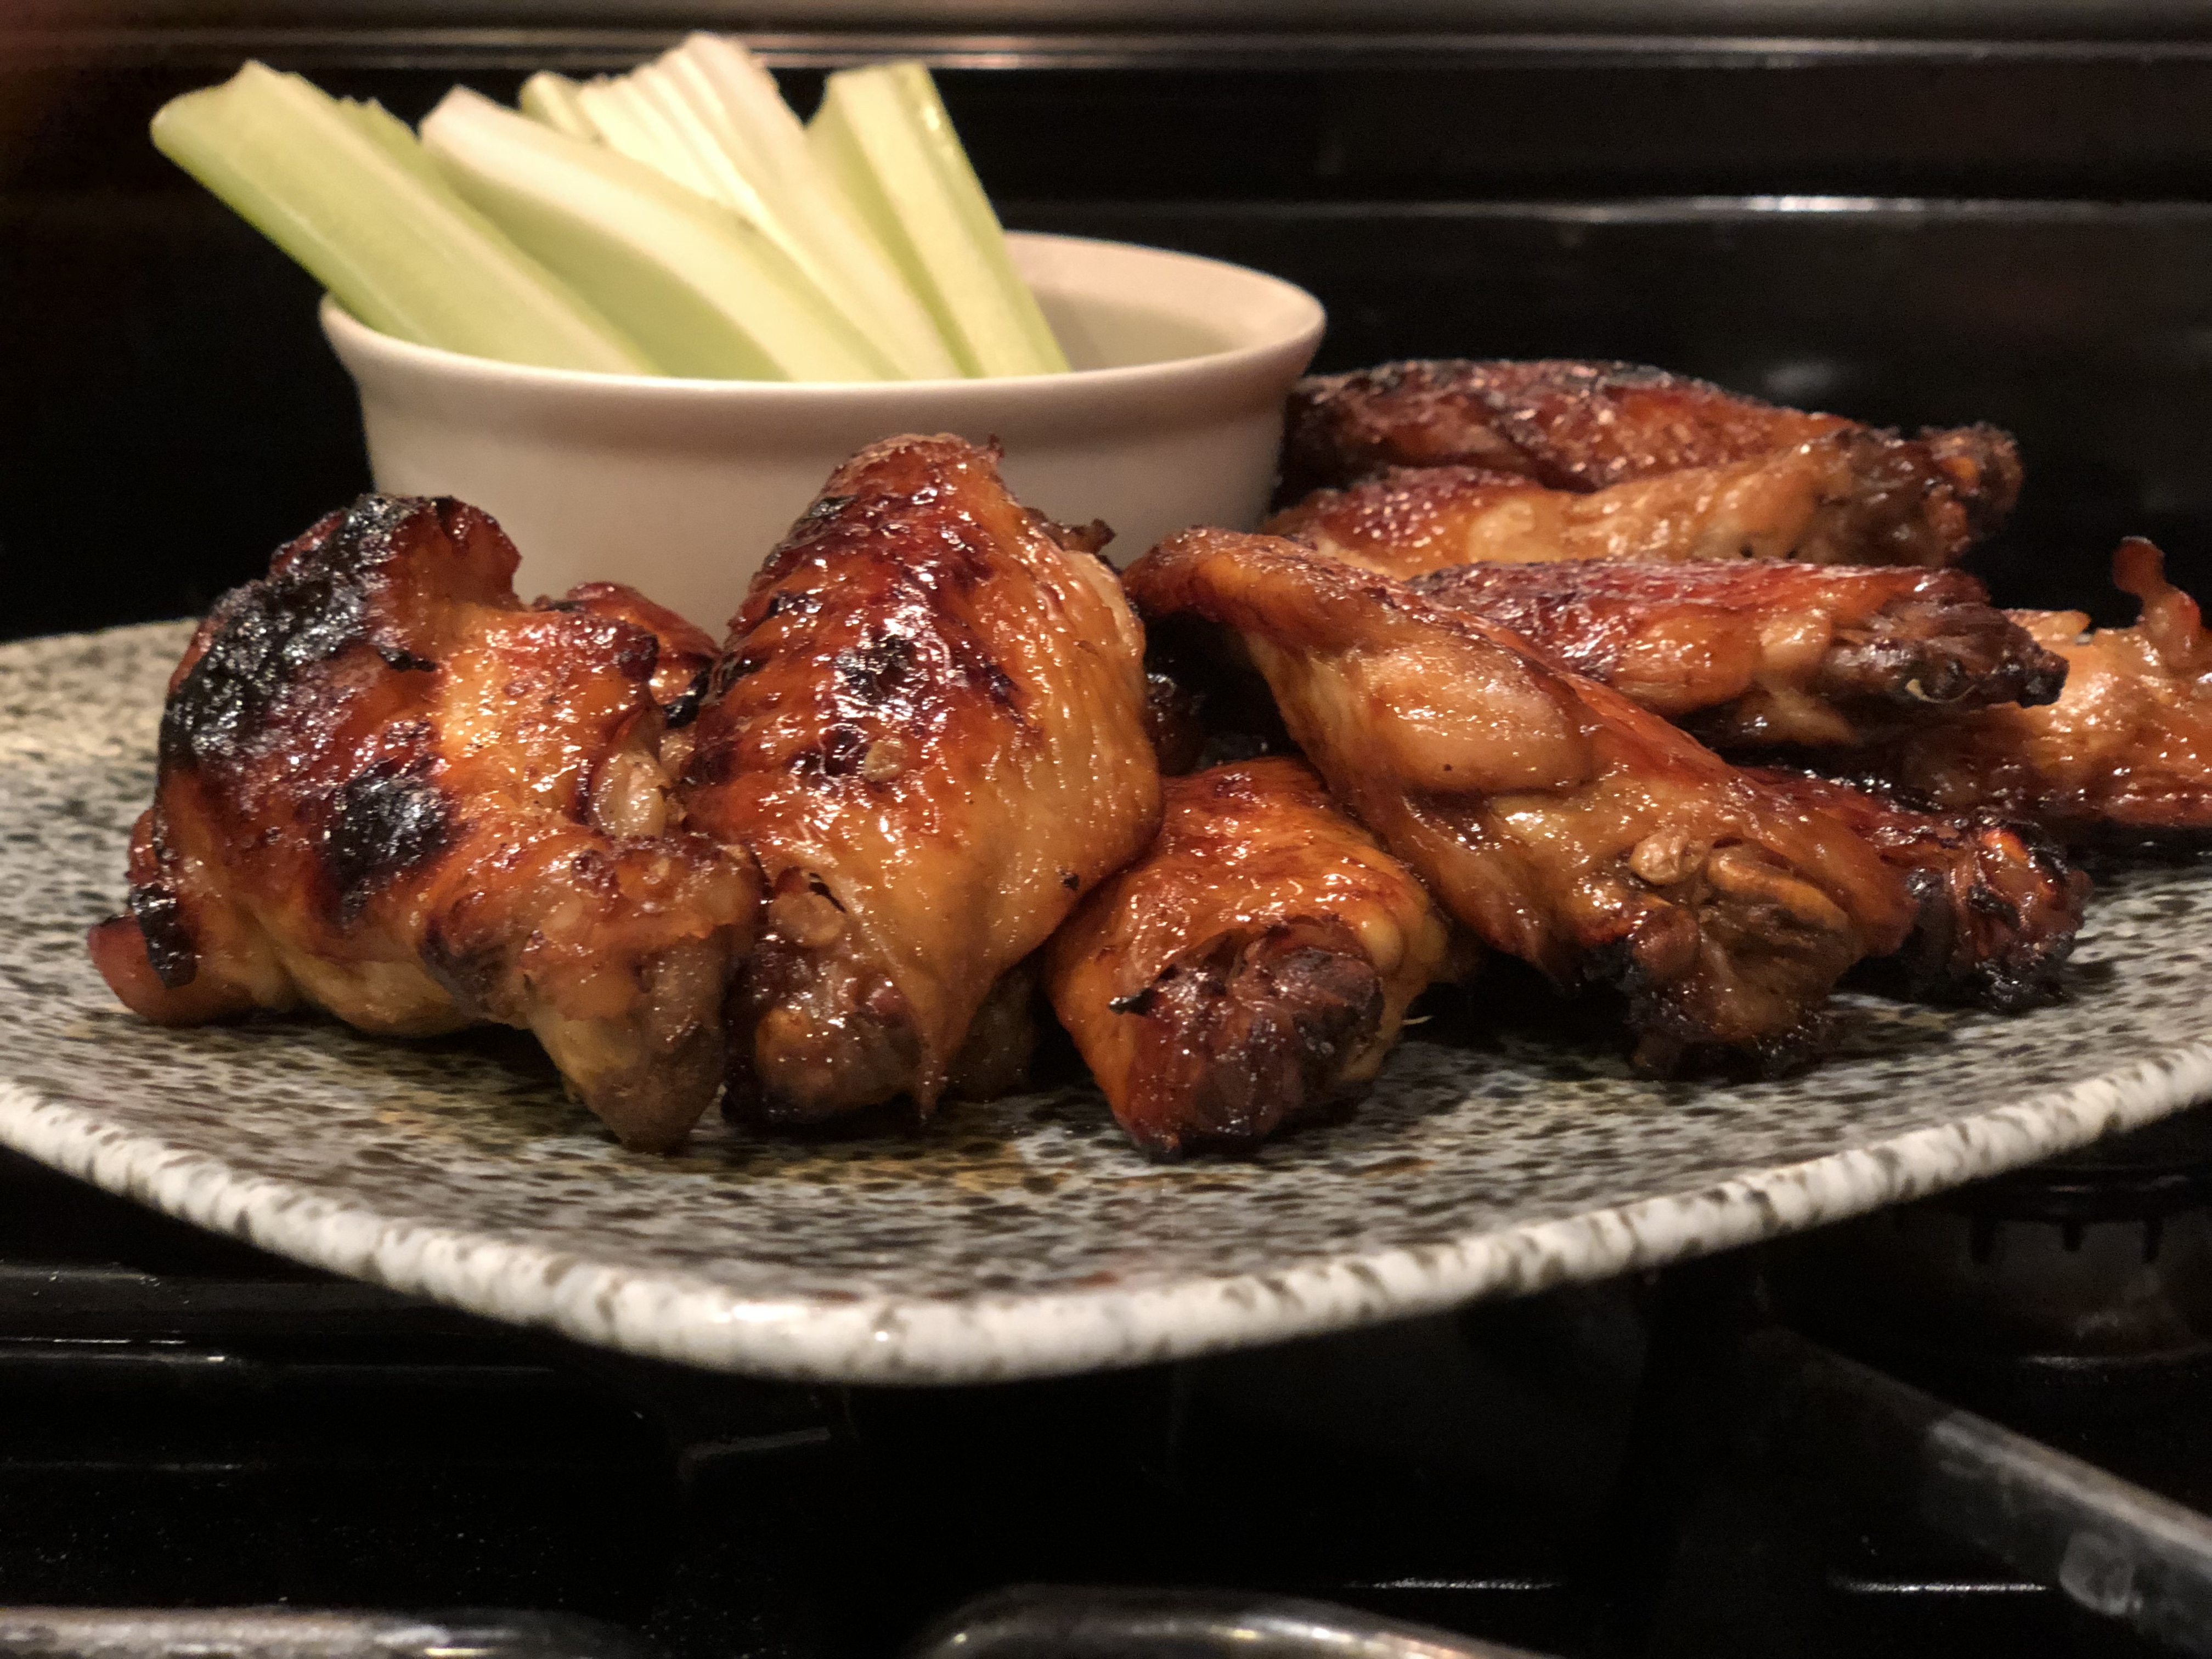
Crunchy Korean BBQ Chicken Wings Instapot


I know what you are thinking, crispy chicken wings from a pressure cooker? Lady you are nuts! But hey don’t stop reading I promise you will be impressed. My husband was blown away thinking I fried them.
It’s super easy too…and fast too!

If your wings aren’t split, cut them apart. Also now would be a great time to trim off any excess fat that may be hanging off your wings.

Place the metal trivet that came with your pressure cooker (if you don’t have a trivet you can grab yours here) and place it in the pot. Salt and pepper your wings and place them on the trivet in layers.
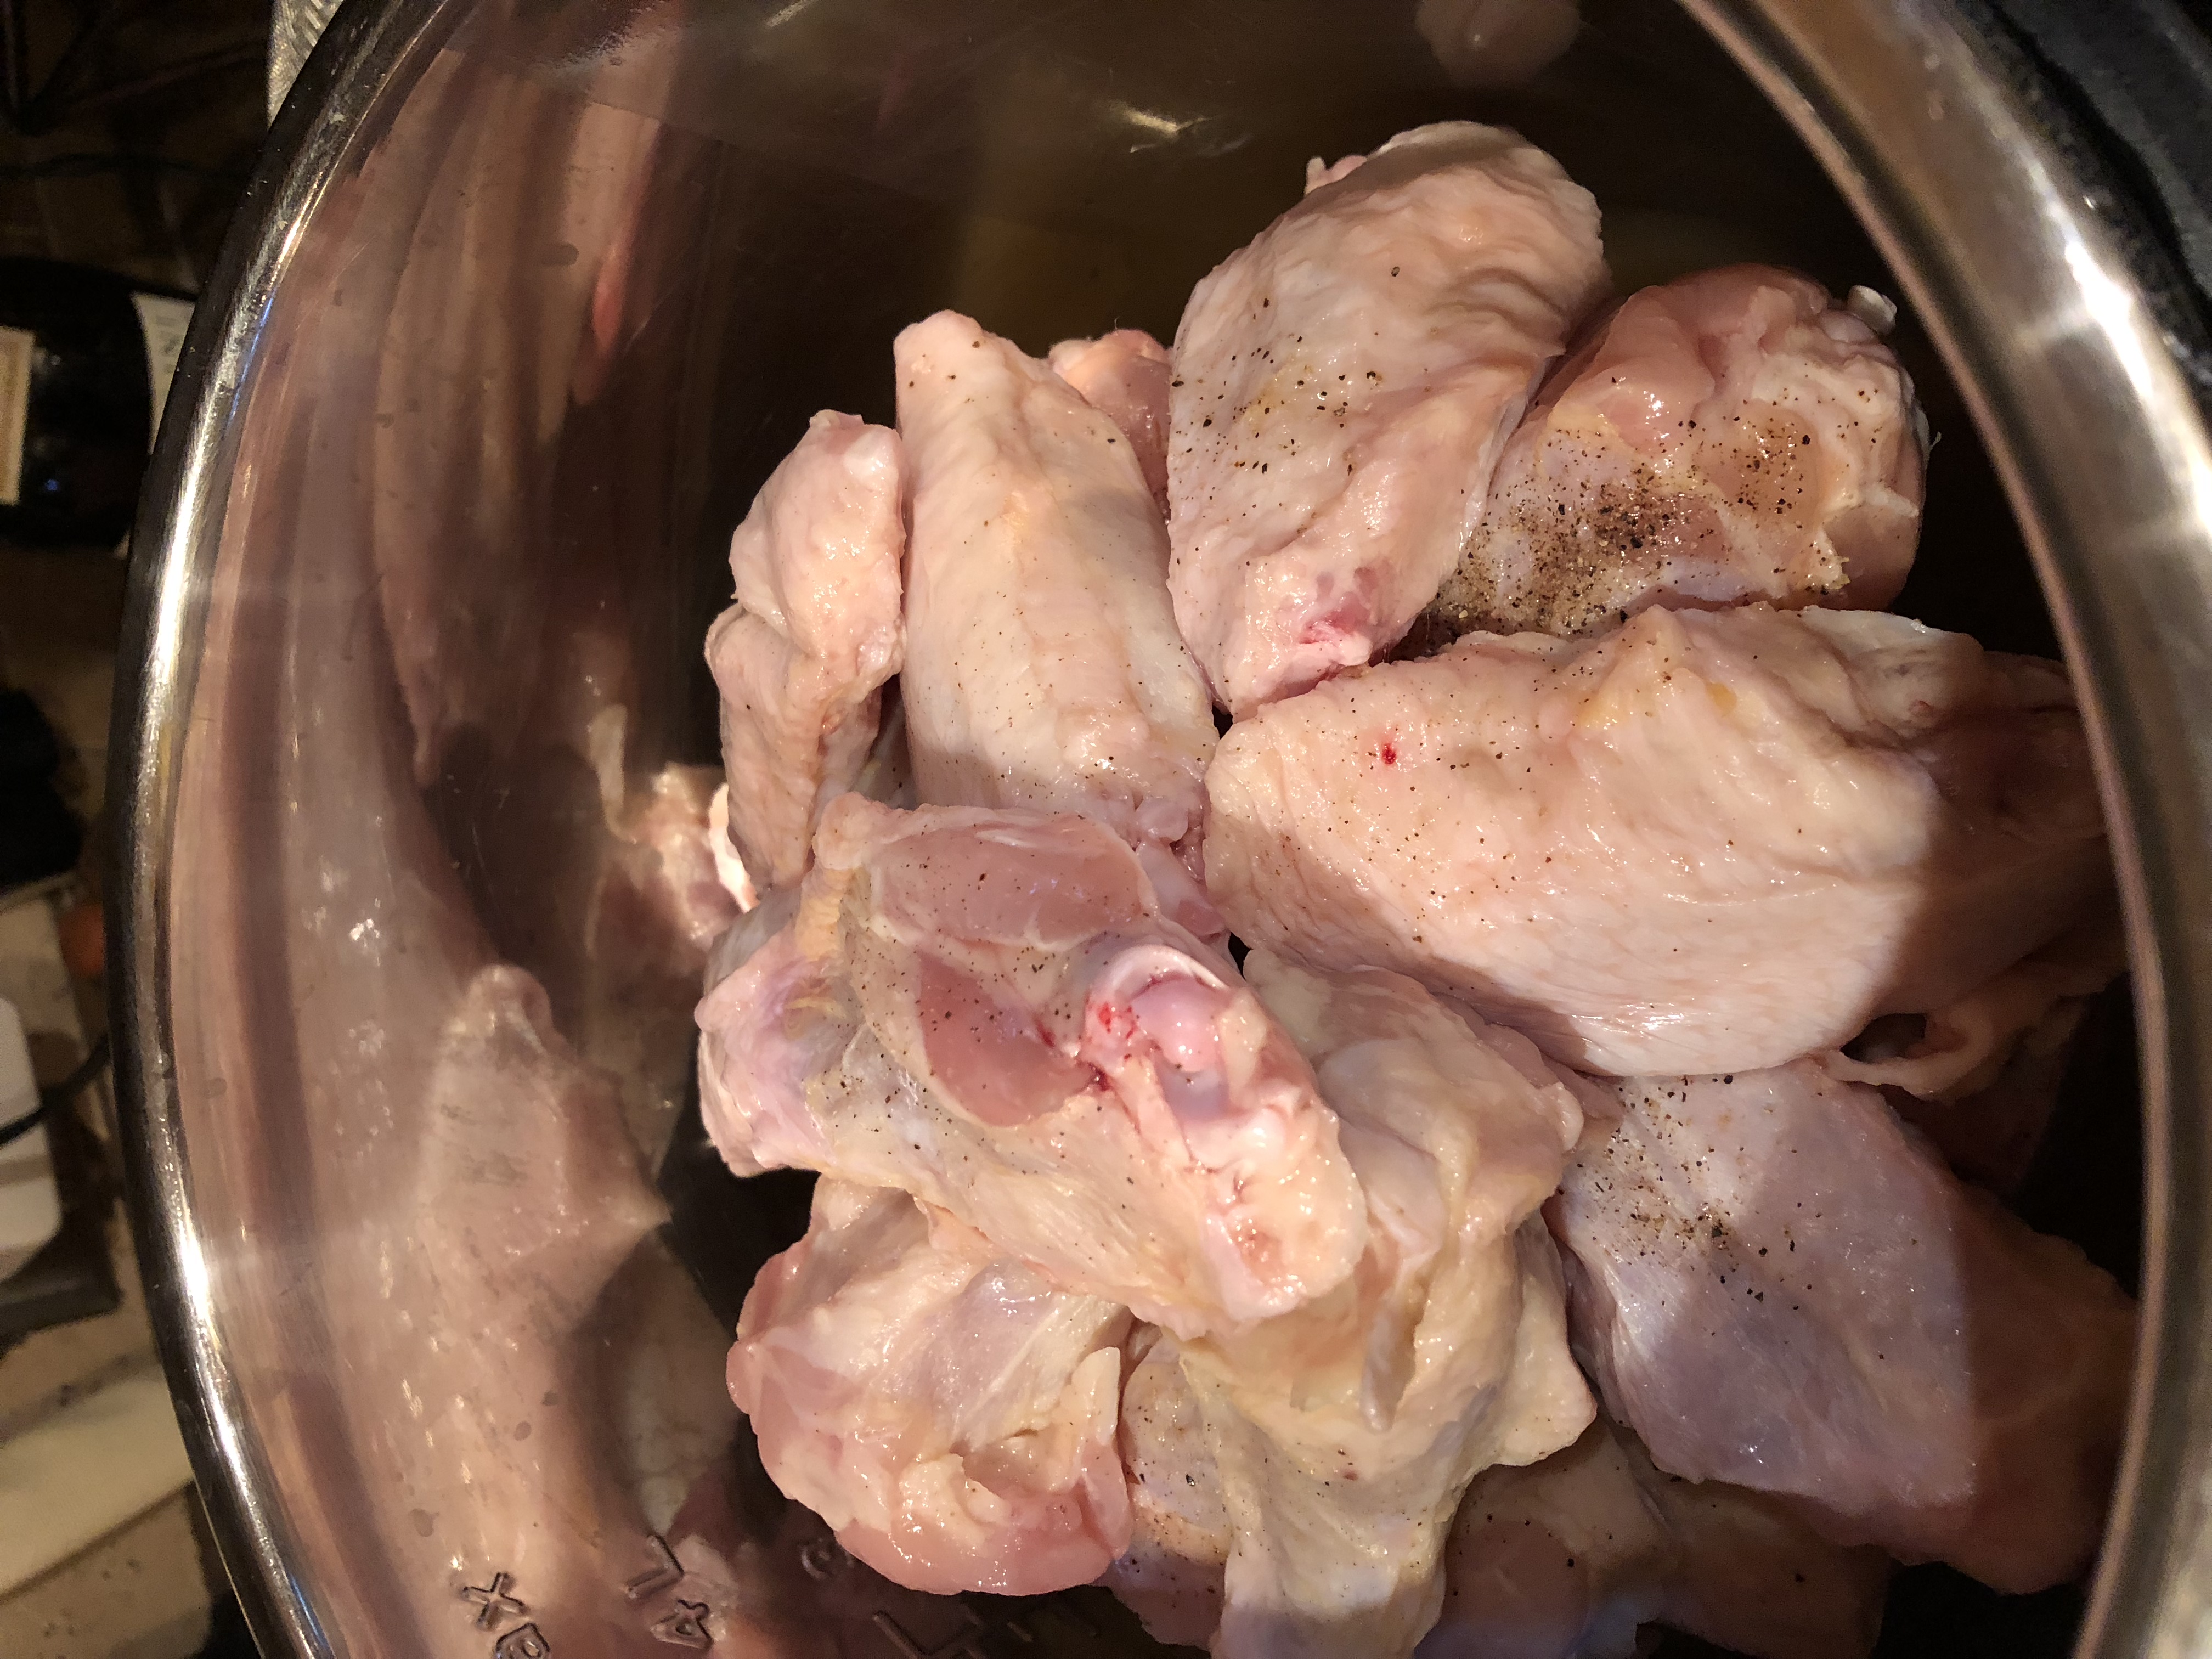

Add one cup of chicken stock, or just water if you don’t have the stock, but the stock adds some great flavor so it’s worth it! Seal the lid on your Instapot and set to manual cook 9 minutes.

Preheat your oven to broil.

While you wait for the wings to cook prepare the sauce. Heat a small saucepan over medium high heat. Drop the coconut oil in and once melted add the garlic and allow to sauté for a minute or two. Be careful garlic burns super fast. Now add the balance of ingredients and allow to simmer while your wings are becoming amazingly juicy.

Once the pressure cooker is done, do a quick release by flipping the top to vent.

Drop your wings in the sauce tossing to coat.
Place wings on a sheet pan prepared with foil and allow to broil for about 6 minutes. Flip over and broil another 2-3 minutes. Be careful, after the first 6 minutes you may need to lower your rack as the sugars in the sauce can get a bit smokey.

Remove from oven, give them another toss in the sauce and serve with celery sticks and blue cheese if you wish. I had to make a second batch right away as they disappeared pretty quickly after I made them…
Cheers!
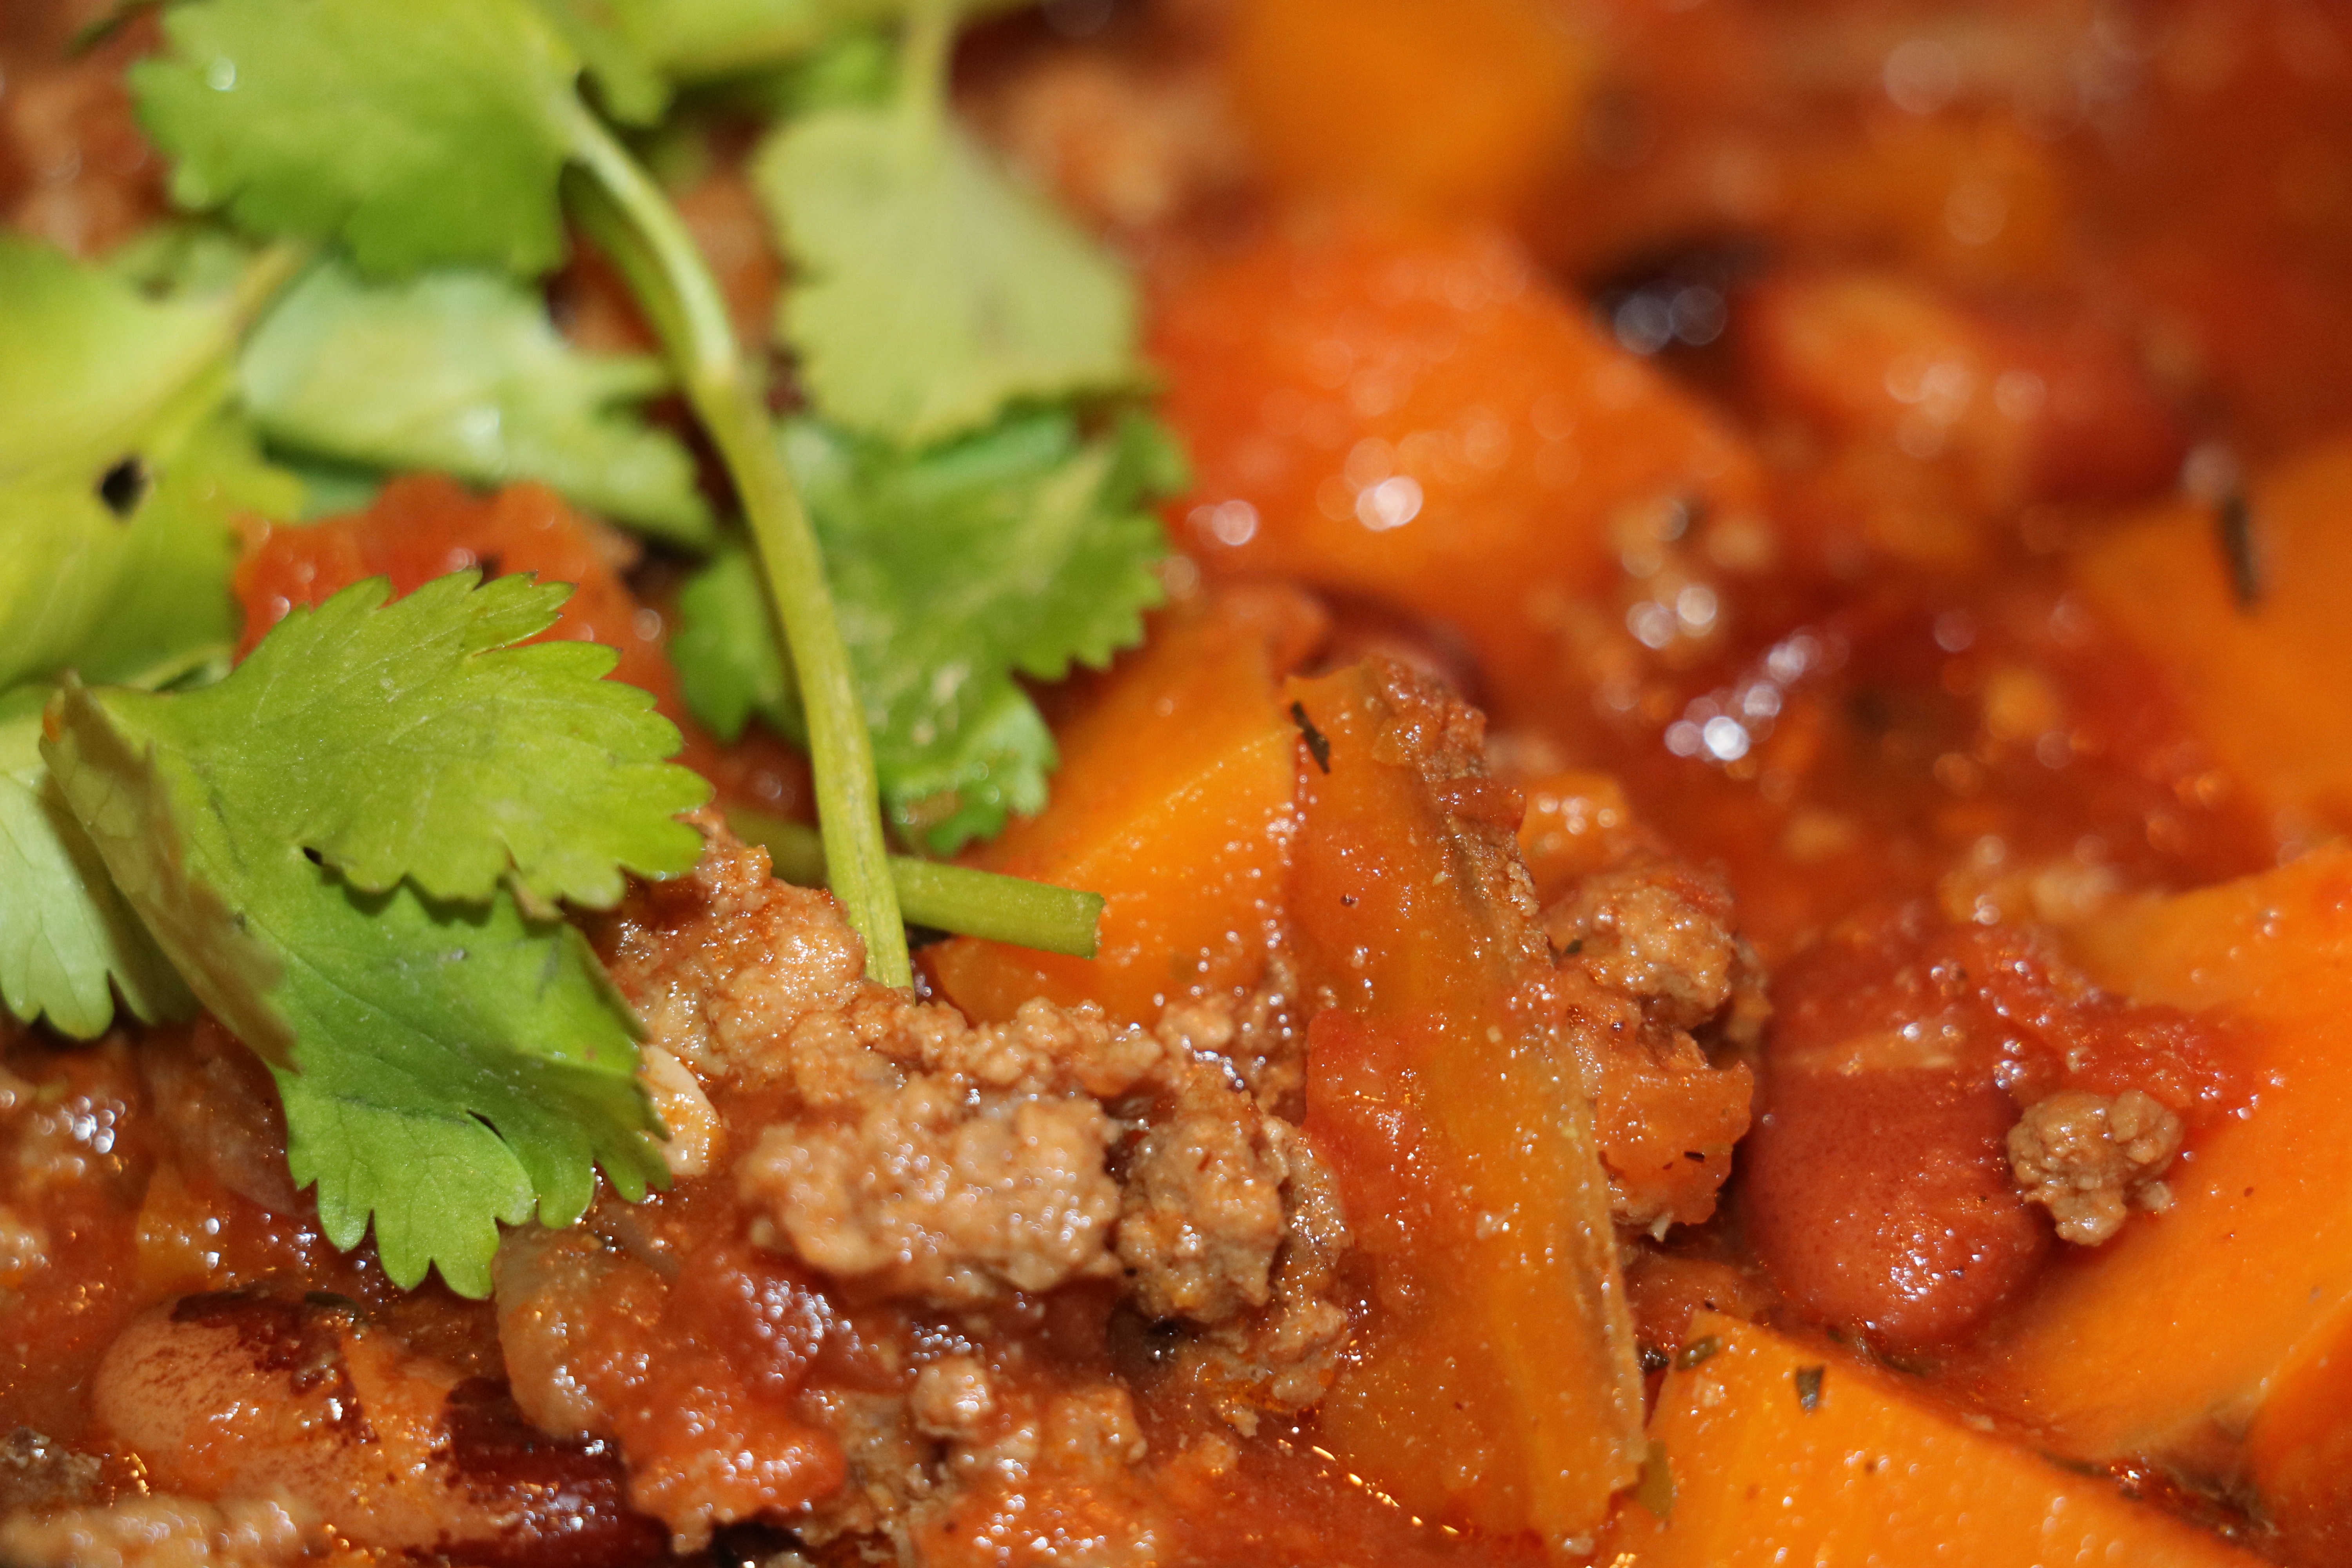
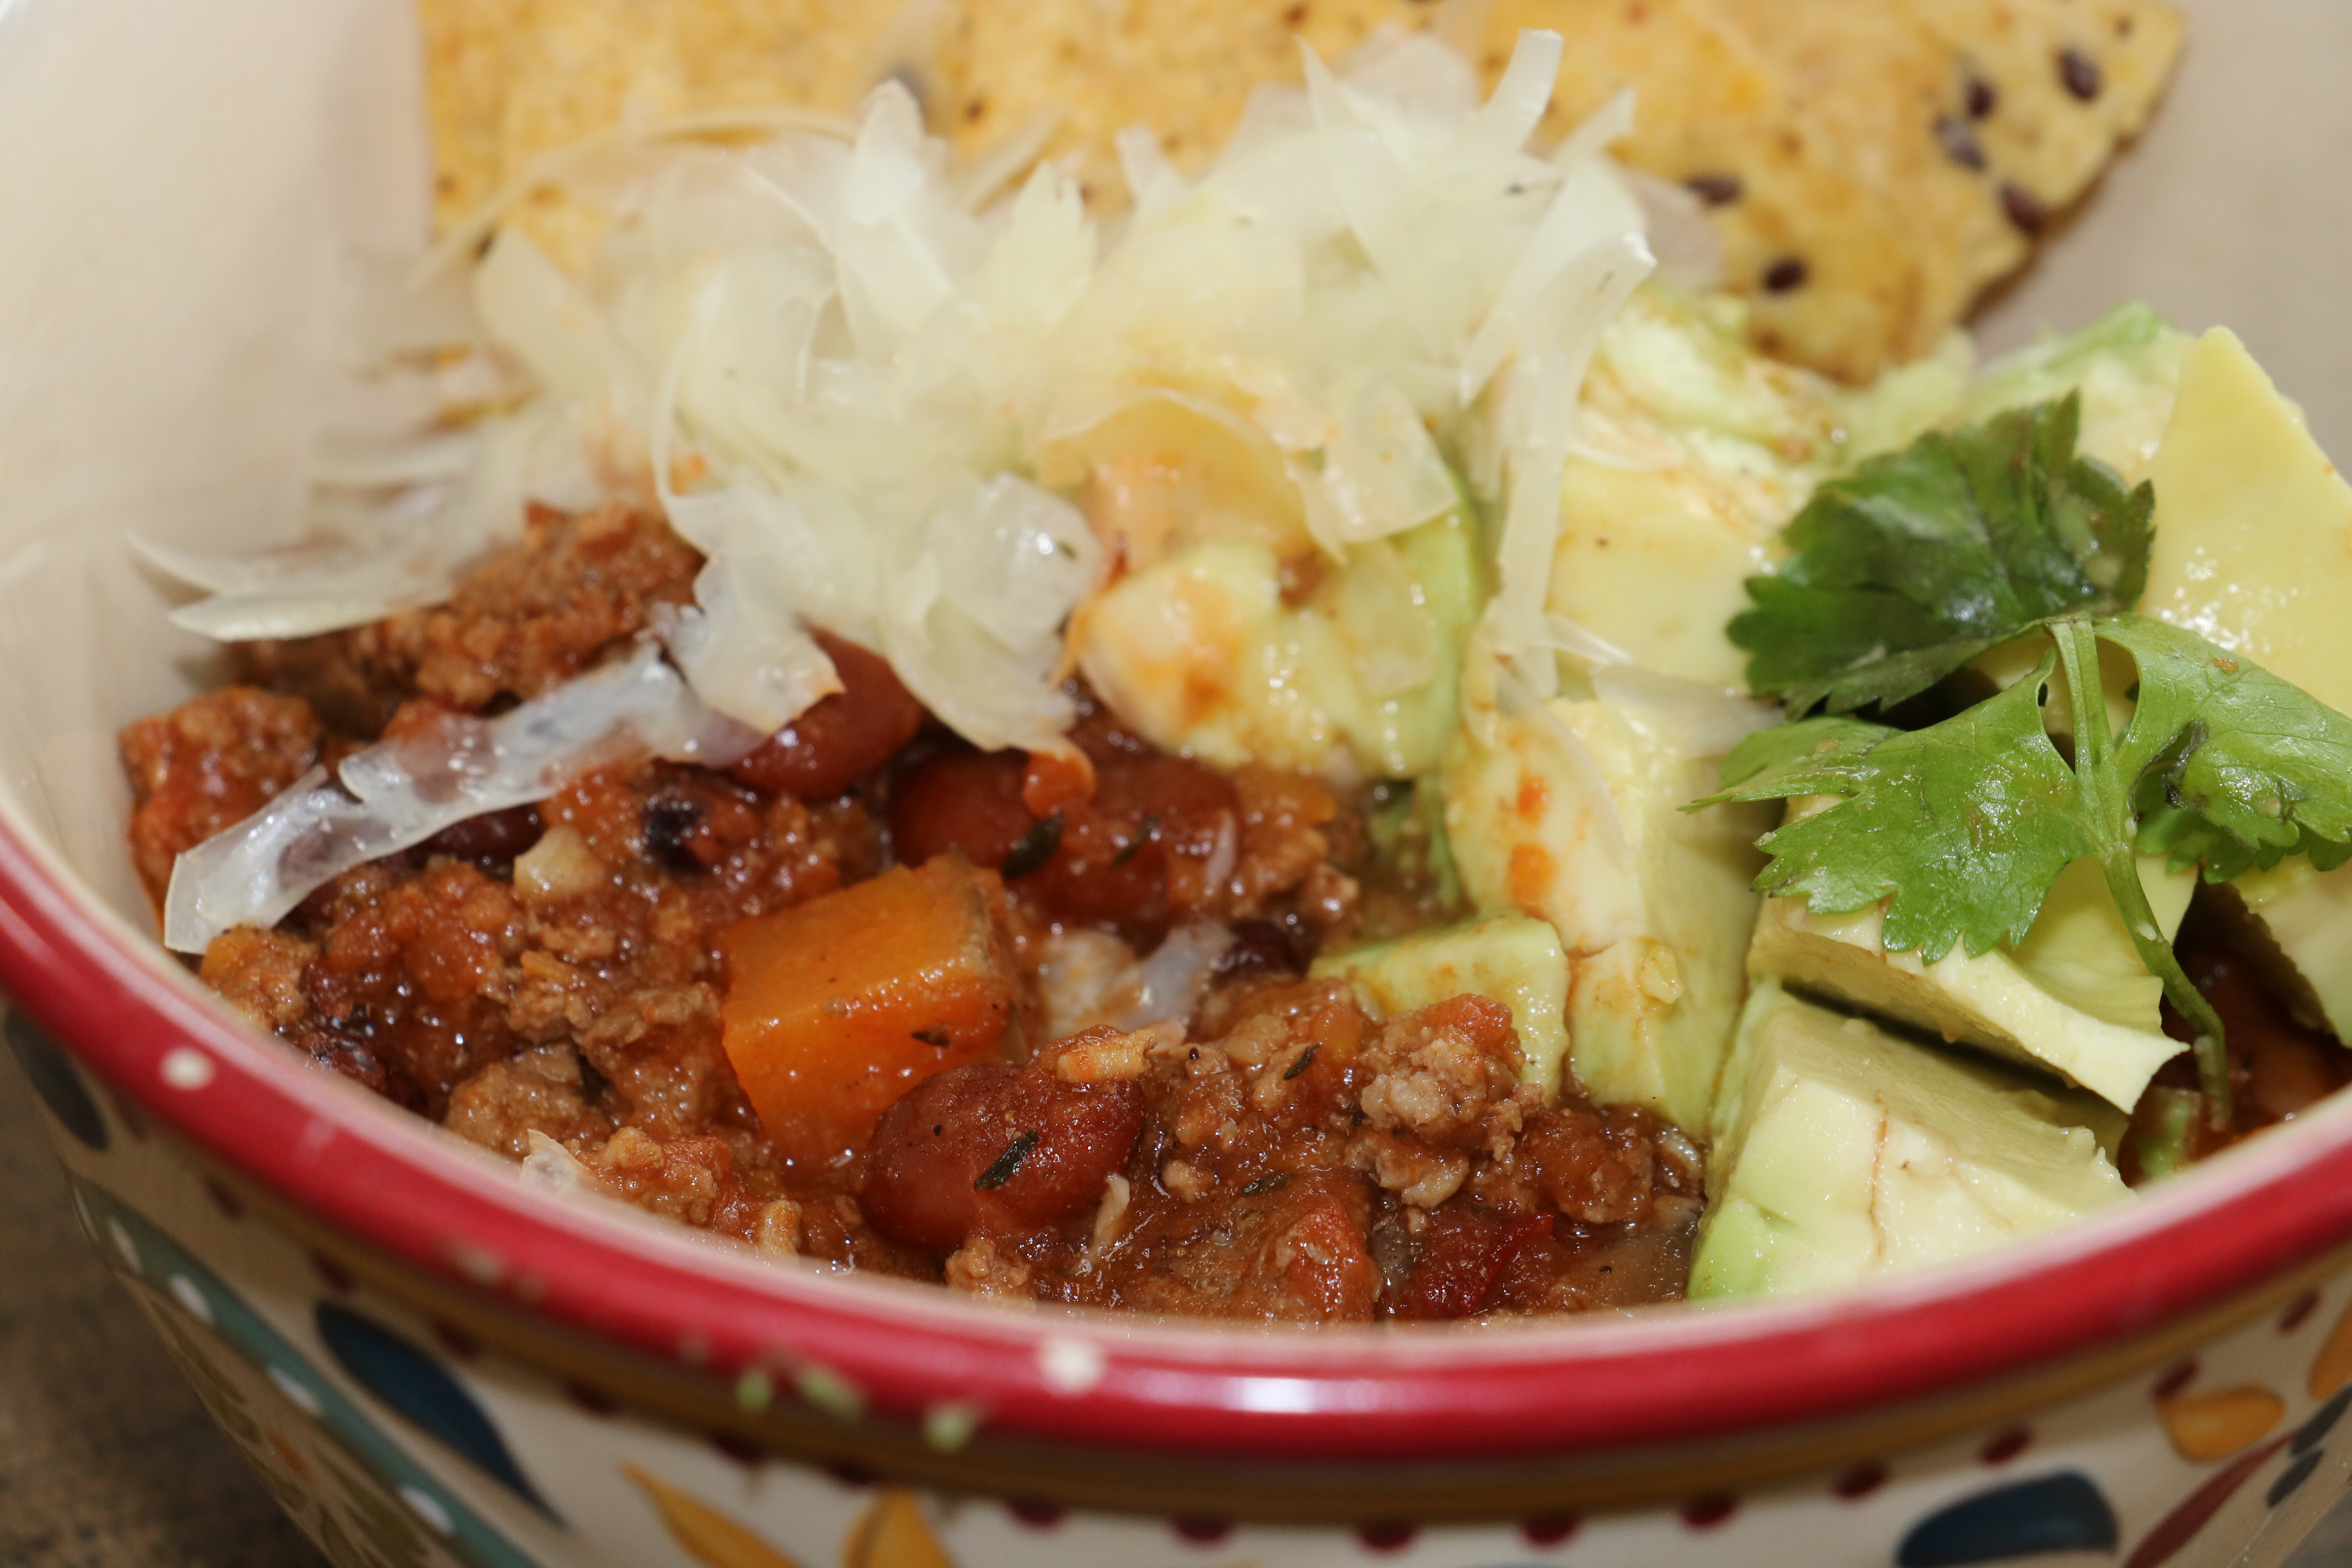
Best Chili Ever–Instapot or slow cooker!

Everyone has their favorite chili recipe so best chili ever may be a bit bold…but that is what my husband said when he tried this chili so I am going with it!  I made mine in an Instapot but you can definitely make this on the stove or in a slow cooker.

I like making a huge batch when I make chili as it makes a great lunch the next day, or a super yummy dinner with little effort the following night.  Ideas for this super yummy dinner could include chili cheese fries, chili stuffed baked potatoes, chili quesadilla or burrito, chili cheese mac, chili pizza the list goes on and on…tell us your favorite!

I started my chili with dried beans instead of canned, feel free to sub 2 cans of beans if you wish.  To cook the beans I put one cup of dry beans in the Instapot with 3 cups of water.  Using the manual setting with the valve set to pressure I pressure cooked them for 25 minutes, then manually released the pressure.  Set beans and cooking liquid aside.  If you need directions on how to cook the beans without an Instapot, directions can be found here.  Turn off cooker and turn it back on to sauté.  Once the pot is hot, drizzle in a couple tablespoons of olive oil then brown your ground beef and sauté the onions in the pot together.  Since I use grassfed beef I generally don’t need to drain the fat off, if you need to, please do so once the meat has browned.  Now toss in the garlic and sweet potatoes along with herbs and spices.  Let these guys cook together for a minute or two, then simply dump the rest of the ingredients into the pot, including the beans and bean water.  Reseal Instapot and using manual setting cook  for 15 minutes.  Let natural release and hold until ready to serve or go ahead and release the pressure manually after a couple of minutes if you have a hungry crew who can’t wait.  Be sure to check for seasoning before serving, as the tomatoes, and possibly your beans contain salt, seasoning at the end will give you more control of your finished dish.

Alternately, for slow cooker preparation, do all the browning/sautéing on your stovetop, then mix everything into the your slow cooker and set on low heat for up to 8 hours.

Top with shredded cheese, raw onion, avocado, tortilla chips, cilantro…whatever you please, and enjoy!  Cheers!


Instapot Italian Beef Ragu with Butternut Squash Noodles (squoodles)

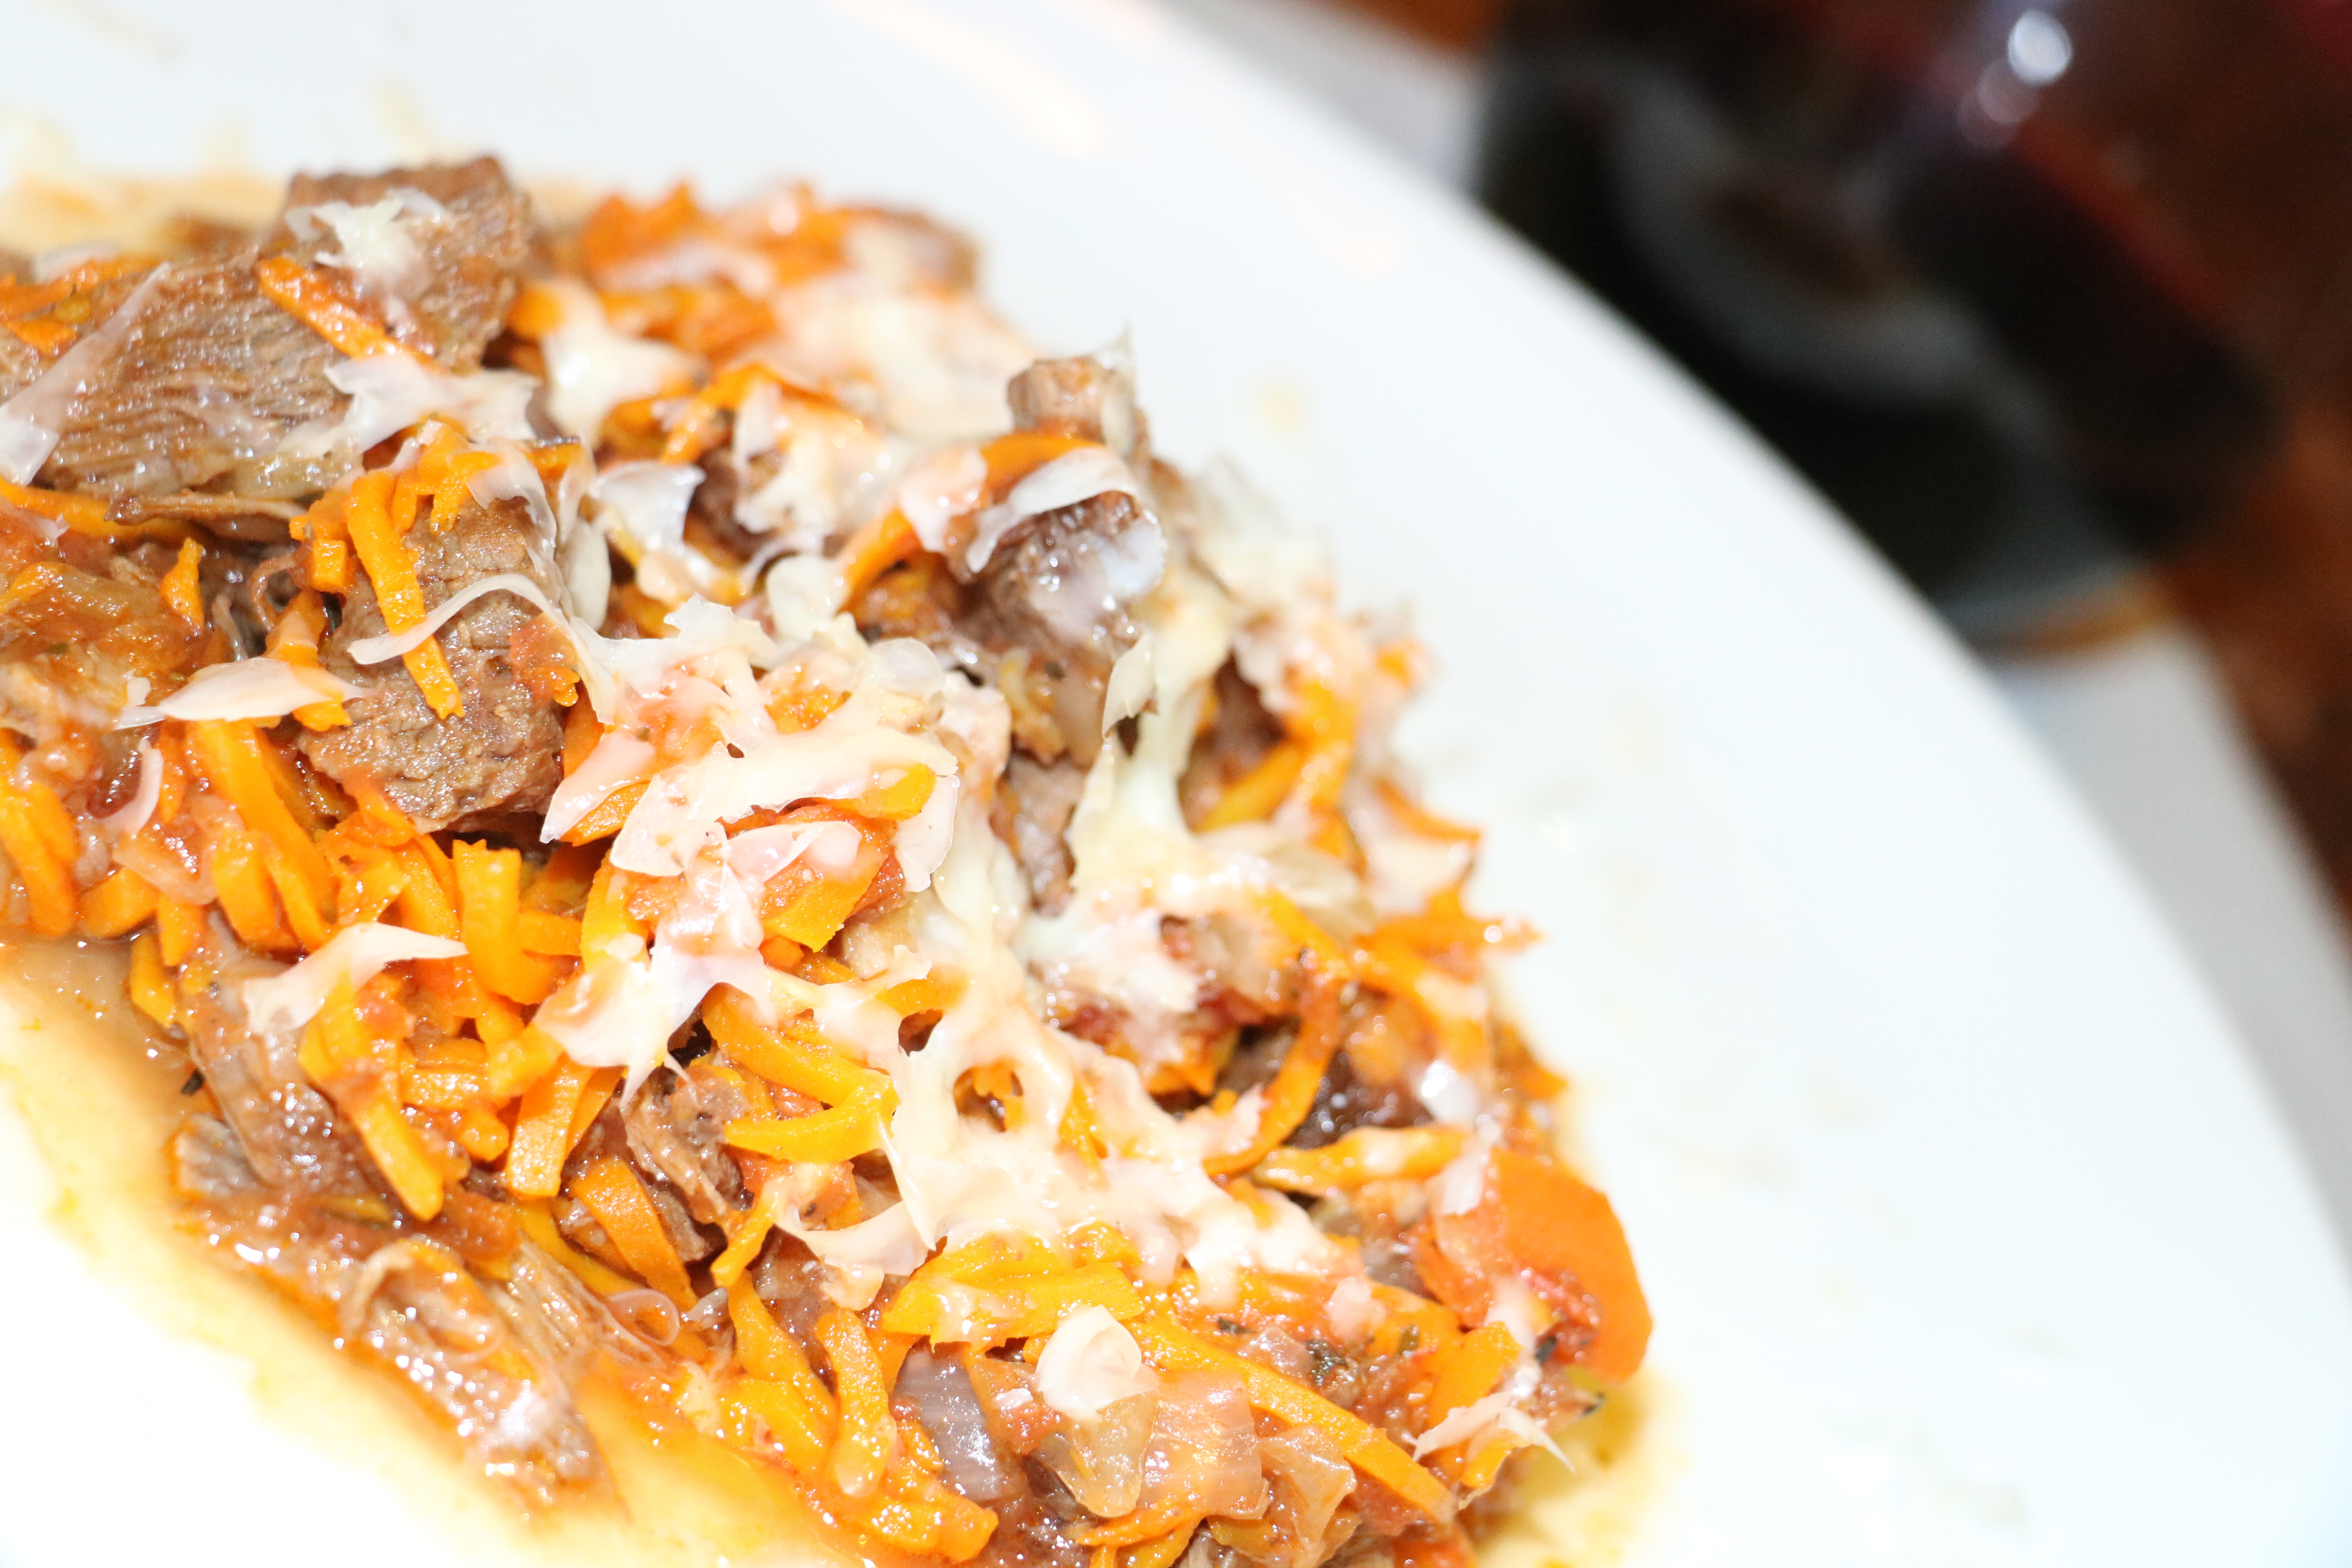
Italian Beef Ragu with Butternut Squash Noodles

Happy New Year!!  I am always sad to take down our Christmas tree and decor.  At the same time I prefer my stand up paddle board to my cross country skis so being one step closer to Spring isn’t so bad either!  This year I am hoping to share more recipes and insight with you, including Instapot recipes!  This recipe can definitely be made stove top as is traditional, in a slow cooker or in your Instapot or other pressure cooker.

Traditionally this delicious slow simmered Ragu would be prepared stove top, simmered over several hours.  For Christmas Day I prepared this recipe with a slight variation stovetop (recipe here) and we enjoyed every delicious bite on some chewy delicious parpadelle pasta.  Yes actual gluten loaded pasta…and it was divine.

[amazon text=Amazon&asin=Today in keeping with my more paleo-ish lifestyle I have prepared it with spiralized Butternut Squash.  The earthy sweetness of the squash paired super well with the deep beefy tomato yummyness.  I also grabbed my Instapot for this one as I was rather short on time and it didn’t disappoint!  I chose to leave out the tomato paste that I had used on Christmas in my more traditionally prepared Ragu as sometimes the tomato paste can burn to the bottom of your Instapot.

For the preparation, turn your Instapot on sauté.  Cut your roast into 4 equal size chunks, season with salt and pepper.  Once your Instapot is hot sear 1 or 2 pieces at a time browning on all sides (2-3 minutes a side).  Then set aside.  Next sauté the “sofrito”, carrot, celery and onion in a bit of olive oil and a pinch of salt and a pinch of black pepper for about 5 minutes to really develop the flavor.  Add garlic, oregano and thyme and continue to sauté for an additional minute or until fragrant.

Deglaze the pan by pouring in 3/4 cup of a good dry red wine, I had a Spanish Tempranillo open so I chose that for my sauce.  Let it simmer for a minute or two or until the liquid reduces just a little.

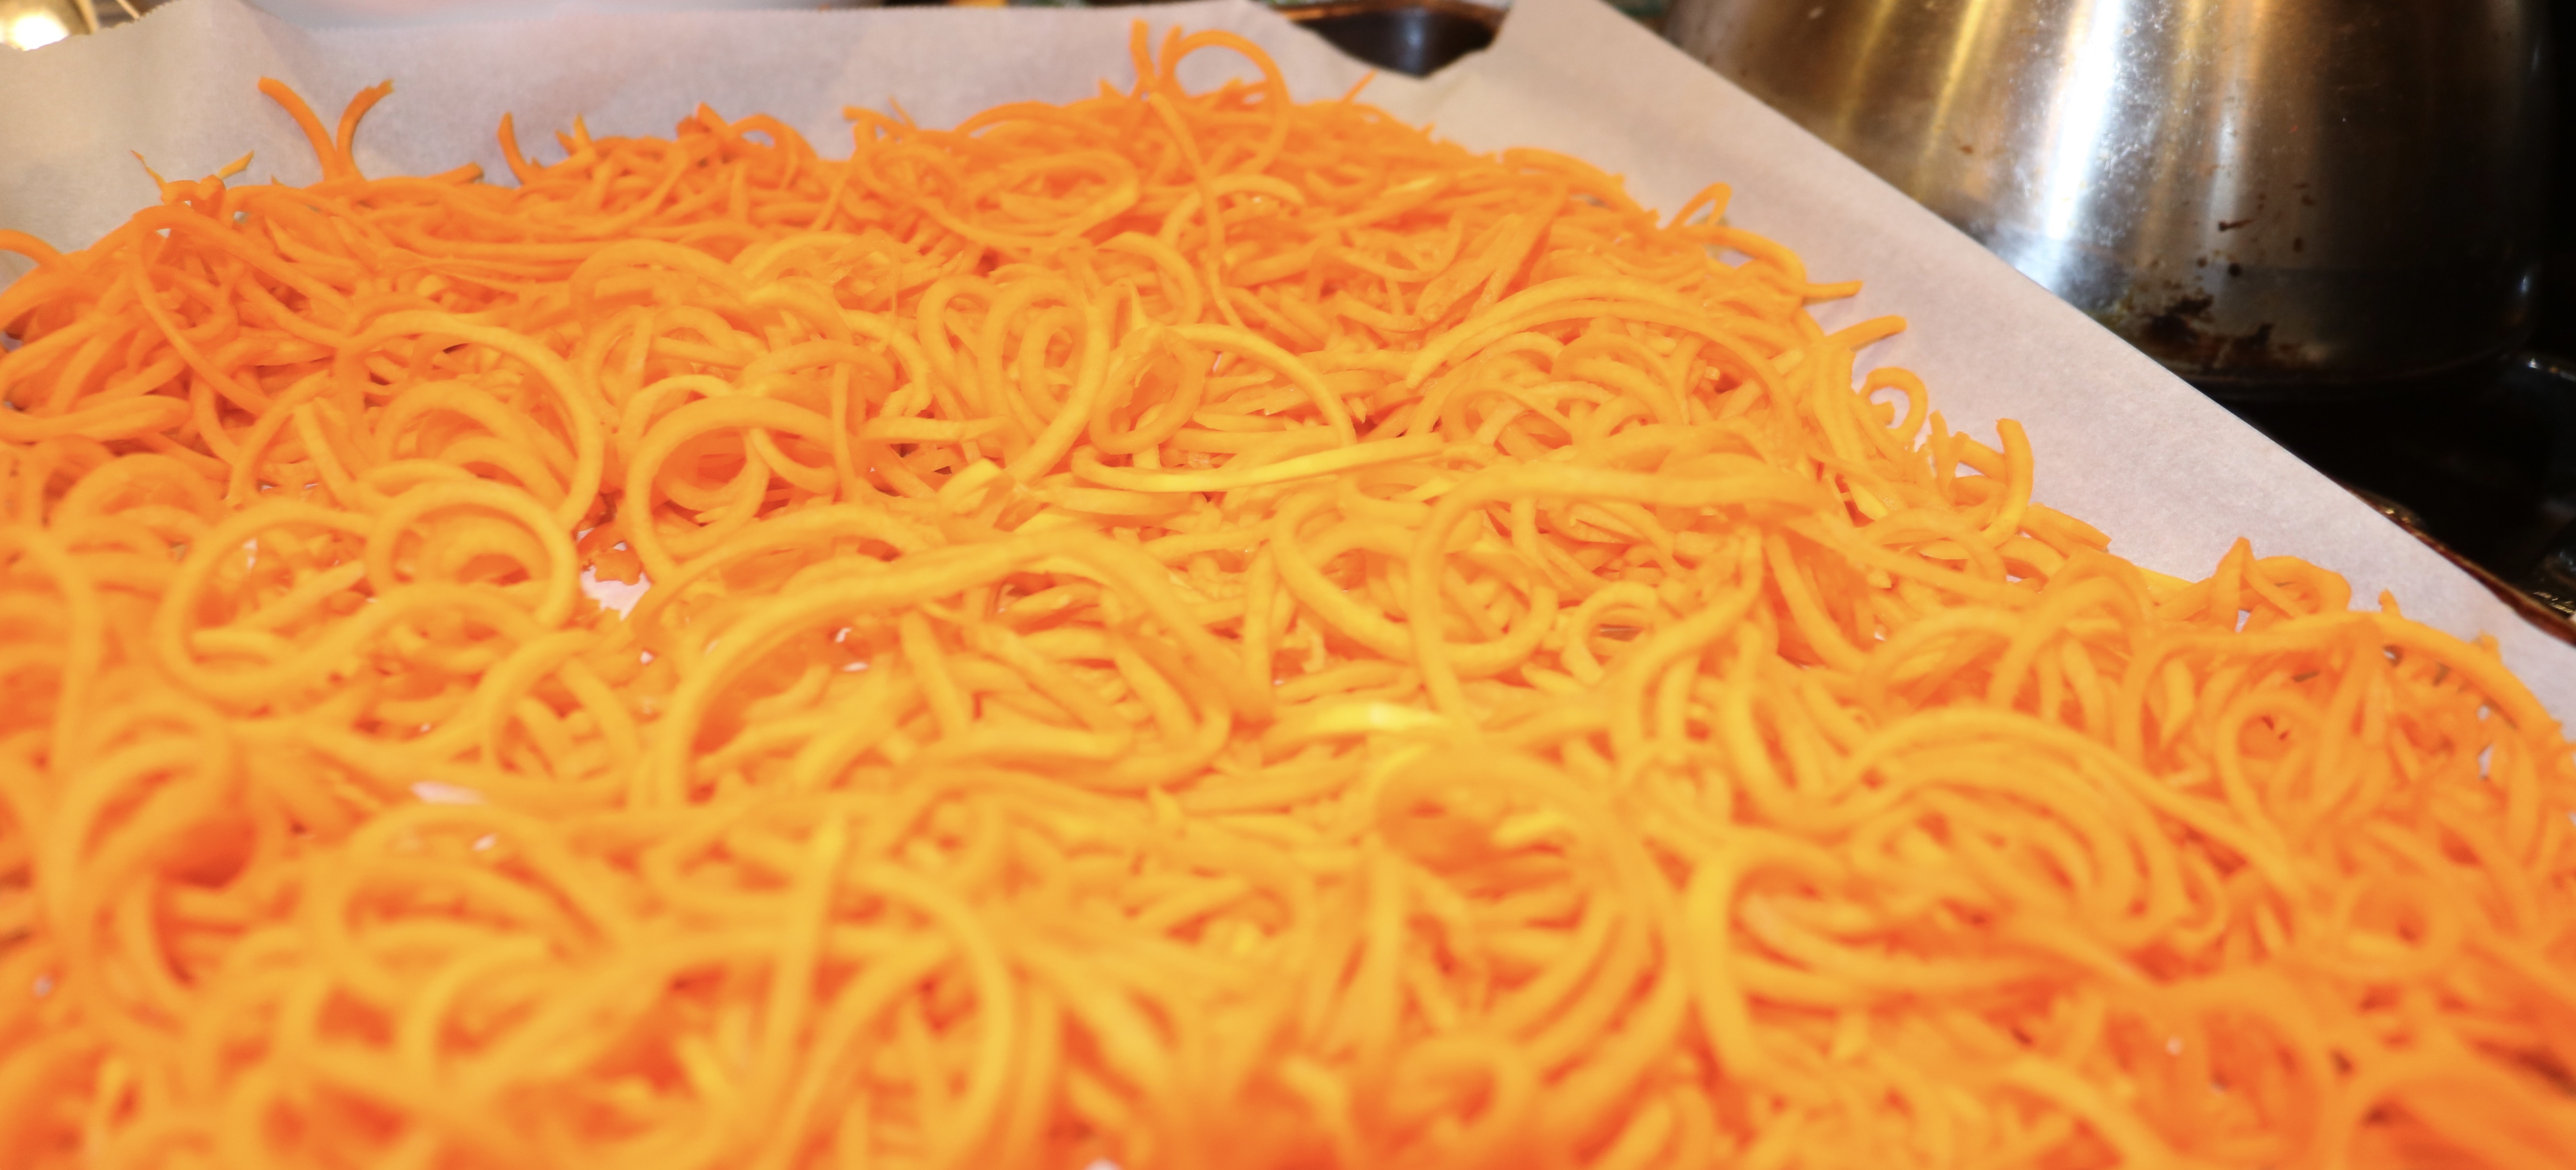
Pan full of Butternut Squash Noodles

Now add the beef, beef stock, and tomatoes to the veggies and wine. I usually wait until the end to salt as there is salt in the tomatoes and the stock and as it reduces it will concentrate the salt flavor.  Lock cover on Instapot and press manual then adjust to 20 minutes on high pressure.  While your Ragu is cooking grab your spiralized and spiralize your Butternut Squash.  Any pieces that couldn’t be spiralized save for squash fries or squash hash or whatever your desired preparation.  Toss your squash with a tablespoon of olive oil and a touch of salt and pepper and roast in a 400 degree oven for 20 minutes.  You should have plenty of time for this step as it takes a while for your pressure cooker to come to full pressure (up to 15 minutes).

After the 20 minute pressure cook is complete allow to natural release for a minute or so then flip the valve to manual release.  I use my Instapot on my stovetop with a cutting board under it, so I can use my fan to vent steam, etc.  I really don’t want to damage my cupboards while releasing steam or smoke the house up searing meat!  Okay once your steam is all released and you can safely open your pressure cooker turn it off, then back on the sauté high.  Remove meat and shred while the sauce is reduced until it thickens.  Then toss Squash Noodles  (squoodles) into the sauce and let it cook for a minute or two longer.  Season to taste with salt and pepper, pile it on your favorite pasta plate, hit it with a grating of Parmesan or Pecorino and enjoy.

Cheers!

Italian Beef Ragu with Butternut Squash Noodles

PS:  Don’t let the wine you opened go to waste.  If you don’t enjoy drinking it be sure to freeze it in ice cube trays for future recipes.

PPS:  There was an error in the original recipe, I have since reduced the beef broth on the recipe from two cups to one.  Sorry for any inconvenience this caused!

Meet the Author

MaryJo is a busy mom with 3 beautiful children. She enjoys paddle boarding, kayaking. and cross country skiing. She loves food...cooking it, eating it and especially sharing it with everyone.

Connect With Me

  • Facebook

Copyright © 2026 · Foodie Pro Theme by Shay Bocks · Built on the Genesis Framework · Powered by WordPress