Just Another Mom HQ

Just another Mom's guide to a healthy lifestyle

  • Home
  • Recipes
  • Essential Oils
    • Visit My Oils Page
  • All Natural Products
  • Sydi’s Blog

Easy Thanksgiving Sage and Butter Rubbed Turkey

Happy Thanksgiving everyone!  The turkey seems to be a very scary experience for many.  Maybe because we are preparing it for a lot of people, possibly because we know it can be super dry if mistreated, maybe it is all the funny videos and stories we have seen and heard over the years.  Well worry no more!  I have a simple straight to the point tutorial for you to make the perfect bird.  Please visit my Facebook page for a live video with step by step instructions!
img_2711

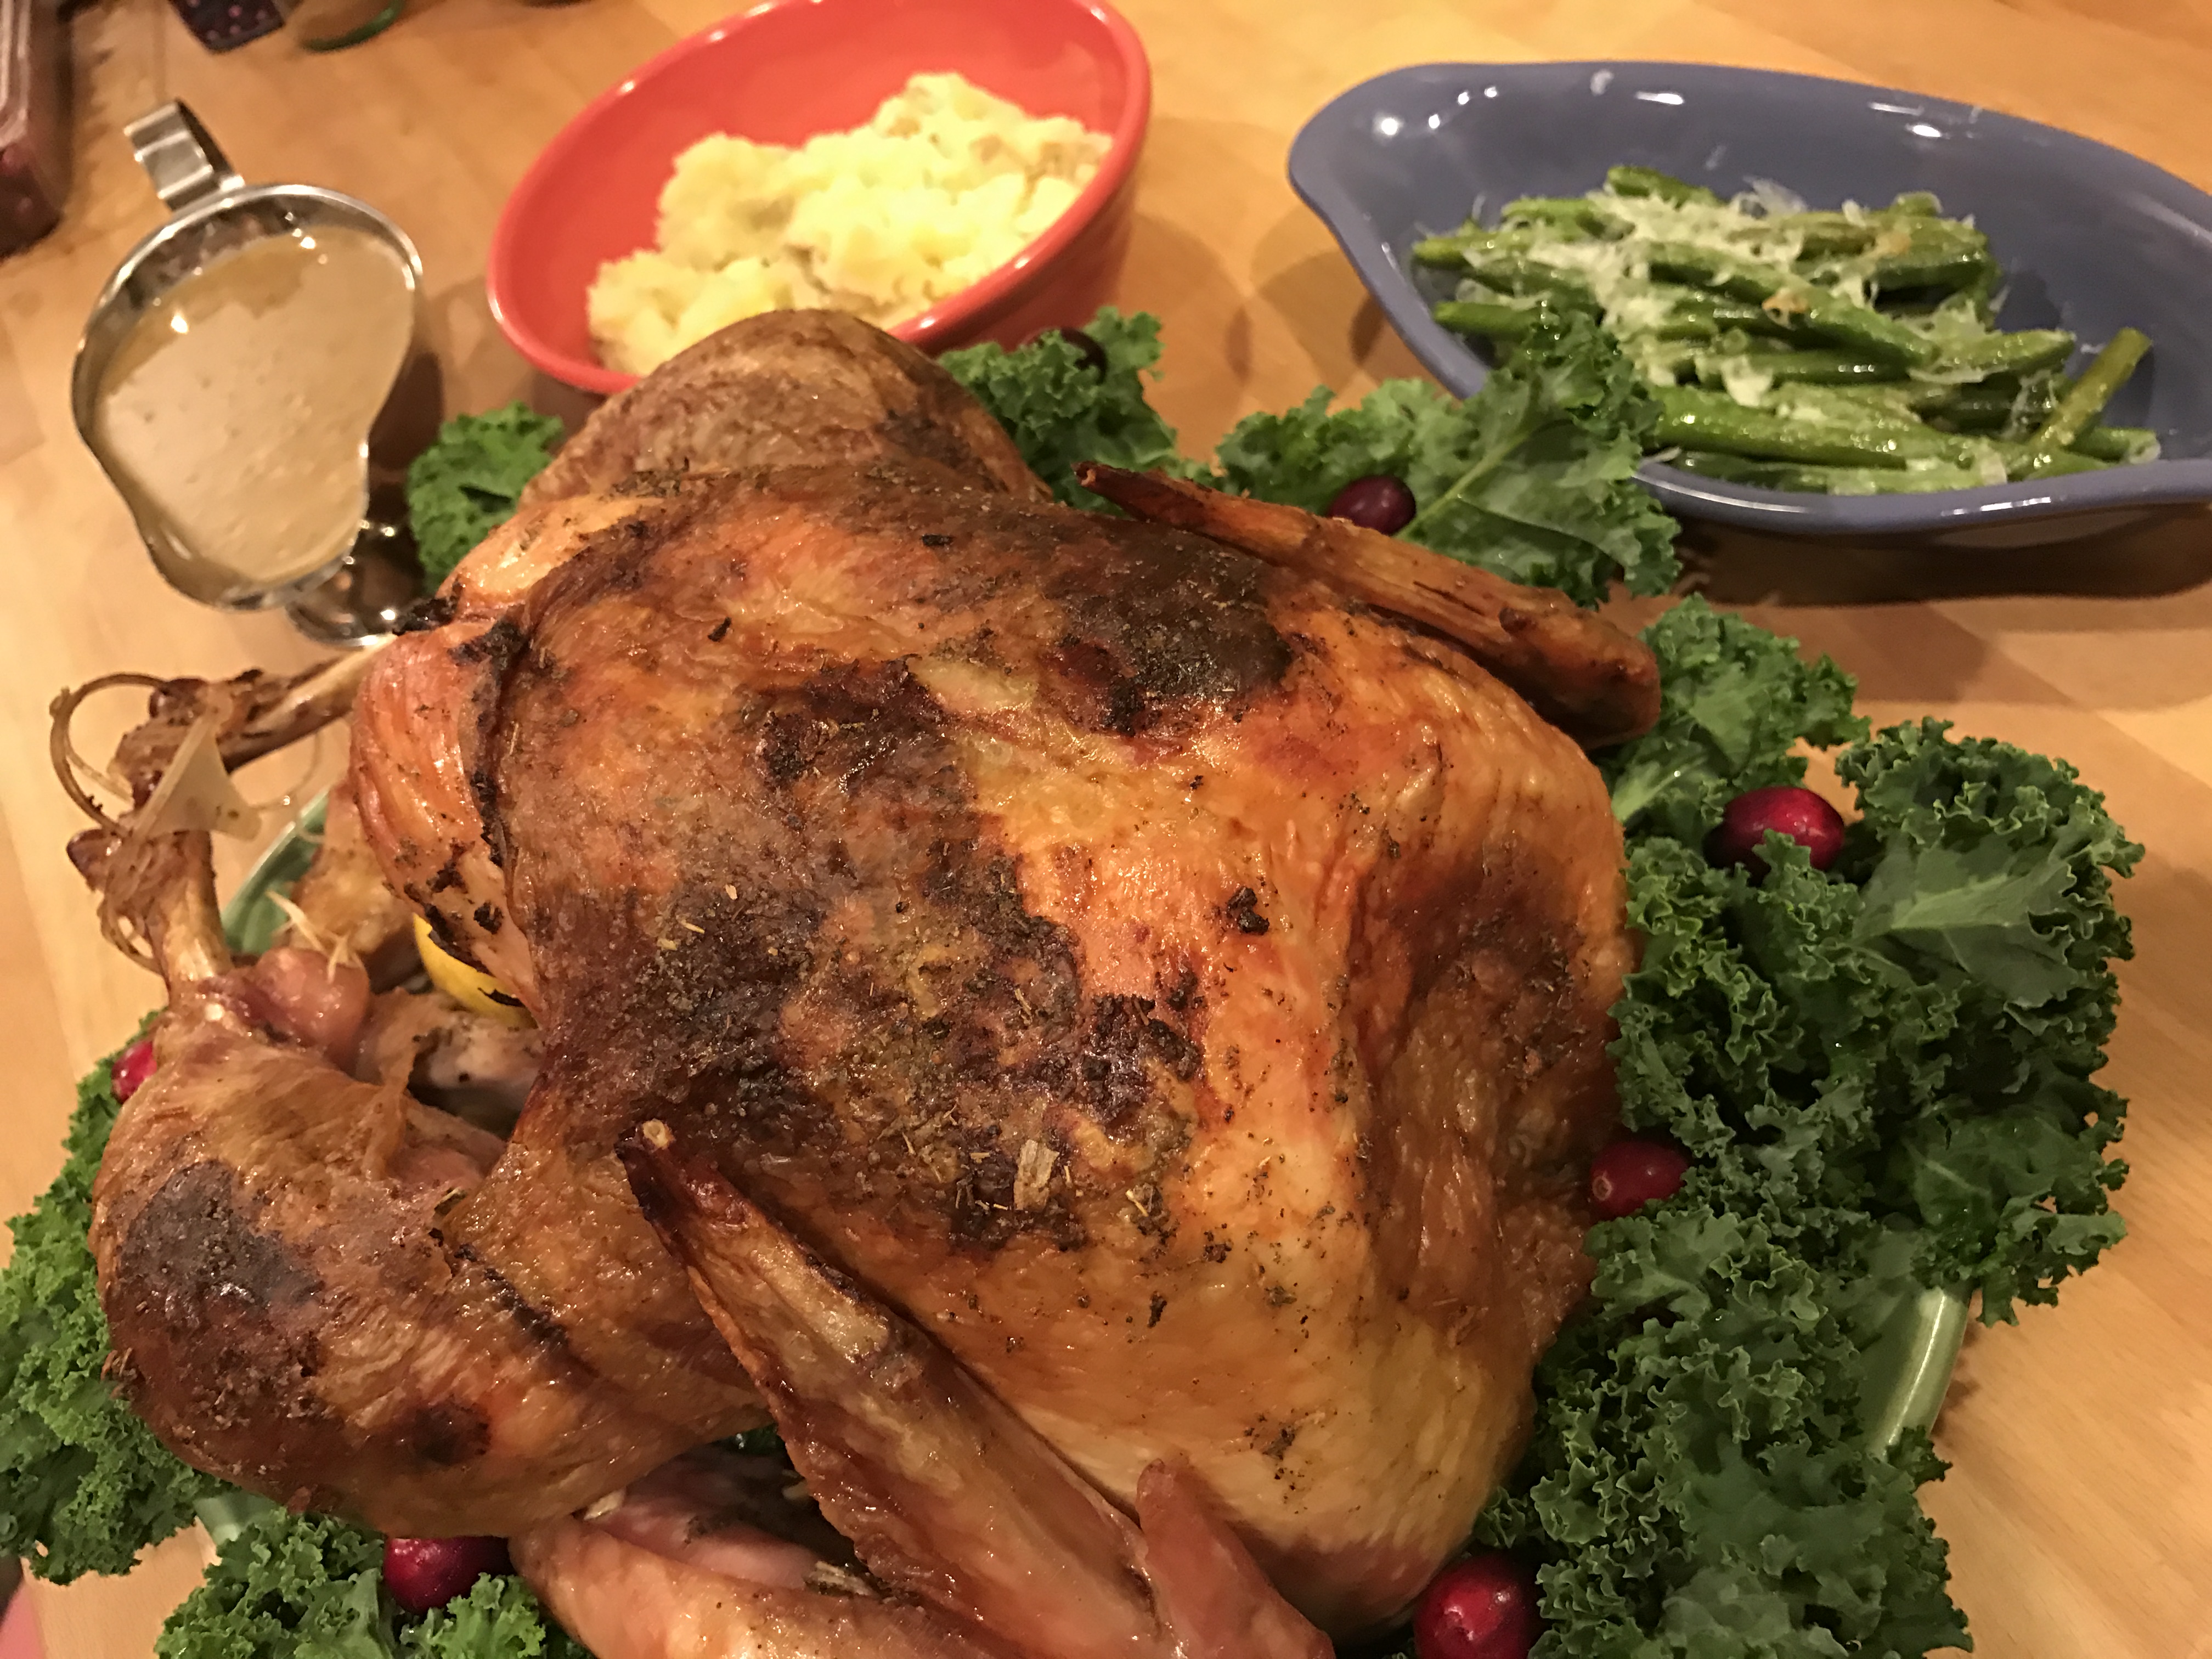
Easy Thanksgiving Butter and Sage Rubbed Turkey

Pull your bird from the oven an hour or two before you plan to roast it for even cooking.

Preheat your oven to 425 degrees Fahrenheit.  Remove the turkey from the wrapper over a pan or the sink as there will be a lot of liquid spilling out.  Remove the neck from the cavity and the bag of gizzards.  If you can’t find the gizzard bag check where the neck would have been attached at the top of the breasts.  Rinse and pat dry.  (Please sanitize your sink after you are all done!).

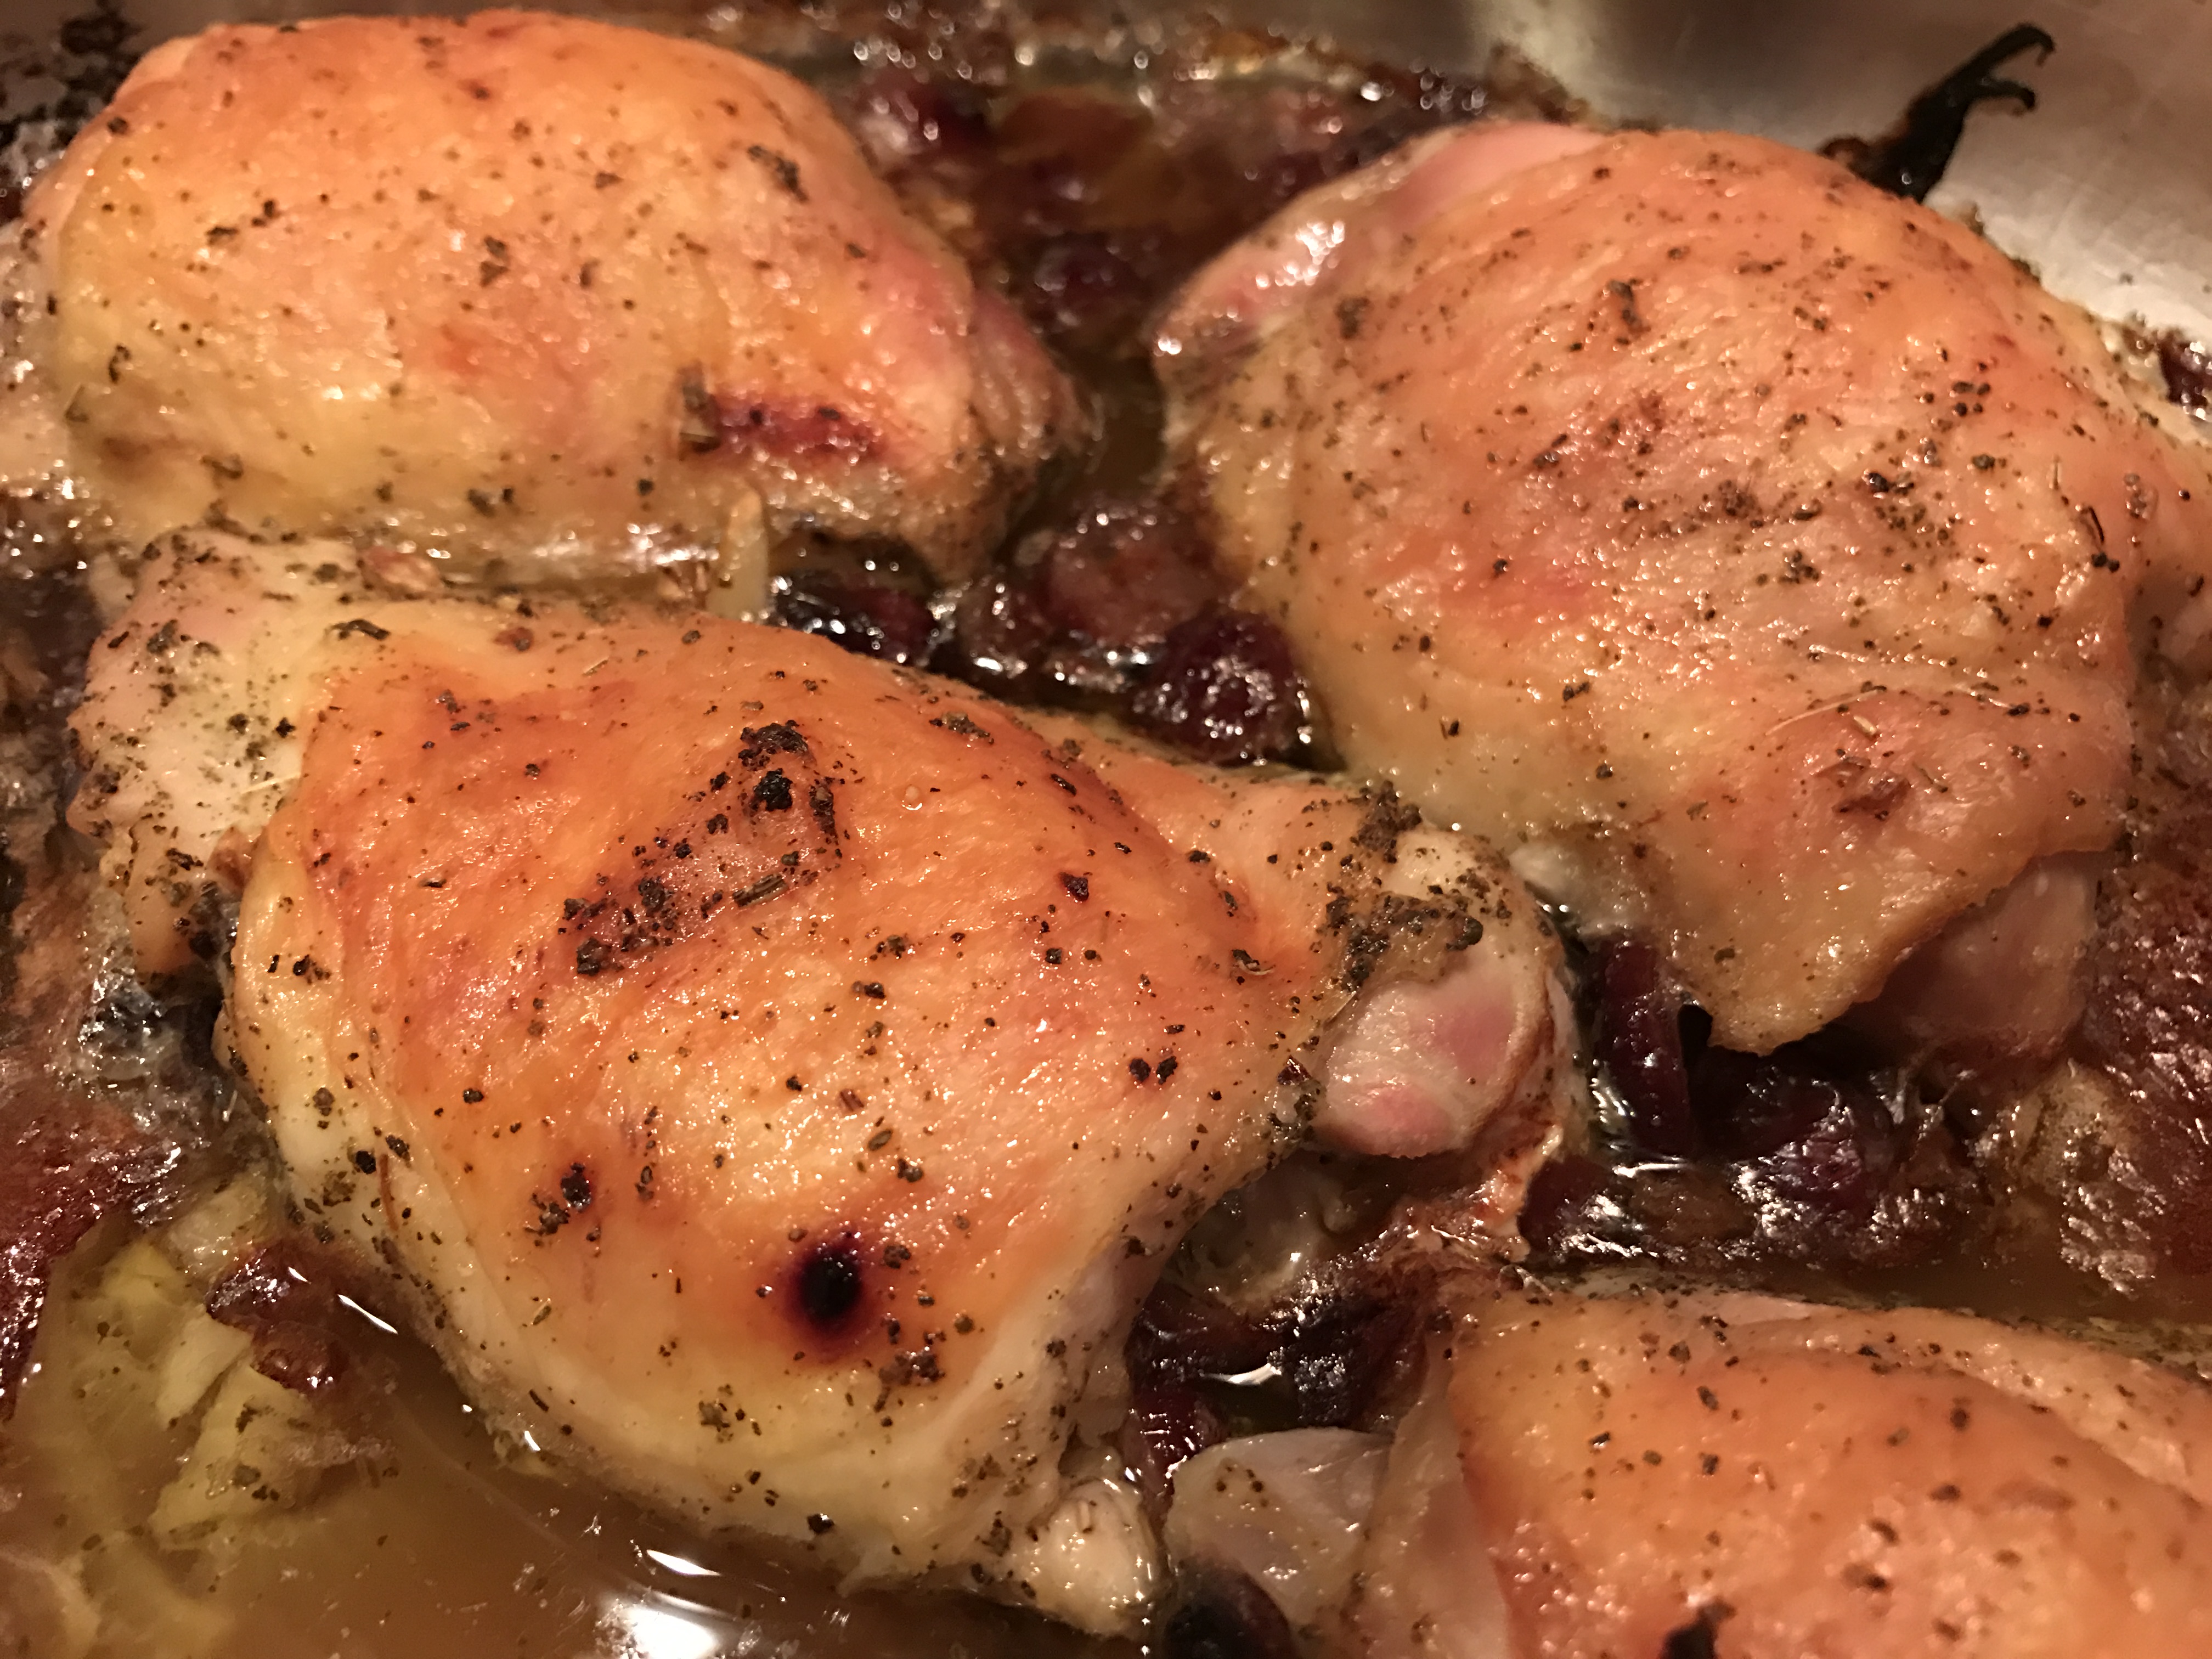
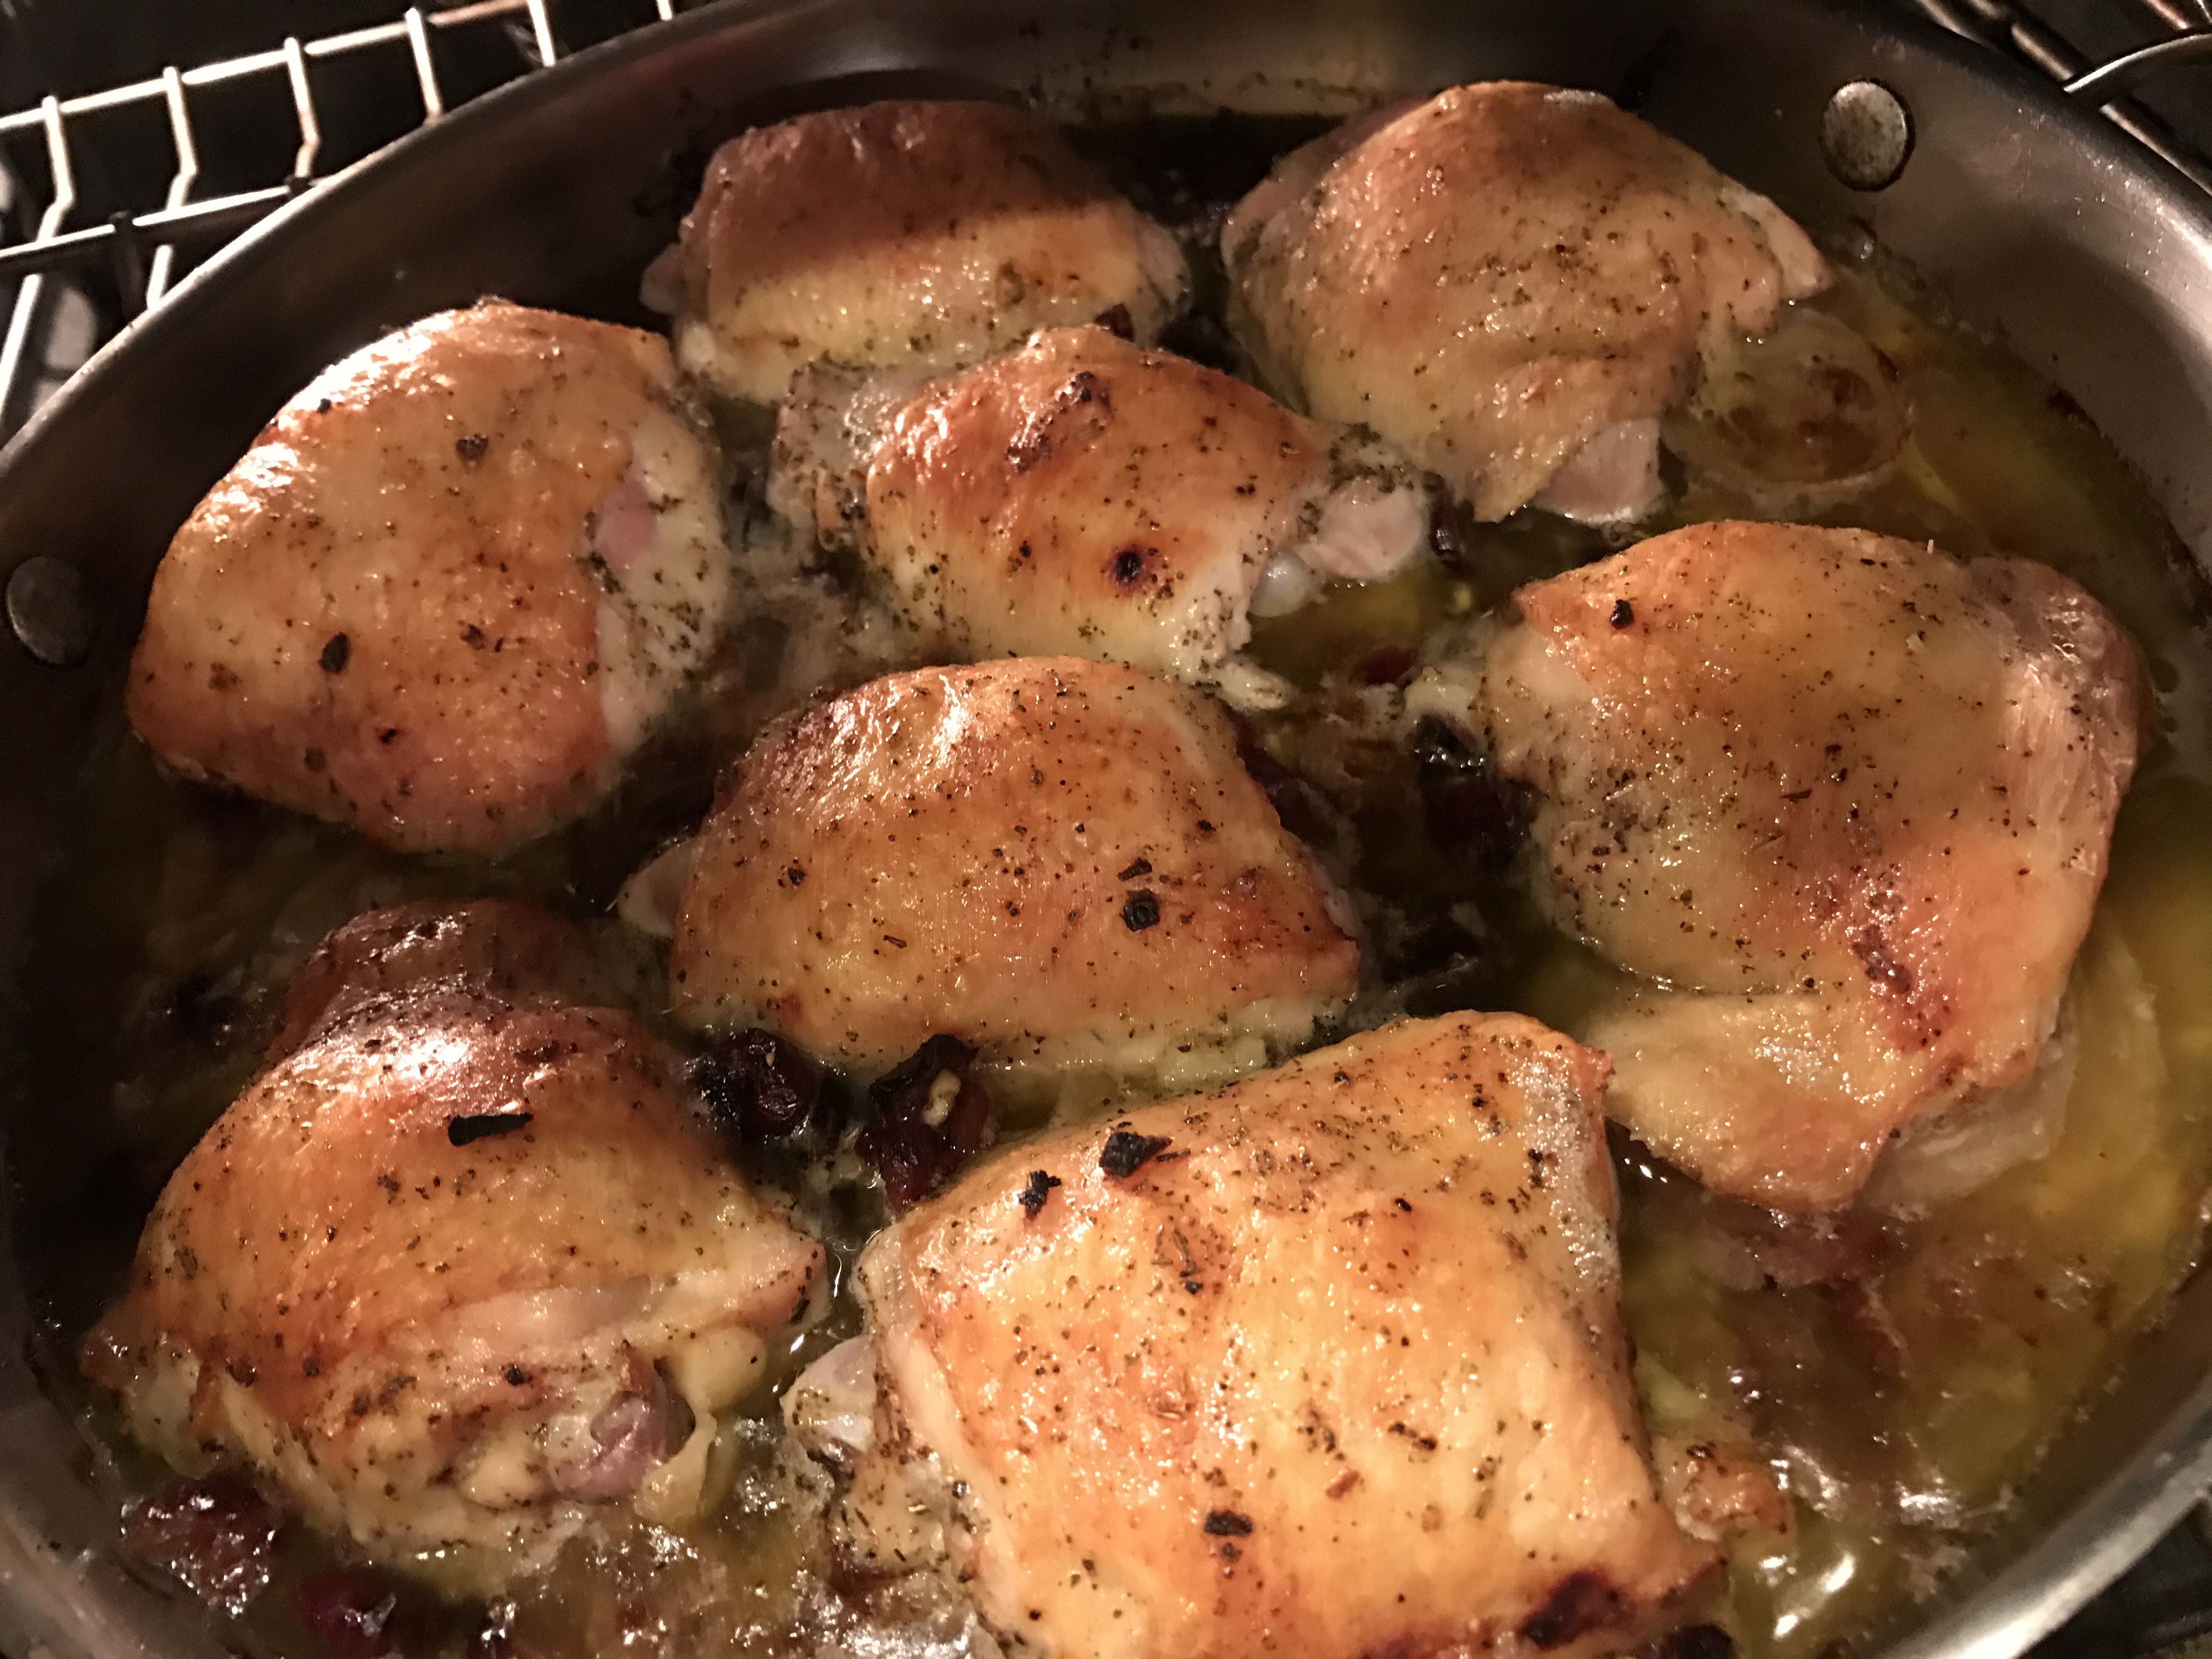
In a small bowl mix together 2 teaspoons of salt. 1 teaspoon pepper, 2 tablespoons of dried Sage and 5 crushed garlic cloves.  Mash this mixture into a whole room temperature stick of butter making a compound butter.  Feel free to adjust salt and pepper to your tastes.

Divide compound butter into 4 like sized portions.  Separate the skin from the breast and slip one of the 4 butter portions under the skin.  Repeat with second breast.  From the breast area closest to the leg, loosen the leg and thigh skin and slide half of one of the four into each leg quarter.  Slather the outside of your bird with the remaining butter.

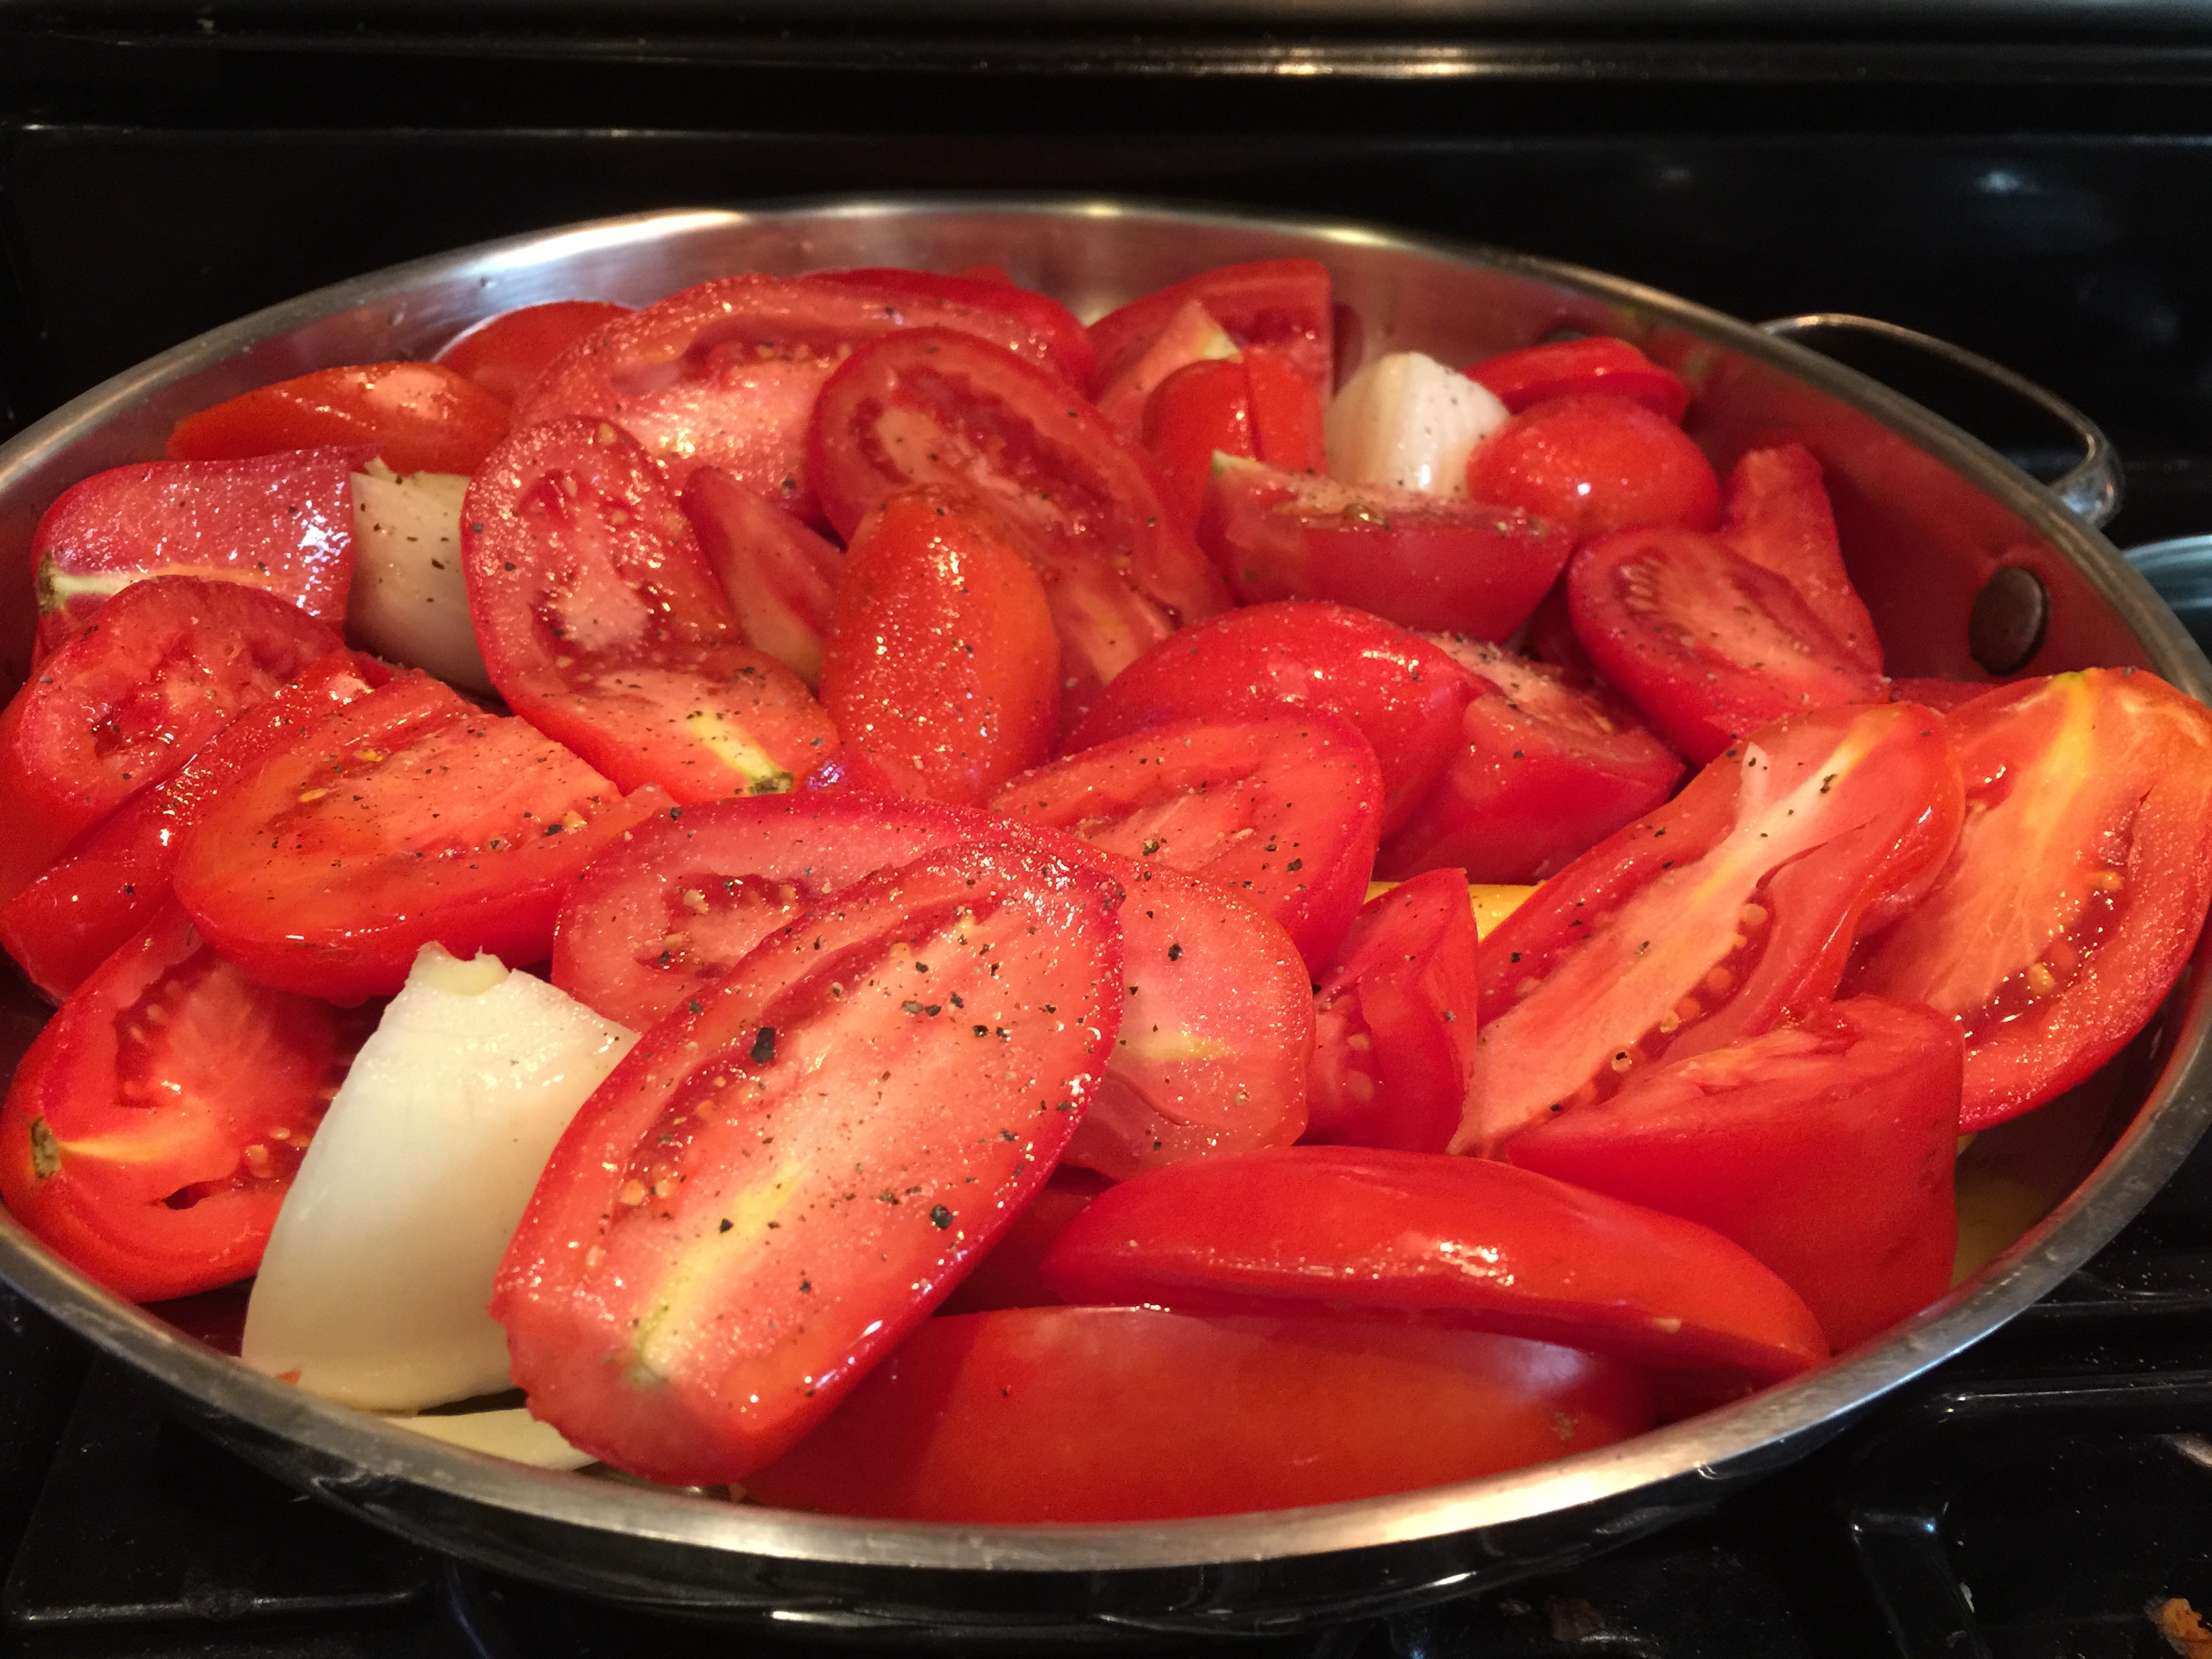
Slide a quartered onion and a 2 lemon halves into the cavity of your bird.  This is also a great place to stash some fresh sage or thyme if you have some on hand.

Place turkey on roasting rack in roasting pan and add 1-2 cups of water.  Keep an eye on your liquid level throughout the roasting process to ensure your turkey remains moist, and of course so you can make gravy afterwards.

Place roasting pan in preheated oven for one hour or until the skin appears browned.  Then lower temperature to 325 to to finish roasting.  Depending on your bird size this could be at least another 1.5 hours or more.  A general rule of thumb is to roast 20 minutes per pound and until a thermometer inserted into the thigh next to the breast registers 180 degrees.  If your breast begin to get too dark, feel free to tent them with foil to keep them from drying out.

Remove turkey from oven and allow to rest for 15 minutes to allow the juices to distribute before slicing.

Sit back and enjoy your meal with family and friends remembering all of the beauty in life we have been blessed with.  Have a great thanksgiving!

Cranberry Sage Chicken


img_1642

This weekend we took a road trip to visit family including my favorite Uncle and Aunt who were visiting from their home in Spain!  I miss them so much, I always look forward to their annual visit.  This was our first overnight trip as a family of 5 so as you can imagine I had A LOT to do before we could leave.  Enter one of my almost famous, super fast dinners.  (Maybe not quite almost famous, but someday…).  On the menu for the evening, cranberry and sage roasted chicken thighs.

This chicken can be prepped and in the oven in under 10 minutes making it a great option when you don’t have time and want to avoid ordering in.

First step slice an onion.  I then lay the onion in the bottom of a shallow roasting dish and sprinkle cranberries around the onion slices. I use onion slices instead of diced to keep the chicken up off the bottom of the pan and it also makes it easy for my kids to avoid them :).

Liberally salt and pepper your chicken, and place on top of onion slices.  Crush your garlic and add that to the top of the chicken along with thyme and sage.  Drizzle with oil and rub it all into the thighs.  Pour wine and chicken stock into pan taking care not to wash the seasonings off the chicken.  Pop this into a 450 degree oven uncovered and roast for 45 minutes to an hour until juices run clear and near is no longer pink.


Serve with a fresh salad and or some roasted potatoes and enjoy!

img_1641


Roasted Garlic and Butternut Squash Soup


img_1109

I am overwhelmed with the beauty of fall.  Living in Wisconsin has its pros and cons, I mean I don’t think most people enjoy freezing cold below zero no sun winter days, but fall that is different.  It is beautiful!  Leaf colors in orange, red, purple…fresh crisp air, apples, pumpkin everything…

Not to mention an abundance of squash.  My favorite squash, aside from pumpkin of course is the beautiful butternut squash.  On its own it doesn’t need any additional sweetener as long as you respect it.  By this I mean roasting.  Not steaming or boiling but roasting.  This brings out the natural sugars and allows them to concentrate and caramelize.  (please forgive my not so perfect picture)

img_1097

So that is what I did for this velvety soup.  It is super quick to put together, that is your active time making it.  First cut your squash in half carefully, please don’t sacrifice a finger here.  Scrape the seeds  out and discard.  (Or save them to roast and decorate your soup if you wish).  Place squash halves cut side down on cookie sheet and roast in a 400 degree oven for about an hour, I put parchment on my pan to save clean up time later.  Meanwhile cut the end off a head of garlic.  Put the cut side down in a ramekin or small oven safe bowl and drizzle with about 2 tablespoons of olive oil and a pinch of sea salt.  When you are 20 minutes from the end of roasting your squash add your ramekin covered with foil to the oven.  Your squash and garlic are done when they are golden brown.  (I flipped my garlic over for a visual, roast cut side down.)

img_1101


Remove squash and allow to cool before scraping the sweet flesh from the skin.  Squeeze the garlic from the skins into your blender and purée with squash and 2-3 cups of chicken stock (to make it vegetarian/vegan use vegetable stock).  I used my homemade stock this time but any stock will work.  Purée until smooth.  Empty blender into large saucepan and bring to a simmer.  Now is the time to adjust your seasoning.  Add 1 tablespoon dried sage, 2 teaspoons of dried thyme and salt and pepper to taste.   Now swirl in a tablespoon of apple cider vinegar to mellow out the sweetness of the squash and roasted garlic, feel free to add more if yours tastes extra sweet.  Allow to simmer for about 20 minutes.


When you are ready to serve top each bowl with a good shake of pumpkin pie spice and a small pinch of cayenne.  Add a crispy baguette, serve with a fresh salad and your meal is complete!

Cheers!

As a side note, I topped mine with Chèvre (creamy goat cheese), super yummy!  This would also be great with any sage seasoned sausage…

img_1128


Grill smokey sweet and tangy chicken legs

IMG_4481

Welcome fall!  Today I grabbed some beautiful chicken legs and soaked them in a sweet tangy marinade for the day.  I had some apple cider hanging out in my refrigerator that needed to be consumed and decided to use this as the base for my marinade.  The chicken hung out in this marinade in a zip top bag for several hours while we went about our other business.  I came back to flip it a couple of times to make sure the chicken was soaking up all the yummy juices.

Making the marinade is super simple, mix all ingredients together in a zip top bag and add chicken.  Seal bag and flip it over a bunch of times to coat the chicken.  Place on a plate and put it back in the refrigerator for the day.

After about 8 hours (if you only have a couple that is fine too, I don’t always plan so well in advance either), prepare your grill.  First I grabbed a large handful of maple chips and gave them a quick soak in some water to amplify the smoke flavor.  My plan is to use the leftover chicken in my smoked chicken carbonara recipe, but that is another post.  I am a charcoal purist as many of you know, so I am preparing my charcoal and setting up the grill for the indirect cooking method.  To do this, start your coals via chimney starter, electric starter or lighter fluid.  When the coals are glowing and ready to cook on, push them all to one side of your grill leaving the other side open with no charcoal.  If you use gas, only light half of your grill leaving the other half of your burners off.  The indirect cooking method gives you the opportunity to slow cook something, or to basically use your grill like an oven while imparting the smokey grill flavors into your food.

Once your grill is ready to go, add the handful of soaked maple chips and choke down the heat to about 225 degrees fahrenheit.  Place your marinated legs on the indirect side (charcoal-less or the side that is turned off if using gas).  Cover your grill and walk away.  Come back periodically in the next two hours to make sure the temperature isn’t swinging up or down too much.  Approximately two hours later (all grills cook differently so please use a thermometer to temp your meat), your chicken should be at 180 degrees.  Pull the meat from your grill and let it rest for 10 minutes to let all the juices redistribute.

Serve with a side of grilled potatoes, and a side salad and enjoy the season.  Cheers!

Eggplant pizza

 image

Need a super quick and healthy dinner tonight?  We make pizzas a lot at our house at the request of my sweet babies, usually on a sprouted grain tortilla as I don’t always have time to bust out fresh pizza crust dough. I am also not a big gluten eater so I am always looking for new crust options.  In my CSA box this week were some beautiful eggplant, thus my inspiration for eggplant pizza!

This is super easy, no need for any shredding, mixing or other steps.  Just slice eggplant lengthwise into long wide planks, then sprinkle them with salt and roll them up in a kitchen towel for about 10 minutes to release some of the liquid.

Toast the eggplant on your hot pizza stone or a baking sheet, with a drizzle of extra virgin olive oil for 10 minutes.  Remove from the oven and top with a tablespoon of pizza sauce, your favorite toppings; I used uncured pepperoni and fresh mozzarella cheese today.  Then pop them back into the oven for an additional 10 minutes or until cheese is bubbly and beginning to brown.  Throw some fresh basil on top and enjoy!


Basic Roasted Tomato Sauce

image

Are you wondering what to do with all of those fresh beautiful tomatoes that came in your CSA box or are taking over your garden?  There is the obvious, slice them into nice thick slices, smother them in olive oil and garlic and top them with sea salt, but you can eat that and make some great sauce too!  I have a couple old stand by tomato sauces that I like to make, which can be frozen or used within a few days kept refrigerated.  My favorite is roasted tomato sauce, and it couldn’t be easier…

I should mention this recipe is just a guideline use whatever type of tomatoes you have on hand. The carrots I add in for a touch of sweetness so feel free to adjust the amount up or down to your liking.

image

Slice your tomatoes into halves or quarters, drizzle them with olive oil, add a dash of salt and pepper, throw in some onion and carrot and roast at 400 degrees fahrenheit until nicely carmelized and super delicious (about 2 hours).  I also roast a head of garlic separately for about 20 minutes, as you don’t want to eat burnt garlic…well maybe you are into that, and thats okay, but I am definitely not.

image

image


Once this is cooled, grab your trusty blender and blend it all together.  You may have to blend it in a couple different batches, just mix them together at the end so all the flavors are evened out.

image

This sauce can be used as a base for whatever you want!

Some ideas…


Grab about 4 cups and…

Drizzle in some heavy cream, top with fresh basil and you have an absolutely beautiful batch of roasted tomato soup.

Add a few teaspoons of your favorite dried herbs, a pinch of red pepper flakes, a cup of vodka and simmer for about 10 minutes then toss with pasta and top with grated cheese and fresh basil.

Use as a pizza sauce by adding some oregano, fennel seeds and thyme.

Use as a chili base add your chili seasonings, browned meat, veggies and beans and you have a phenomenal bowl of chili.


The sky is the limit for this sauce!  I like to freeze whatever I don’t use right away into quart size zip lock bags to pull out and enjoy when I need something easy and quick for dinner tossed with pasta, as I prefer to steer clear of store bought sauces whenever possible.

Tonight it will be going on my eggplant pizzas…recipe to come!

Use your imagination and enjoy!


Cheers!


  • « Previous Page
  • 1
  • 2
  • 3

Meet the Author

MaryJo is a busy mom with 3 beautiful children. She enjoys paddle boarding, kayaking. and cross country skiing. She loves food...cooking it, eating it and especially sharing it with everyone.

Connect With Me

  • Facebook

Copyright © 2025 · Foodie Pro Theme by Shay Bocks · Built on the Genesis Framework · Powered by WordPress