Just Another Mom HQ

Just another Mom's guide to a healthy lifestyle

  • Home
  • Recipes
  • Essential Oils
    • Visit My Oils Page
  • All Natural Products
  • Sydi’s Blog

Jamaican Jerk Chicken

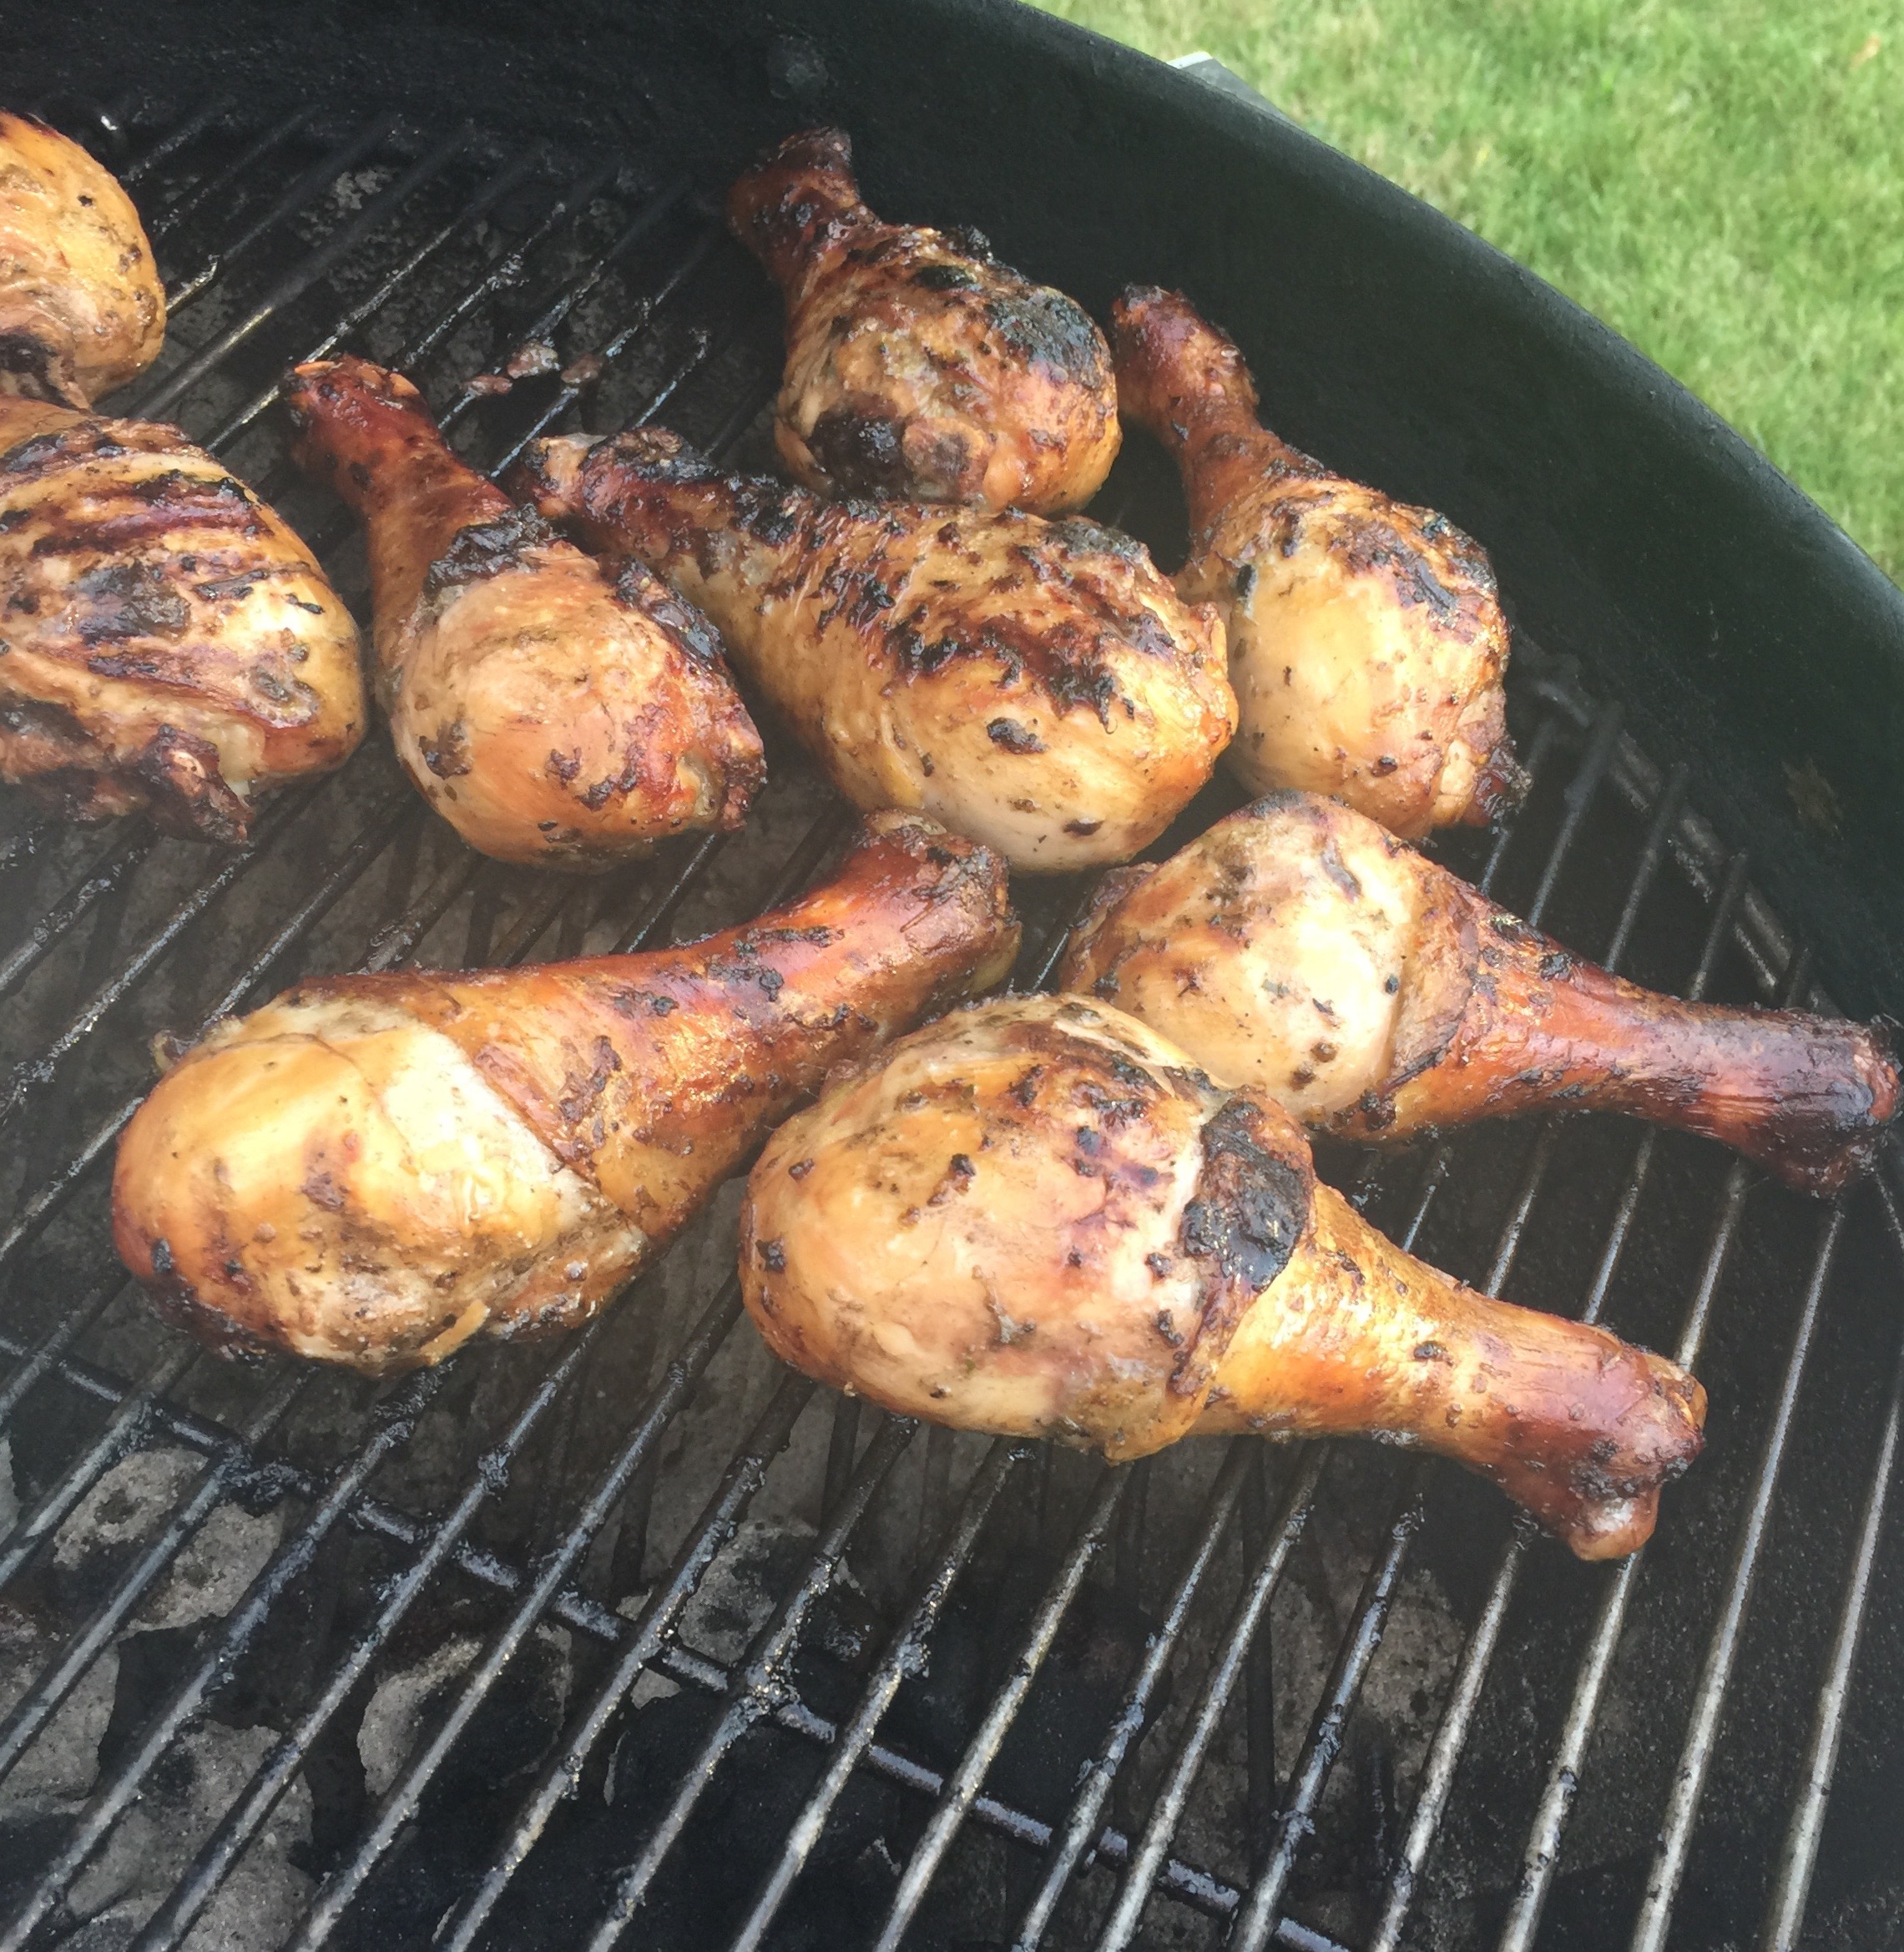
Many of my friends have been subject to my Grilled Jamaican Jerk Chicken recipe.  Some have cried over a bowl of it they loved it so much, as the sweat poured off their faces… (you know who you are.) Others have begged for the recipe and added it to their regular meal rotation.

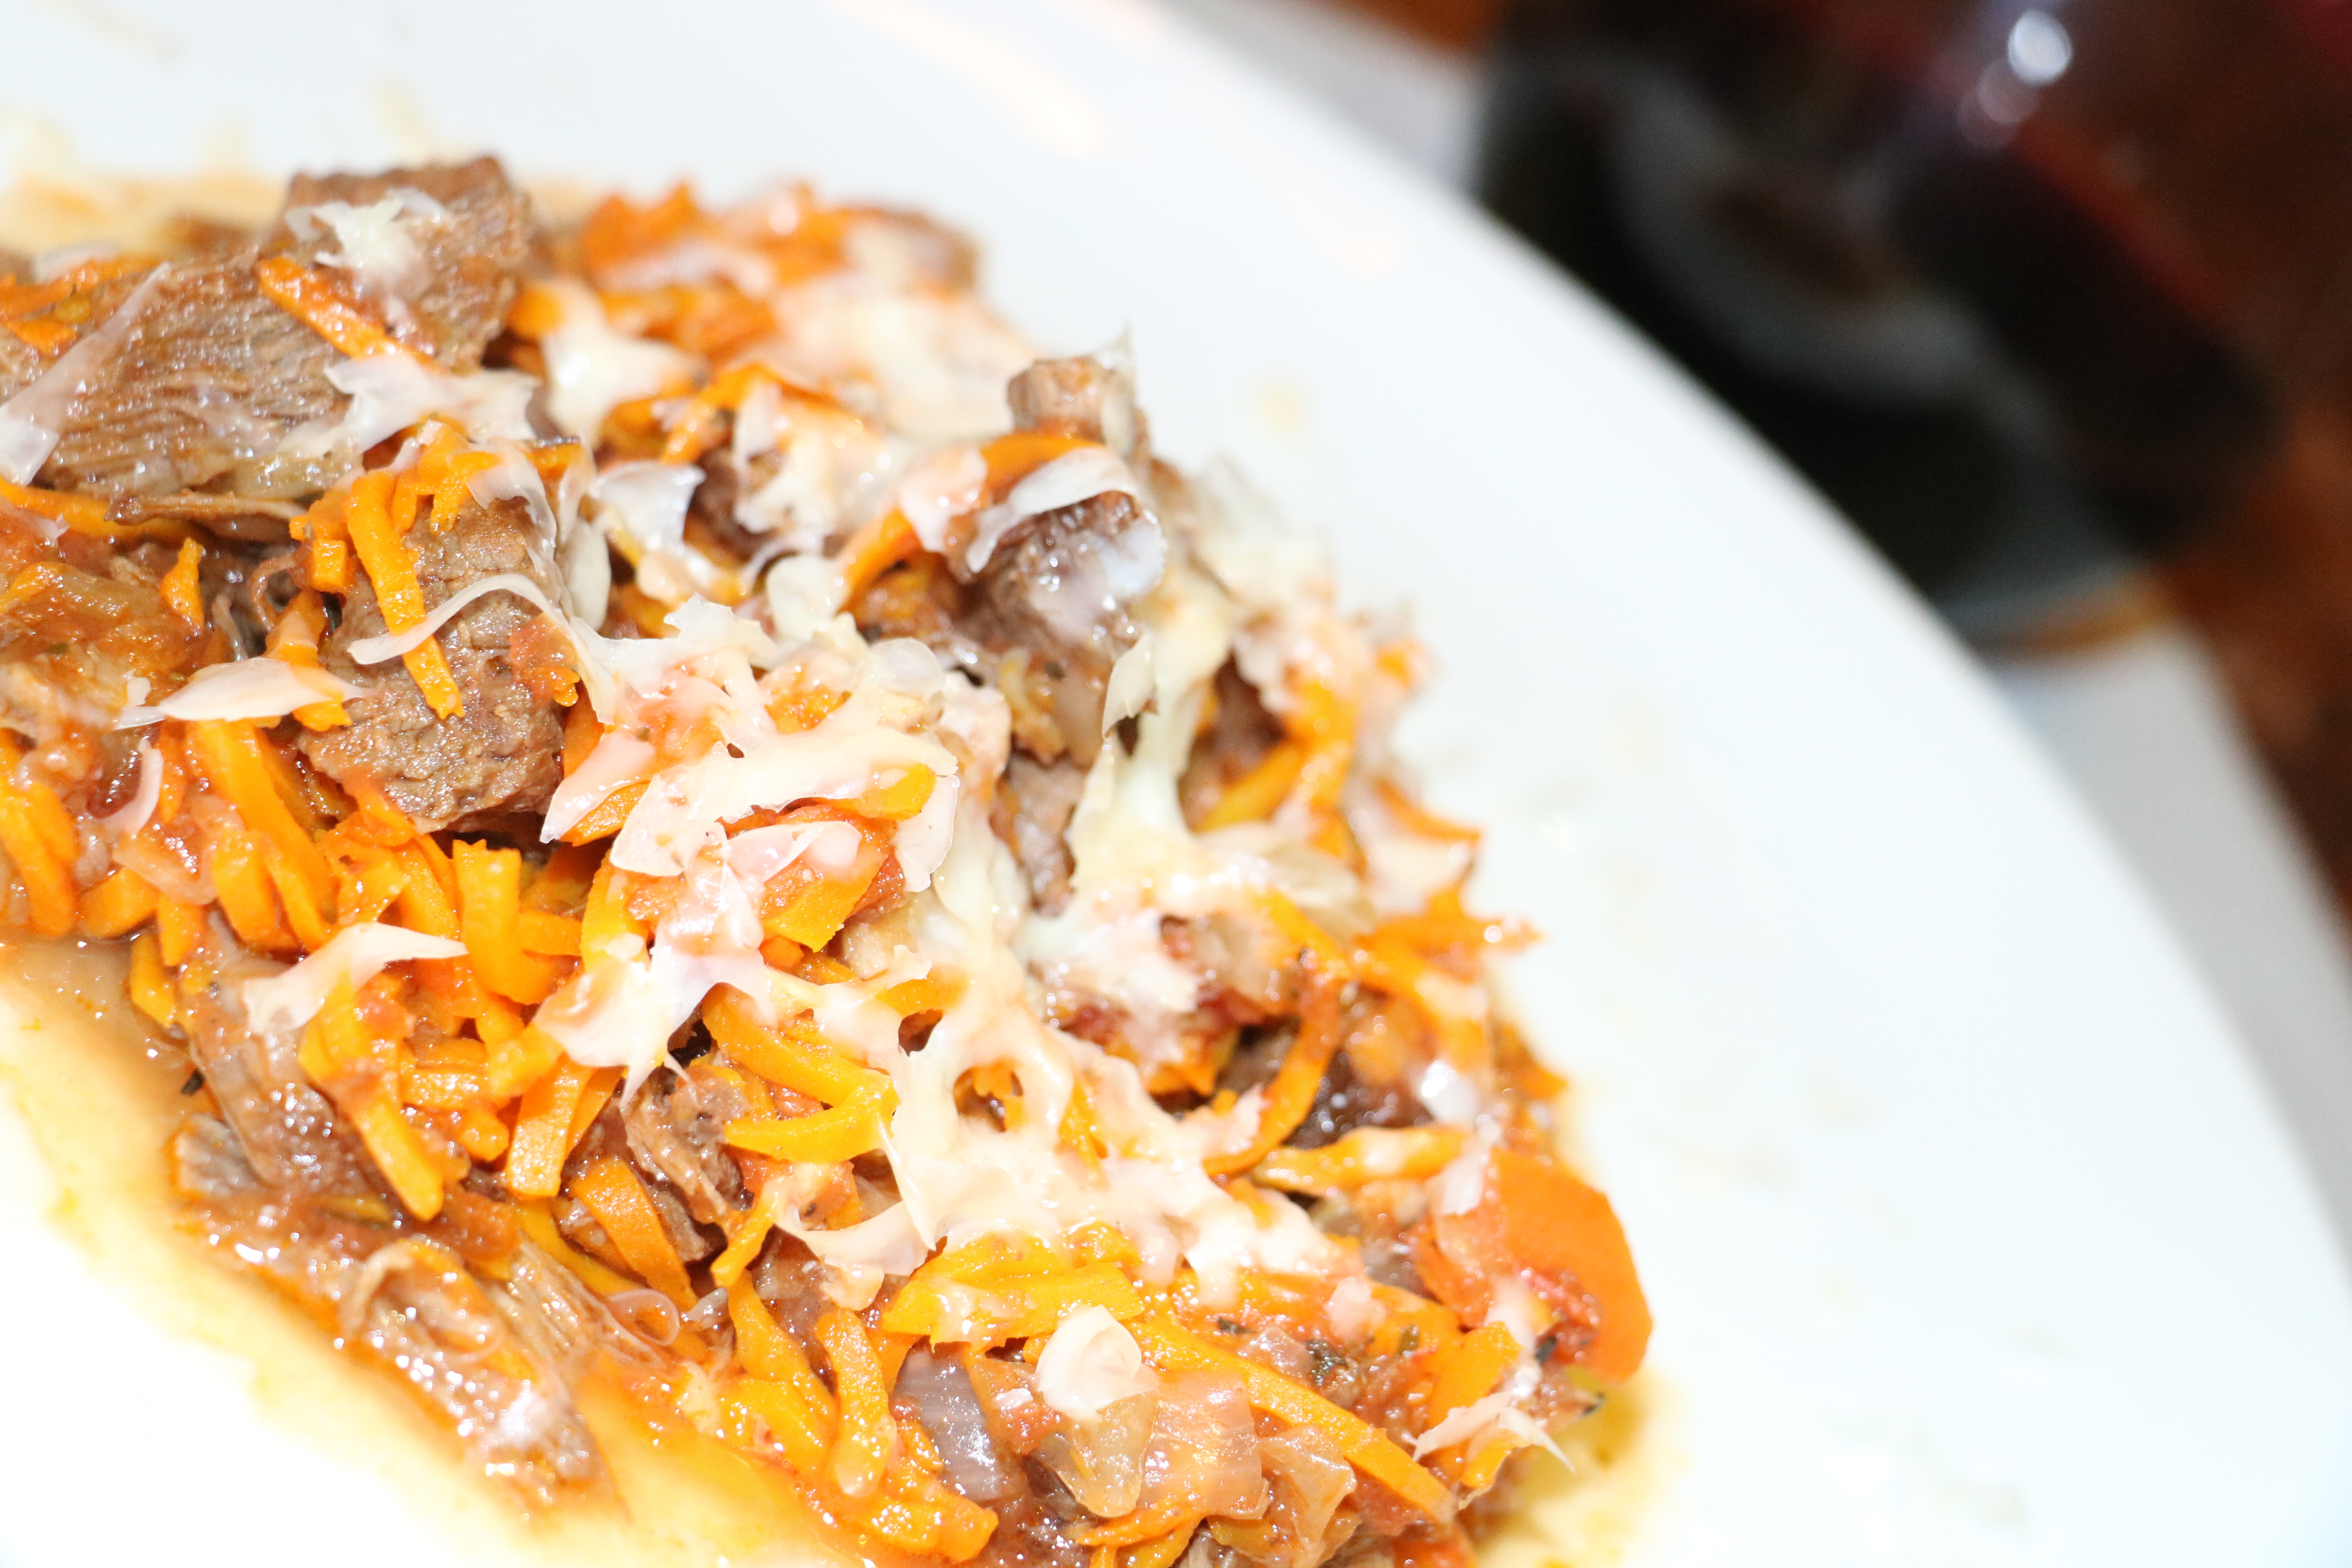
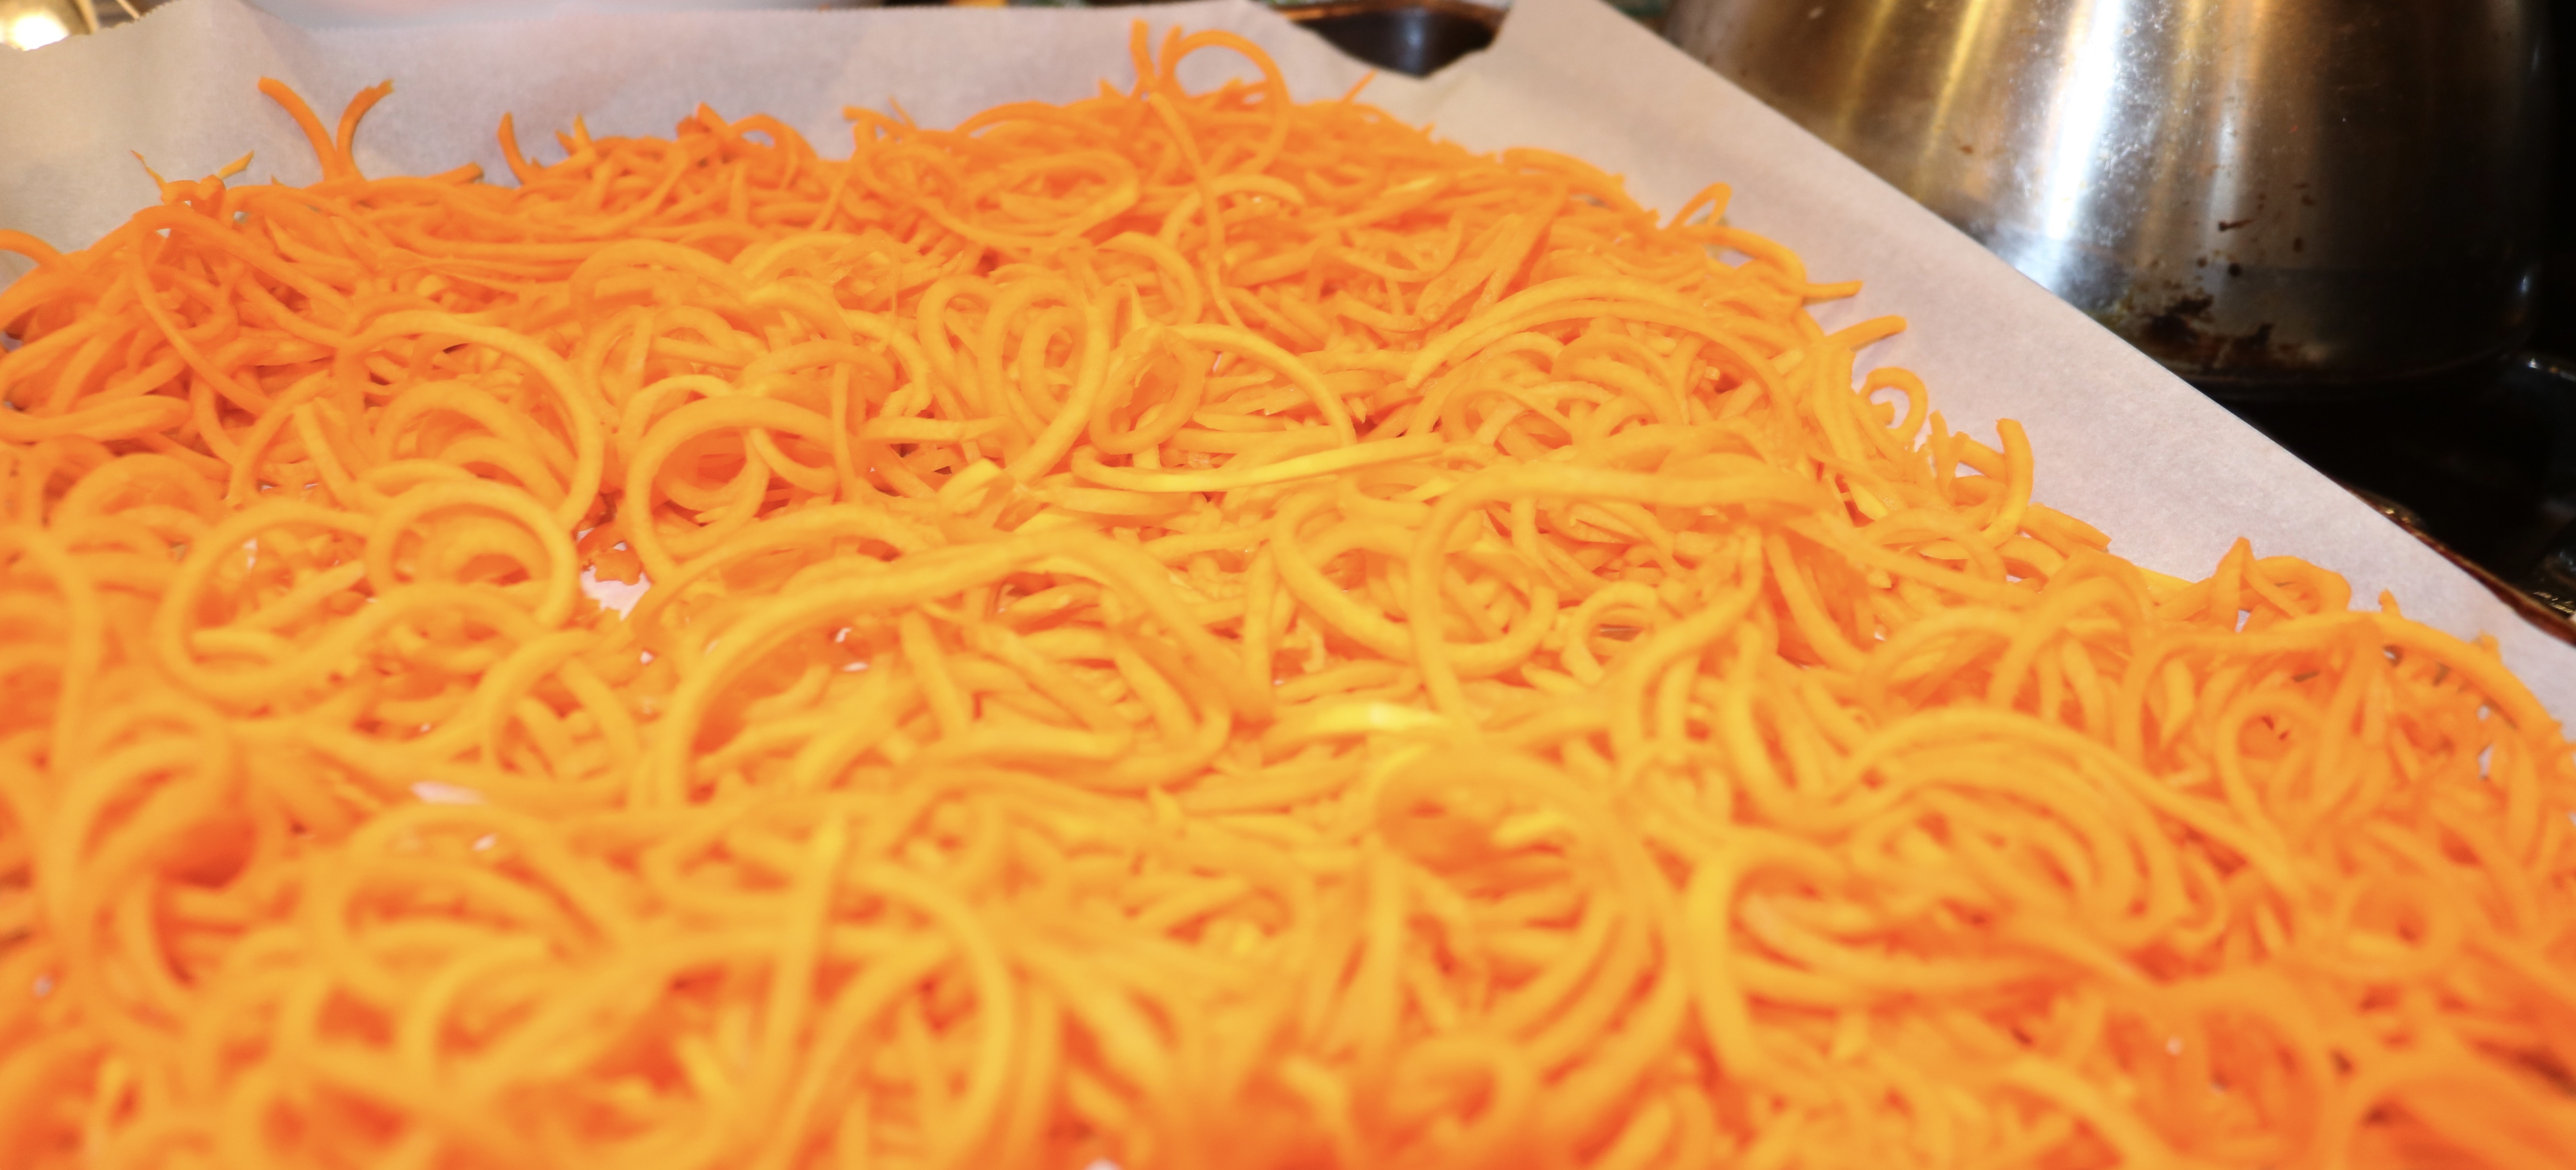
Challenged with teaching a class on batch cooking, I have taken it a step farther.  In the past I have marinated my chicken in this tangy, sweet and spicy sauce, then grilled them, but for my class I used the sauce as a way to bring back life to some leftover chicken thighs and roasted vegetables.

I prefer to double the marinade recipe so I have extra sauce and marinate bone-in chicken thighs or legs for at least an hour, overnight is better.  Then grill them using the indirect cooking method for 45 minutes.

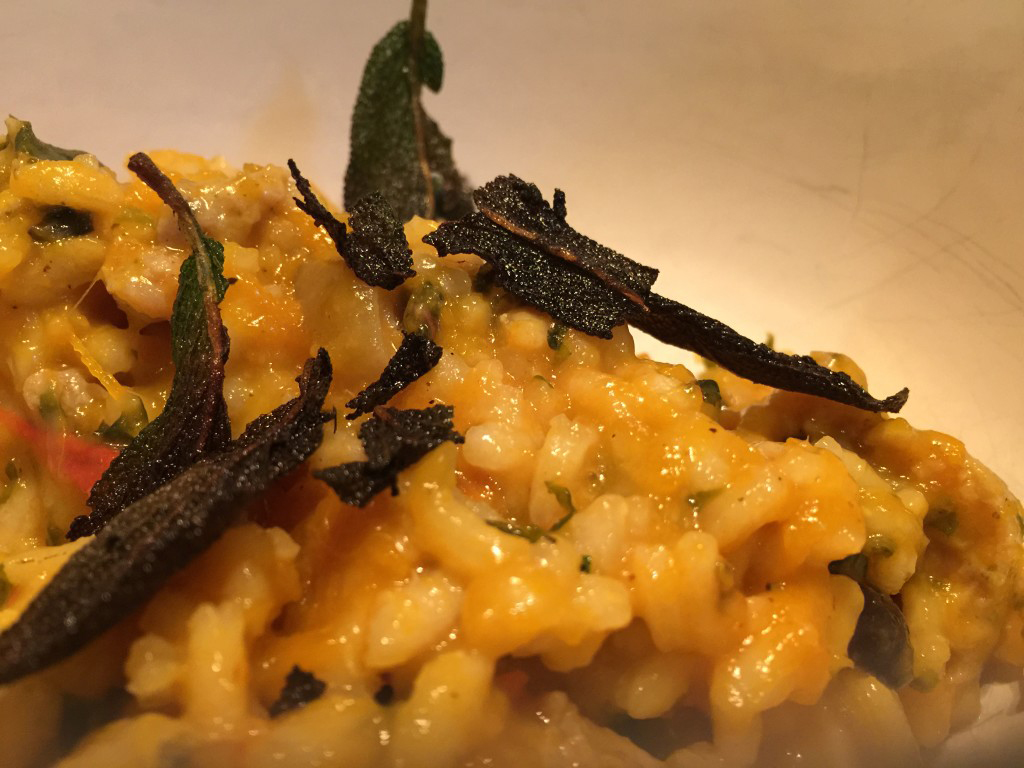
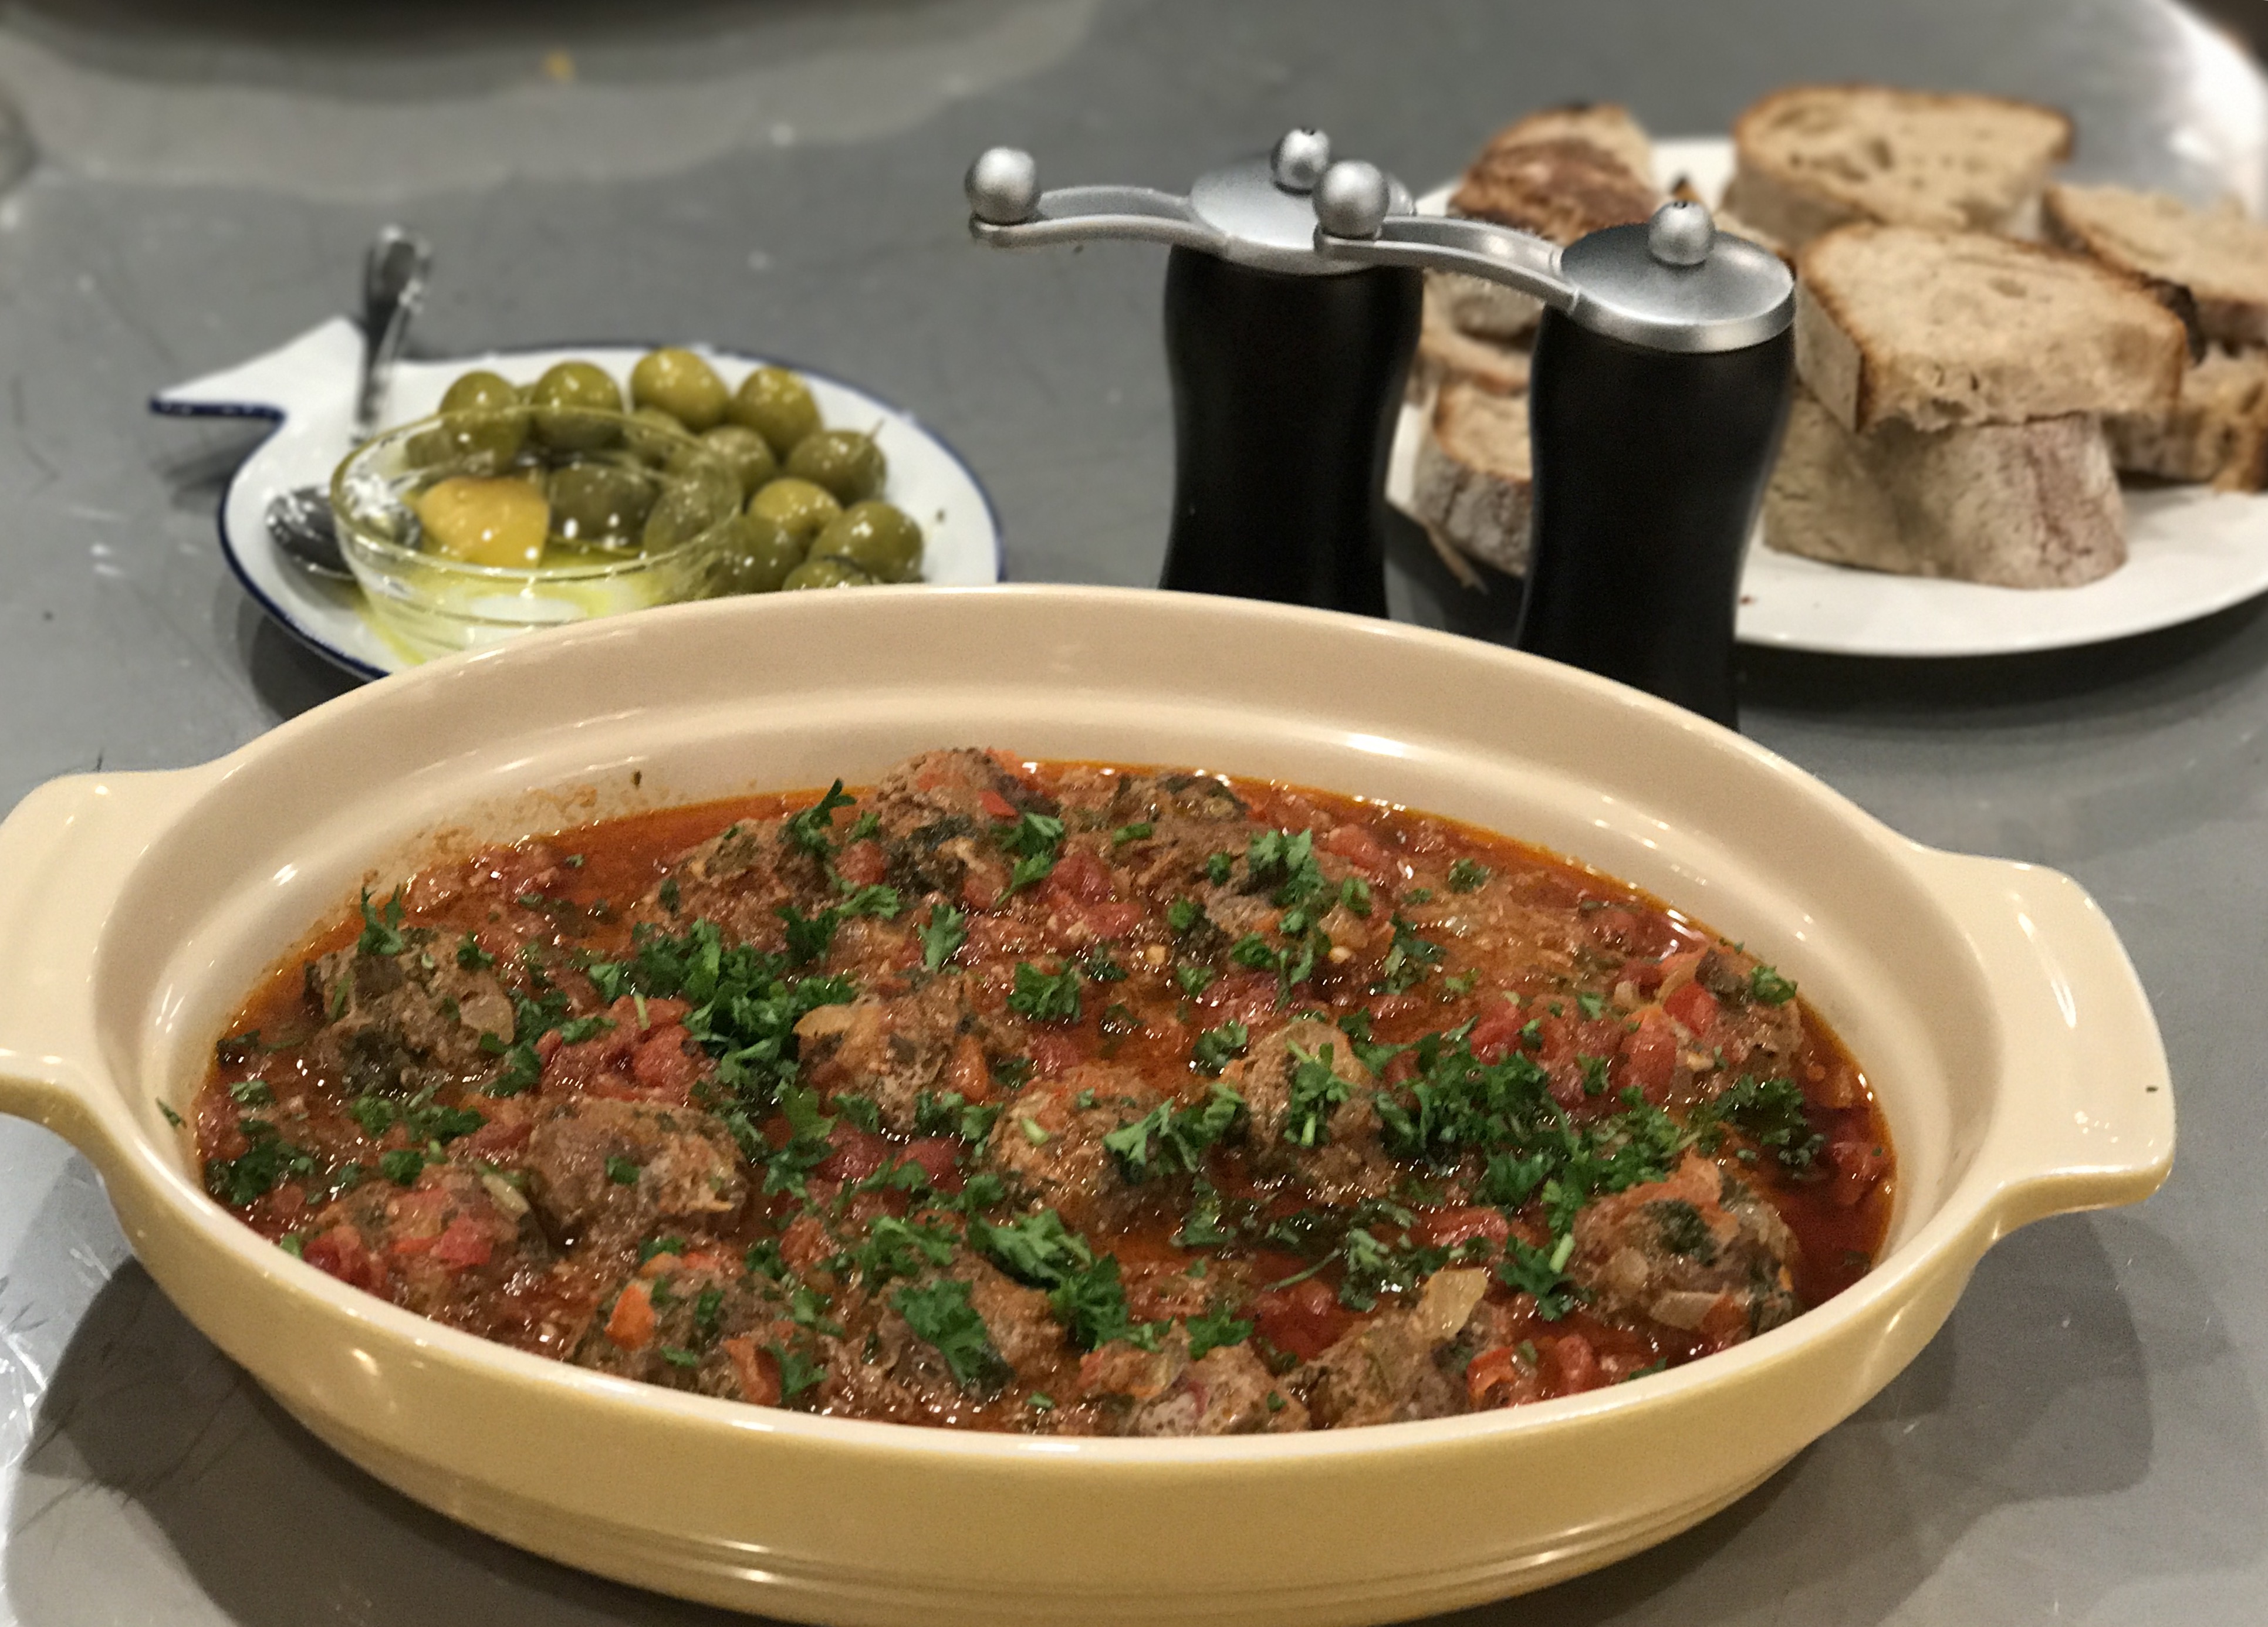
Still awesome is this Jerk sauce with roasted vegetables over rice, prepared with coconut milk instead of water.

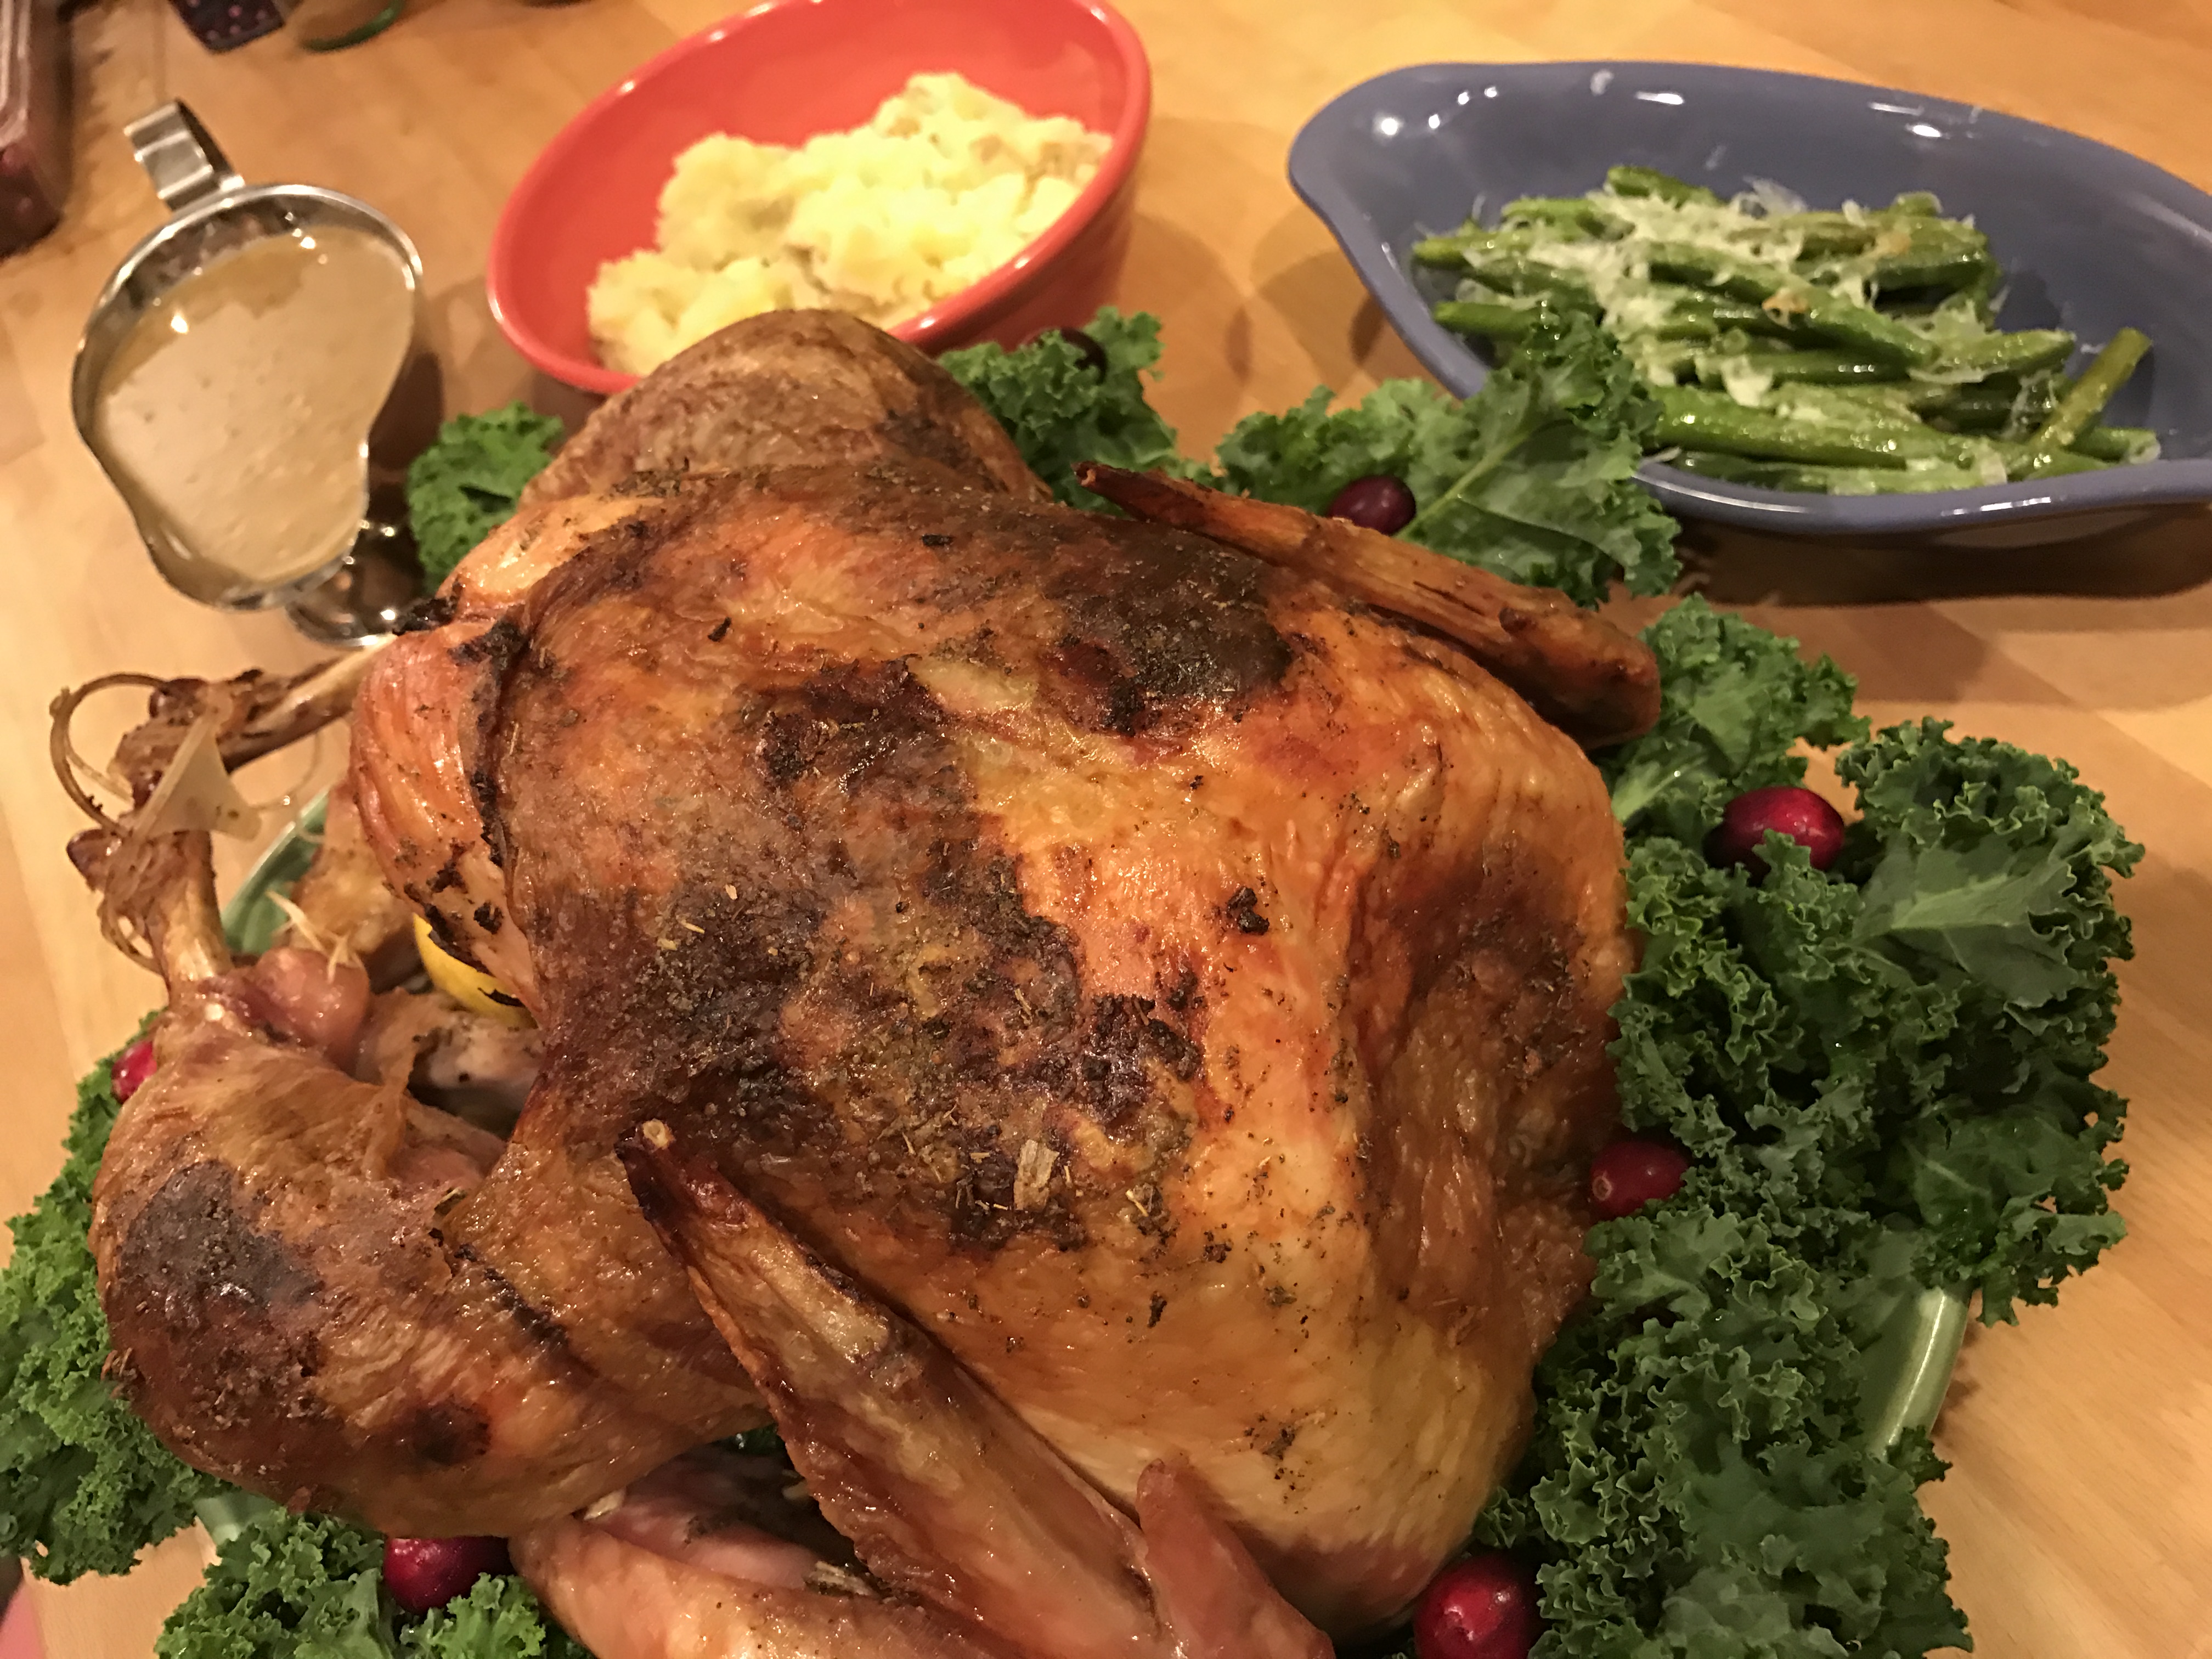
You can also use this sauce on fish, pork or turkey.  Your day after Thanksgiving turkey sandwich will be amazing if you mix a spoonful of this sauce with some mayo and spread it on your sandwich, or drizzle it over whatever leftovers you have.  Make a delicious Jerk Chicken pizza, pasta, quesadillas …the options are endless.

To prepare for use as a sauce over cooked chicken and vegetables heat pan over medium heat.  Swirl in olive oil and begin to cook the diced onions.  Sauté onions for about 5 minutes until they begin to become translucent.  Add garlic and other spices and continue to sauté for an additional 2 minutes.  Add balance of ingredients and allow to simmer for about 10 minutes to allow all the flavors to marry.  Toss with your chicken and vegetables and serve over rice.

To use as a marinade, add all ingredients to a large zip top bag.  Mix well.  Add chicken and allow to marinate for at least an hour, preferably overnight.  Remove meat from marinade and fully cook on the grill or in the oven.  While chicken cooks, bring marinade to a boil, then allow to simmer for about 10 minutes.  Top chicken with extra sauce and/or serve on the side.

Either way you choose to go with it, enjoy!


This recipe was originally adapted from a post from literally over 10 years ago I found here

http://classic-recipes.com/page/poultry/jerkchk.htm

Use organic non-gmo ingredients whenever possible.

Pressure Cooker Butternut Squash Risotto

Recipe remix time!  Move over Pumpkin Spice Latte!  I know we all love risotto and I also understand the time commitment involved in making a great pan of it.  Three kids and a crazy schedule does not equal risotto.  So today I decided to remake my Pumpkin Risotto with Browned Butter Sage Leaves but this time using my trusty Instapot.

I changed up a couple of ingredients since the amount of liquid used is significantly less, and the cook time is slashed as well.  Butternut Squash has less water than pumpkin and is more readily available right now making it an awesome choice for this delicious fall inspired risotto.

By taking the extra step to roast the Butternut Squash you are coaxing all the sweet natural sugars out of the squash really making it shine!  You could just brown it in the instapot, but you won’t achieve the same result.  It will still be awesome, but it could be even more awesome if you can roast it.

To start peel and dice the squash.  Toss it with extra virgin olive oil and salt and pepper.  Roast in a 450 degree oven for about 30-45 minutes or until it is soft and golden.  While this is roasting get to work on your risotto and browned butter sage leaves.

If you have never had browned butter Sage leaves you are in for a treat!  Grab your butter stick and melt in a pan over medium heat.  Keep an eye on it after it melts and let it continue cooking until the fat separates and you see a nice brown color.  Don’t go to far or you will have burnt butter.  Just a nice deep golden brown.  Now drop in your Sage leaves and allow to cook for 2-3 minutes.  They are done when you begin to see spots on them.  Allow to cool on paper towels and set aside.  These will finish off your dish with a little sophistication at the very end.

Brown butter fried sage leaves

Saute your diced vegetables, garlic and herbs on sauté setting in about a tablespoon of oil.  Remove veggies and add the the measuring cup.

Next sauté the sausage in a little more oil until cooked through.  Add rice and continue to cook for about 2-3 minutes. The rice will turn clear then almost white again.  Add wine and allow to simmer down until most of the liquid is gone, this should take only a couple of minutes.

Now add the chicken stock to the measuring cup with the vegetables (except the squash) and make sure you have exactly 4 cups in there.  No more no less.  This is super important.  Add to the pot and seal lid.  Make sure the lid is set to pressure.

Press manual and adjust to 7 minutes.  When your machine is finished (about 20 minutes between coming to pressure and the actual cook time) shut it off right away and do a Quick Release.  Once all the steam is released carefully open the lid and remove the pot.  Stir in approximately 4 cups of the roasted squash, and your shredded cheese (cheese is optional but delicious).

To serve top each dish with a few fried Sage leaves and enjoy with a crisp salad and a great glass of wine.

Enjoy!  Blessings

Albondigas–Spanish Meatballs (kefta style)

We love visiting my family in Marbella, Spain.  Not only do we get to spend a lot of time catching up with my favorite Uncle and family, we also enjoy plenty of sun, sand and amazing food.  Generally I am all about the fresh fish and eat as much of it as I can while I am so close to the Mediterranean.  I also love the Kefta served at Gurrola, a little cantina in Marbella where my Uncle and his buddies can be found most days around noon.  The Kefta at Gurrola is a version of the delicious albondigas or Spanish meatball, cooked in a delicious tomato sauce containing several Moroccan style spices, think cumin, cinnamon, etc.  Clearly not fresh fish related at all, but so amazing!

Now I am not going to claim these are exactly the same as the deliciously spicy albondigas at Gurrola, nor can I somehow cook up the atmosphere you would enjoy there, but these are as close as my tastebud memories can take me.  And when I take a bite of one of these delicious spicy meatballs and close my eyes I can almost smell the Mediterranean Sea and hear my Uncle chatting it up with his buddies.

These come together rather fast and can absolutely be made up a day or two ahead of time and stored in the refrigerator, or frozen for a couple of months, properly stored.

To make these meatballs I have used grassfed ground beef and/or venison or lamb.  The slightly earthier flavor of the grassfed beef (or venison or lamb) add to the authentic flavor of the meatballs, not to mention grassfed beef has so many great health benefits compared to commercial beef.

Step one prepare your sauce so it has time to simmer while you assemble your meatballs. Begin by heating a pan over medium high heat.  When your pan is hot drizzle in a tablespoon or two of extra virgin olive oil (Spanish if you have it).  Sauté onion in oil for 5-7 minutes until softened and fragrant.  Add garlic and continue to cook for another minute.  Now season your onion and garlic with the paprika, cumin, salt, and pepper.  Stirring rather constantly cook for an additional couple of minutes giving the spices time to develop.  Lastly add tomatoes to pan along with cayenne, cilantro, parsley and bay leaf.  Allow to simmer while you prepare your meatballs.  If you made your meatballs in advance, allow sauce to simmer for about 15-20 minutes before adding them to the sauce to cook.

For the meatballs, mix all meatball ingredients together with the exception of the water, using your hands.  Take care not to overwork the meatballs as this can make them tough.  Once the ingredients are well incorporated, roll them into balls about the size of half a golf ball.  Place all the meatballs along with the water into the pan and cover.  Lower heat to a simmer and allow to simmer for about 45 minutes.

Top with additional fresh cilantro and parsley.  Serve warm with lots of crusty bread for sopping up all of that delicious sauce.


Cheers!


Roasted Rack of Lamb with rosemary and garlic

Roasted Rack of Lamb with Rosemary and Garlic

Half way through March already!  Please send Spring!  I wish I could have grilled this but the weather was so not cooperating…so oven roasted rack of lamb it is.

We were lucky enough to enjoy a trip to Ireland several years ago for business.  We decided to take advantage of the fact that we were there and stayed some extra time to really appreciate the sights and people of Ireland.  As for the food, yummy!  In the beautiful coastal town of Kinsale we enjoyed some amazing sea food, but the balance of the trip I seemed to be eating more than my share of roasted lamb shank with root veggies and brown bread.  Yes, lamb. It was so delicious I just couldn’t stop!  Back in the US the only lamb I can really appreciate is Australian lamb or sometimes lamb raised by responsible local farmers who allow them to graze freely on grass, etc.

As much as I enjoyed their beautiful lamb shanks my family prefers rack of lamb, so when we are lucky enough to enjoy a nice lamb dinner I usually grab racks. Lucky for me Costco has a decent price on Australian racks and they are super delicious!

Lamb may sound like a kitchen challenge, but I will say fear not!  It is a very easy meat to prepare as there is plenty of fat, so if you accidentally cook it a few minutes too long it isn’t a huge deal.  I much prefer to use my grill for lamb, but let’s face it sometimes that just doesn’t work out.  So today, we are going for a beautiful oven roasted rack.

Step one, prepare your meat by rubbing it with olive oil, rosemary, crushed garlic, course salt and fresh ground pepper.  Let it rest for about an hour on the counter, taking the chill off of it so it can be properly seared.

Heat a large roasting pan on high.  Drizzle in a bit of olive oil and swirl it around to coat the pan.  To avoid smoking too much I pull the pan off the heat for a moment when I add the oil.  Returning the hot oiled pan to the stove place your lamb meat/fat side down and sear for about 4 mins per side, or until you have a nice sear on each side.  Carefully (the bones will be hot) stand the racks up, meat on the bottom, rib bones on up, interlocking the ribs with other rack.  Roast in 400 degree oven or an additional 10-15 minutes or until meat reaches desired doneness, remove from oven.

Let rest 5-7 minutes.  It looks pretty amazing to set this on a pretty serving platter, but feel free to take it up a notch cutting the ribs apart by slicing in between bones to make a bone in chop and dipping it in some black and white sea salt.  Serve with some sautéed green beans and roasted garlic potatoes and you have yourself a gourmet meal, with your active cooking time around 30 minutes.  Enjoy, Cheers!

Roasted Rack of Lamb with Rosemary and Garlic Pan seared and roasted lamb rubbed with crushed garlic and rosemary make a simple elegant meal with less than an hour of active time. Sit back relax and enjoy with a great glass of wine. Cheers!

Slow Simmered Italian Beef Ragu with Parpadelle

Today I posted my grain free and Instapot version of this Italian classic but wanted to share with you the original recipe we simmered slowly on Christmas Day.  It was AMAZING!  So grab a 2 1/2 lb chuckroast (preferably grass fed), a pound of parpadelle and let’s do this!

Grab your large Dutch oven or stock pot.  Heat over medium high to high heat.  Cut your roast into 4 equal sized chunks and season with salt and pepper.  Drizzle in a couple tablespoons of olive oil.  Sear meat 2 pieces at a time browning on all sides.  Set meat aside and add “sofrito”; diced carrot, celery and onion.  Sauté in the same pan as you seared your meat scraping the bits as you go.  After 3 minutes add in the crushed garlic, herbs and tomato paste. Continue to cook and stir until your tomato paste darkens slightly.  Don’t stop stirring or your tomato paste may burn!

You can just throw everything in the pot and skip browning the meat and sautéing the veggies if you don’t have time, and it will still be awesome , but taking the time for this step adds some really great flavor and depth to your dish and makes it more awesome.

Now deglaze the pan (you do this with the veggies in the pan) with your red wine.  Choose one that you would enjoy drinking. Please don’t use “cooking wine”…Malbec, Cabernet, even a good Chianti would be great.  Carefully add the wine and allow it to simmer a minute or two to evaporate some of the wine.

Everyone in the pool now (except cheese and pasta).  Meat, stock, tomatoes…  Bring to a low simmer and cover.  Keep at a low simmer for 2.5 hours, then remove cover and simmer an additional 30 minutes to reduce and thicken the sauce.  Remove meat, shred then add back to pan.

While your sauce is reducing bring a pan of water to boiling, add pasta and a generous pinch of salt. Cook pasta 2-3 minutes shorter than package directions.  Drain pasta reserving one cup of the cooking liquid.

Add pasta and water to sauce and cook for 2-3 more minutes allowing pasta to finish cooking in the sauce.  Check seasoning and adjust salt and pepper if needed.

Grab your favorite pasta bowl/plate, pile on the pasta and top with some freshly grated Parmesan or pecorino.  Sit back relax and savor the deliciousness…cheers!

Slow Simmered Italian Beef Ragu with Parpadelle, my take on a classic Italian comfort food.


Side Notes-On my quest to make the perfect Beef Ragu I found this beautifully yummy recipe from Pinch of Yum

Crockpot Braised Beef Ragu with Polenta

And this delicious sounding recipe from Whitney Bond

http://whitneybond.com/2014/10/27/slow-cooked-beef-ragu/

Instapot Italian Beef Ragu with Butternut Squash Noodles (squoodles)

Italian Beef Ragu with Butternut Squash Noodles

Happy New Year!!  I am always sad to take down our Christmas tree and decor.  At the same time I prefer my stand up paddle board to my cross country skis so being one step closer to Spring isn’t so bad either!  This year I am hoping to share more recipes and insight with you, including Instapot recipes!  This recipe can definitely be made stove top as is traditional, in a slow cooker or in your Instapot or other pressure cooker.

Traditionally this delicious slow simmered Ragu would be prepared stove top, simmered over several hours.  For Christmas Day I prepared this recipe with a slight variation stovetop (recipe here) and we enjoyed every delicious bite on some chewy delicious parpadelle pasta.  Yes actual gluten loaded pasta…and it was divine.

[amazon text=Amazon&asin=Today in keeping with my more paleo-ish lifestyle I have prepared it with spiralized Butternut Squash.  The earthy sweetness of the squash paired super well with the deep beefy tomato yummyness.  I also grabbed my Instapot for this one as I was rather short on time and it didn’t disappoint!  I chose to leave out the tomato paste that I had used on Christmas in my more traditionally prepared Ragu as sometimes the tomato paste can burn to the bottom of your Instapot.

For the preparation, turn your Instapot on sauté.  Cut your roast into 4 equal size chunks, season with salt and pepper.  Once your Instapot is hot sear 1 or 2 pieces at a time browning on all sides (2-3 minutes a side).  Then set aside.  Next sauté the “sofrito”, carrot, celery and onion in a bit of olive oil and a pinch of salt and a pinch of black pepper for about 5 minutes to really develop the flavor.  Add garlic, oregano and thyme and continue to sauté for an additional minute or until fragrant.

Deglaze the pan by pouring in 3/4 cup of a good dry red wine, I had a Spanish Tempranillo open so I chose that for my sauce.  Let it simmer for a minute or two or until the liquid reduces just a little.

Pan full of Butternut Squash Noodles

Now add the beef, beef stock, and tomatoes to the veggies and wine. I usually wait until the end to salt as there is salt in the tomatoes and the stock and as it reduces it will concentrate the salt flavor.  Lock cover on Instapot and press manual then adjust to 20 minutes on high pressure.  While your Ragu is cooking grab your spiralized and spiralize your Butternut Squash.  Any pieces that couldn’t be spiralized save for squash fries or squash hash or whatever your desired preparation.  Toss your squash with a tablespoon of olive oil and a touch of salt and pepper and roast in a 400 degree oven for 20 minutes.  You should have plenty of time for this step as it takes a while for your pressure cooker to come to full pressure (up to 15 minutes).

After the 20 minute pressure cook is complete allow to natural release for a minute or so then flip the valve to manual release.  I use my Instapot on my stovetop with a cutting board under it, so I can use my fan to vent steam, etc.  I really don’t want to damage my cupboards while releasing steam or smoke the house up searing meat!  Okay once your steam is all released and you can safely open your pressure cooker turn it off, then back on the sauté high.  Remove meat and shred while the sauce is reduced until it thickens.  Then toss Squash Noodles  (squoodles) into the sauce and let it cook for a minute or two longer.  Season to taste with salt and pepper, pile it on your favorite pasta plate, hit it with a grating of Parmesan or Pecorino and enjoy.

Cheers!

Italian Beef Ragu with Butternut Squash Noodles

PS:  Don’t let the wine you opened go to waste.  If you don’t enjoy drinking it be sure to freeze it in ice cube trays for future recipes.

PPS:  There was an error in the original recipe, I have since reduced the beef broth on the recipe from two cups to one.  Sorry for any inconvenience this caused!

Easy Thanksgiving Sage and Butter Rubbed Turkey

Happy Thanksgiving everyone!  The turkey seems to be a very scary experience for many.  Maybe because we are preparing it for a lot of people, possibly because we know it can be super dry if mistreated, maybe it is all the funny videos and stories we have seen and heard over the years.  Well worry no more!  I have a simple straight to the point tutorial for you to make the perfect bird.  Please visit my Facebook page for a live video with step by step instructions!
img_2711

Easy Thanksgiving Butter and Sage Rubbed Turkey

Pull your bird from the oven an hour or two before you plan to roast it for even cooking.

Preheat your oven to 425 degrees Fahrenheit.  Remove the turkey from the wrapper over a pan or the sink as there will be a lot of liquid spilling out.  Remove the neck from the cavity and the bag of gizzards.  If you can’t find the gizzard bag check where the neck would have been attached at the top of the breasts.  Rinse and pat dry.  (Please sanitize your sink after you are all done!).

In a small bowl mix together 2 teaspoons of salt. 1 teaspoon pepper, 2 tablespoons of dried Sage and 5 crushed garlic cloves.  Mash this mixture into a whole room temperature stick of butter making a compound butter.  Feel free to adjust salt and pepper to your tastes.

Divide compound butter into 4 like sized portions.  Separate the skin from the breast and slip one of the 4 butter portions under the skin.  Repeat with second breast.  From the breast area closest to the leg, loosen the leg and thigh skin and slide half of one of the four into each leg quarter.  Slather the outside of your bird with the remaining butter.

Slide a quartered onion and a 2 lemon halves into the cavity of your bird.  This is also a great place to stash some fresh sage or thyme if you have some on hand.

Place turkey on roasting rack in roasting pan and add 1-2 cups of water.  Keep an eye on your liquid level throughout the roasting process to ensure your turkey remains moist, and of course so you can make gravy afterwards.

Place roasting pan in preheated oven for one hour or until the skin appears browned.  Then lower temperature to 325 to to finish roasting.  Depending on your bird size this could be at least another 1.5 hours or more.  A general rule of thumb is to roast 20 minutes per pound and until a thermometer inserted into the thigh next to the breast registers 180 degrees.  If your breast begin to get too dark, feel free to tent them with foil to keep them from drying out.

Remove turkey from oven and allow to rest for 15 minutes to allow the juices to distribute before slicing.

Sit back and enjoy your meal with family and friends remembering all of the beauty in life we have been blessed with.  Have a great thanksgiving!

Roasted Garlic and Butternut Squash Soup


img_1109

I am overwhelmed with the beauty of fall.  Living in Wisconsin has its pros and cons, I mean I don’t think most people enjoy freezing cold below zero no sun winter days, but fall that is different.  It is beautiful!  Leaf colors in orange, red, purple…fresh crisp air, apples, pumpkin everything…

Not to mention an abundance of squash.  My favorite squash, aside from pumpkin of course is the beautiful butternut squash.  On its own it doesn’t need any additional sweetener as long as you respect it.  By this I mean roasting.  Not steaming or boiling but roasting.  This brings out the natural sugars and allows them to concentrate and caramelize.  (please forgive my not so perfect picture)

img_1097

So that is what I did for this velvety soup.  It is super quick to put together, that is your active time making it.  First cut your squash in half carefully, please don’t sacrifice a finger here.  Scrape the seeds  out and discard.  (Or save them to roast and decorate your soup if you wish).  Place squash halves cut side down on cookie sheet and roast in a 400 degree oven for about an hour, I put parchment on my pan to save clean up time later.  Meanwhile cut the end off a head of garlic.  Put the cut side down in a ramekin or small oven safe bowl and drizzle with about 2 tablespoons of olive oil and a pinch of sea salt.  When you are 20 minutes from the end of roasting your squash add your ramekin covered with foil to the oven.  Your squash and garlic are done when they are golden brown.  (I flipped my garlic over for a visual, roast cut side down.)

img_1101


Remove squash and allow to cool before scraping the sweet flesh from the skin.  Squeeze the garlic from the skins into your blender and purée with squash and 2-3 cups of chicken stock (to make it vegetarian/vegan use vegetable stock).  I used my homemade stock this time but any stock will work.  Purée until smooth.  Empty blender into large saucepan and bring to a simmer.  Now is the time to adjust your seasoning.  Add 1 tablespoon dried sage, 2 teaspoons of dried thyme and salt and pepper to taste.   Now swirl in a tablespoon of apple cider vinegar to mellow out the sweetness of the squash and roasted garlic, feel free to add more if yours tastes extra sweet.  Allow to simmer for about 20 minutes.


When you are ready to serve top each bowl with a good shake of pumpkin pie spice and a small pinch of cayenne.  Add a crispy baguette, serve with a fresh salad and your meal is complete!

Cheers!

As a side note, I topped mine with Chèvre (creamy goat cheese), super yummy!  This would also be great with any sage seasoned sausage…

img_1128


Grill smokey sweet and tangy chicken legs

IMG_4481

Welcome fall!  Today I grabbed some beautiful chicken legs and soaked them in a sweet tangy marinade for the day.  I had some apple cider hanging out in my refrigerator that needed to be consumed and decided to use this as the base for my marinade.  The chicken hung out in this marinade in a zip top bag for several hours while we went about our other business.  I came back to flip it a couple of times to make sure the chicken was soaking up all the yummy juices.

Making the marinade is super simple, mix all ingredients together in a zip top bag and add chicken.  Seal bag and flip it over a bunch of times to coat the chicken.  Place on a plate and put it back in the refrigerator for the day.

After about 8 hours (if you only have a couple that is fine too, I don’t always plan so well in advance either), prepare your grill.  First I grabbed a large handful of maple chips and gave them a quick soak in some water to amplify the smoke flavor.  My plan is to use the leftover chicken in my smoked chicken carbonara recipe, but that is another post.  I am a charcoal purist as many of you know, so I am preparing my charcoal and setting up the grill for the indirect cooking method.  To do this, start your coals via chimney starter, electric starter or lighter fluid.  When the coals are glowing and ready to cook on, push them all to one side of your grill leaving the other side open with no charcoal.  If you use gas, only light half of your grill leaving the other half of your burners off.  The indirect cooking method gives you the opportunity to slow cook something, or to basically use your grill like an oven while imparting the smokey grill flavors into your food.

Once your grill is ready to go, add the handful of soaked maple chips and choke down the heat to about 225 degrees fahrenheit.  Place your marinated legs on the indirect side (charcoal-less or the side that is turned off if using gas).  Cover your grill and walk away.  Come back periodically in the next two hours to make sure the temperature isn’t swinging up or down too much.  Approximately two hours later (all grills cook differently so please use a thermometer to temp your meat), your chicken should be at 180 degrees.  Pull the meat from your grill and let it rest for 10 minutes to let all the juices redistribute.

Serve with a side of grilled potatoes, and a side salad and enjoy the season.  Cheers!

Pan Seared Wild Salmon

Sometimes we just need a super quick meal that is healthy and easy to clean up!  I love to hear about other peoples go to quick meals, but for some reason when people ask me what my favorite is they are surprised when I say fish.  For some making fish seems like a tricky task, but I am here to clear that up for your right now.  Yes you can make a much more labor intensive fancy dish with a nice piece of fish, but this fancy and quick dish is no slacker in the taste department, I promise.  It is also very flexible, so please feel free to play with the herbs and seasonings you use, this is not set in stone!

image

Note the abstract design of my rosemary.  I just tossed my leaves on after I rubbed the fillets with a little salt and pepper, crushed garlic and extra virgin olive oil.  Violà dinner into the pan and on the table 15 minutes later. Please forgive the varying sizes of the fish fillets in my picture, they were getting dangerously low in supply of wild salmon at the fish counter today and I had to have it!  If you have the same predicament as me, just pull the smaller fillets from the pan a minute or two sooner than the larger ones.

I usually make close to 2lbs at a time as I have a 3 year old who thinks that he has to eat at least an 8 oz portion or larger when fish is served.  I am shaking at the thought of my grocery bill 10 years from now!  As this recipe is flexible, you can make an 8 oz portion or 4lbs or more at a time just reduce the amount of oil and herbs.

Now for the cooking part, heat your pan on medium high to high heat for a few minutes to get a nice hot cooking surface.  Drizzle in a couple tablespoons of olive oil, and place fillets in pan skin side down for about 6 minutes or until the skin is crispy and has released from the pan.  Do not touch the fish during this time.  If you try to move it once it is in the pan, before it is done, it will stick and tear.

Once your skin is crispy flip your fillets and continue to cook for another 2-3 minutes, depending on thickness.  Your goal is to have the salmon slightly undercooked in the center, think a medium to medium well steak.  You can go well done, your fish will just be a bit dryer.

Serve on a bed of fresh greens, sliced tomato, cucumber and goat cheese with a drizzle of oil and vinegar, or with your side of choice, and enjoy!

image


Cheers!

  • « Previous Page
  • 1
  • 2
  • 3
  • Next Page »

Meet the Author

MaryJo is a busy mom with 3 beautiful children. She enjoys paddle boarding, kayaking. and cross country skiing. She loves food...cooking it, eating it and especially sharing it with everyone.

Connect With Me

  • Facebook

Copyright © 2025 · Foodie Pro Theme by Shay Bocks · Built on the Genesis Framework · Powered by WordPress