Just Another Mom HQ

Just another Mom's guide to a healthy lifestyle

  • Home
  • Recipes
  • Essential Oils
    • Visit My Oils Page
  • All Natural Products
  • Sydi’s Blog

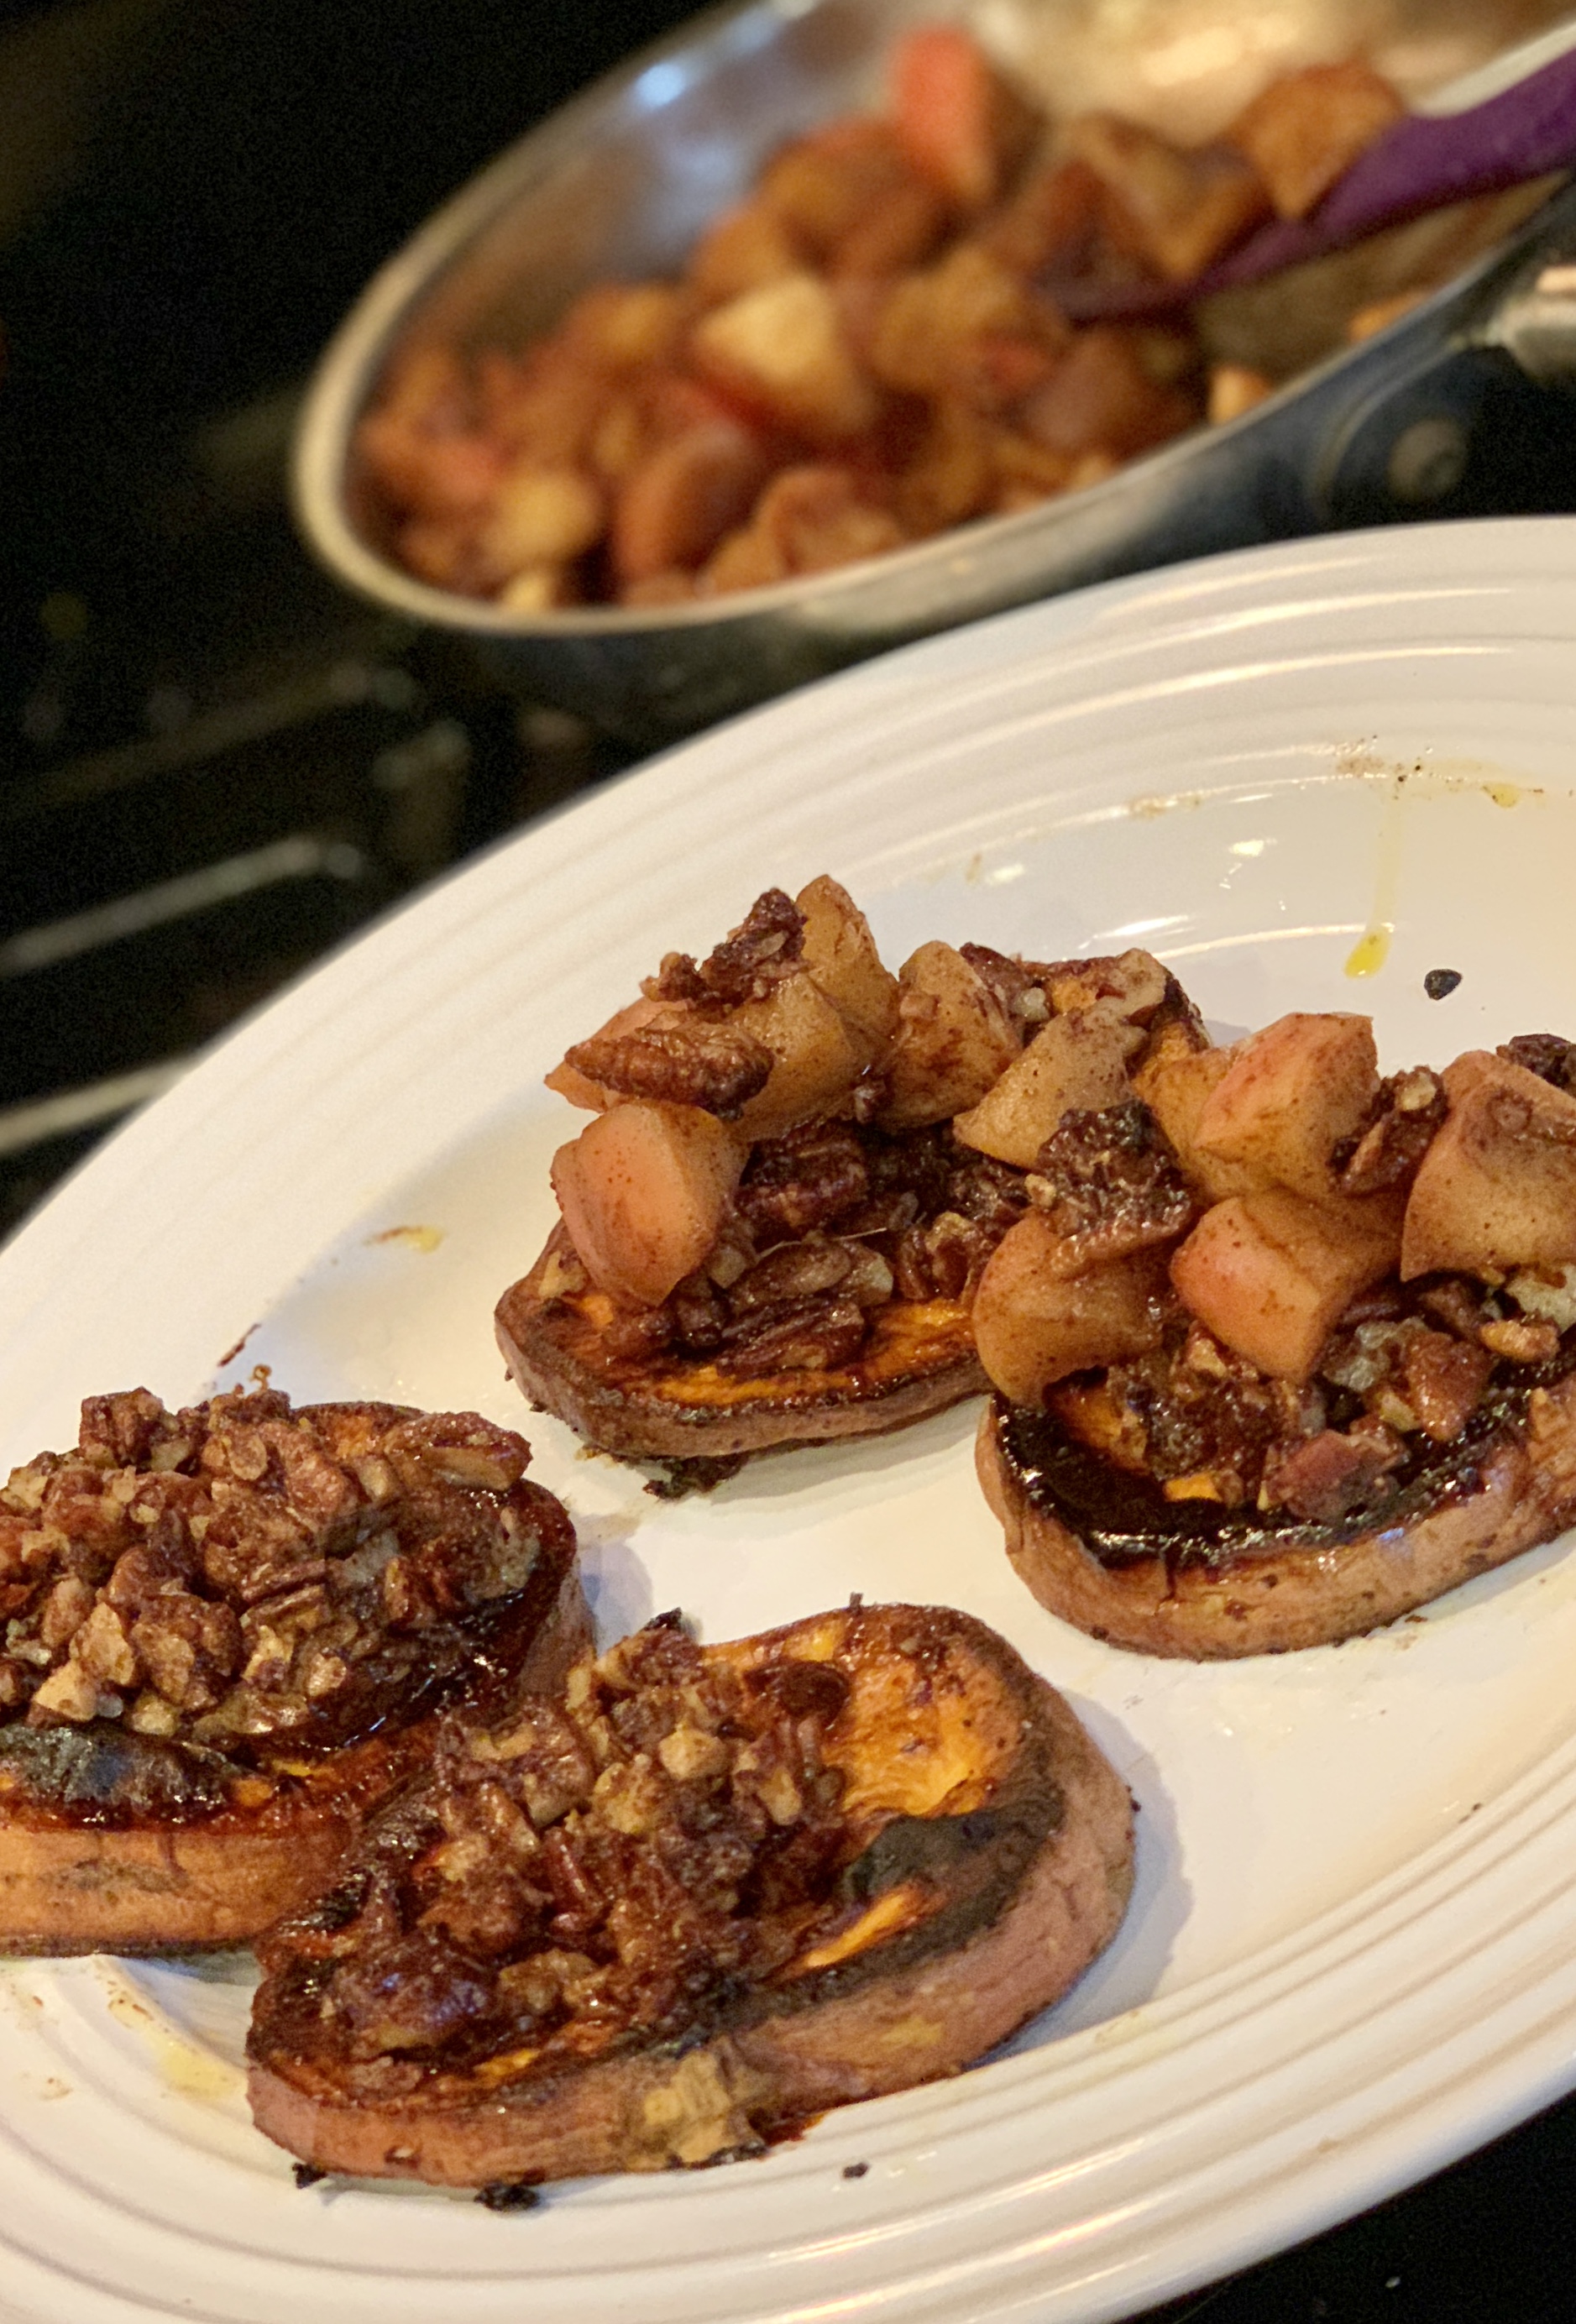
Caramelized Sweet Potato Slices w/cinnamon pecan crumble and warm and spicy chunky apple reduction

Working on Thanksgiving meal plans and need something fun and new?  Maybe you have some guests coming who follow a healthier lifestyle and you are freaking out because your Mom only taught you how to make sweet potatoes with marshmallows on top?  Sorry if you love the marshmallow sweet potato casserole, but I can’t stand it!  Why on earth anyone would ruin a perfectly delicious sweet potato with a crazy amount of sweetener then top it with marshmallows is beyond me.  But hey it’s our differences that make life fun, it wouldn’t be the same if everyone agreed with me!

While I was putting together a menu for a paleo Thanksgiving class, I became super frustrated with the gratin I was trying to make.  So I scrapped it and moved on to this using the exact same ingredients and I am so happy I did!

Don’t let the layering and steps throw you off, this is a super fast dish to make!  While your sweet potatoes roast, the other parts come together and will be ready and waiting.

So let’s get to it shall we?

When I made my sweet potato slices the first time I had a nice fat sweet potato so my slices were nice and round.
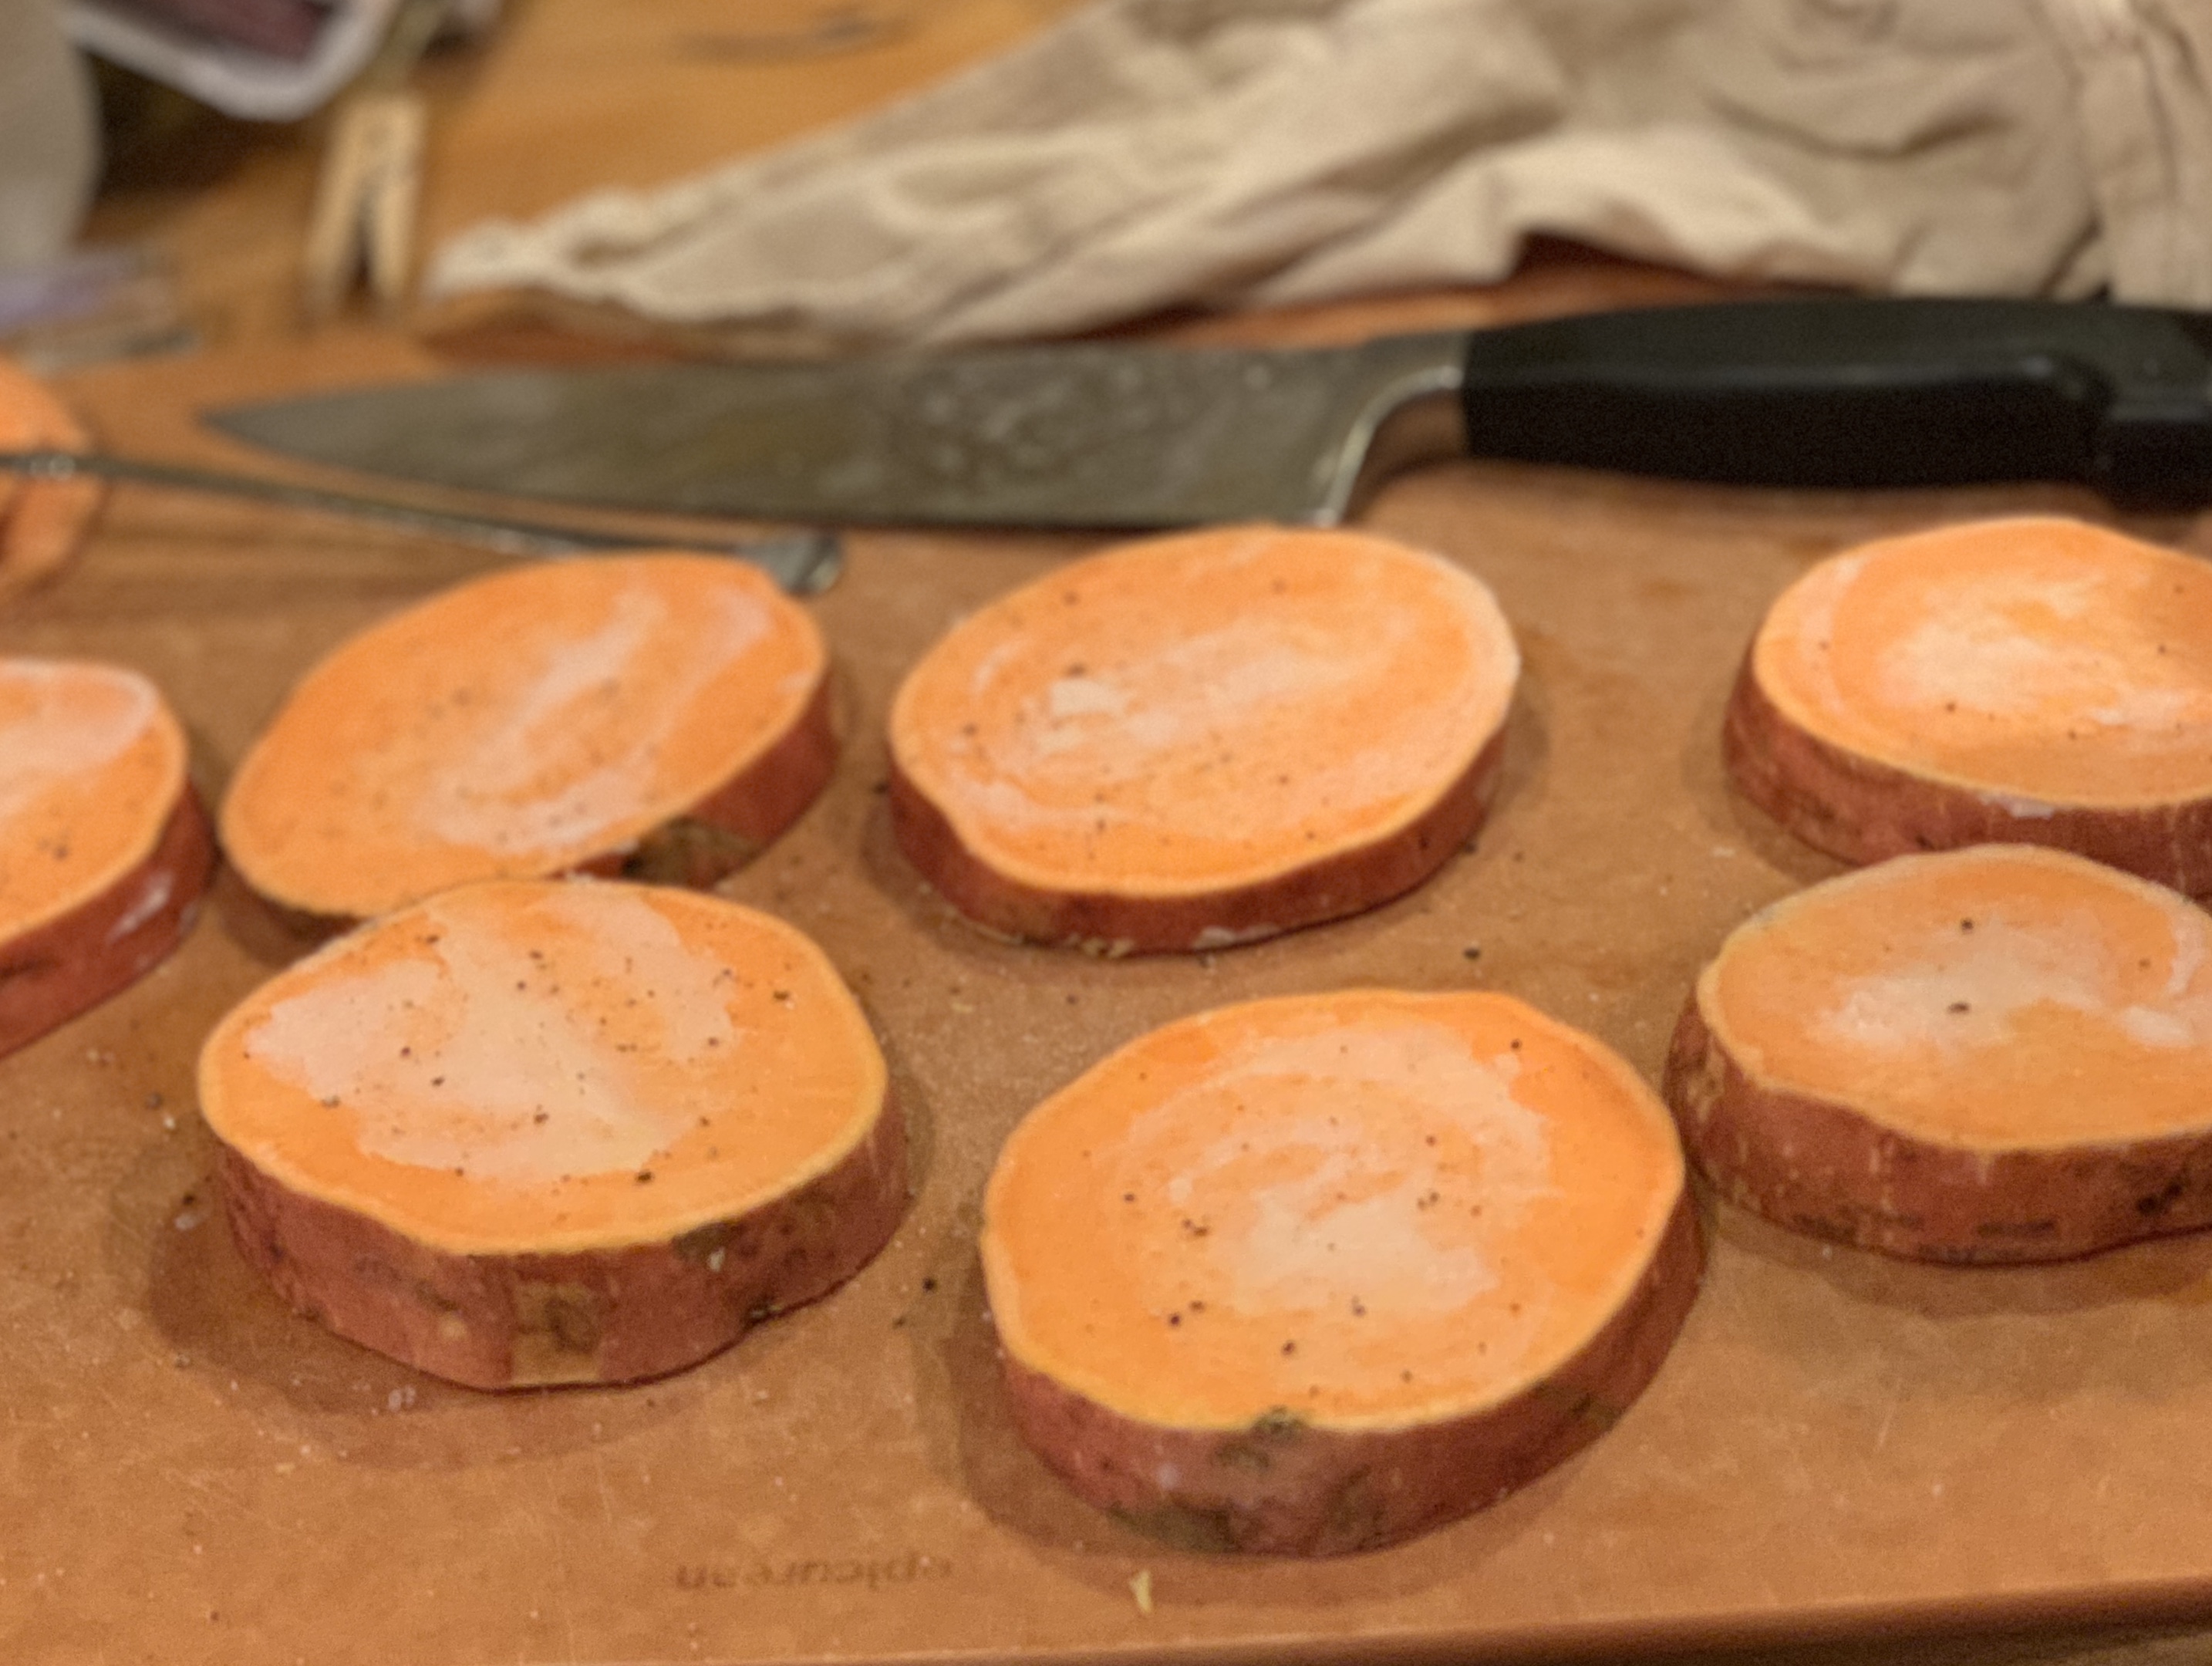
The second time I used smaller sweet potatoes and just cut them on the bias (diaganolly) to make a plank that was somewhat oval.  Both of them turned out beautifully so work with what you have.  (see topping step, aren’t they pretty)

You will want your slices to be about 1/2” thick so they can hold all the yummy toppings.  It’s now as simple as rubbing them on both sides with melted oil, coconut sugar, salt and pepper.  Place them in a preheated oven and roast for about 20 minutes.  Now if they need more time, carefully flip them over and roast another 5-10 minutes.  When I used my home oven they took close to 30 minutes, but when I used a commercial oven they were perfectly brown and softened in 20.

While the sweet potatoes are getting their caramelization on, prepare you apples by placing all ingredients in small sauté pan.  Bring them to a boil, then turn the heat down and simmer until they are soft and the liquid has reduced to a thick consistency.

Also while you are waiting for the sweet potatoes to roast and apples to cook, make the cinnamon pecan crumble by tossing the pecans in spices then drizzling with melted oil, tossing to coat.

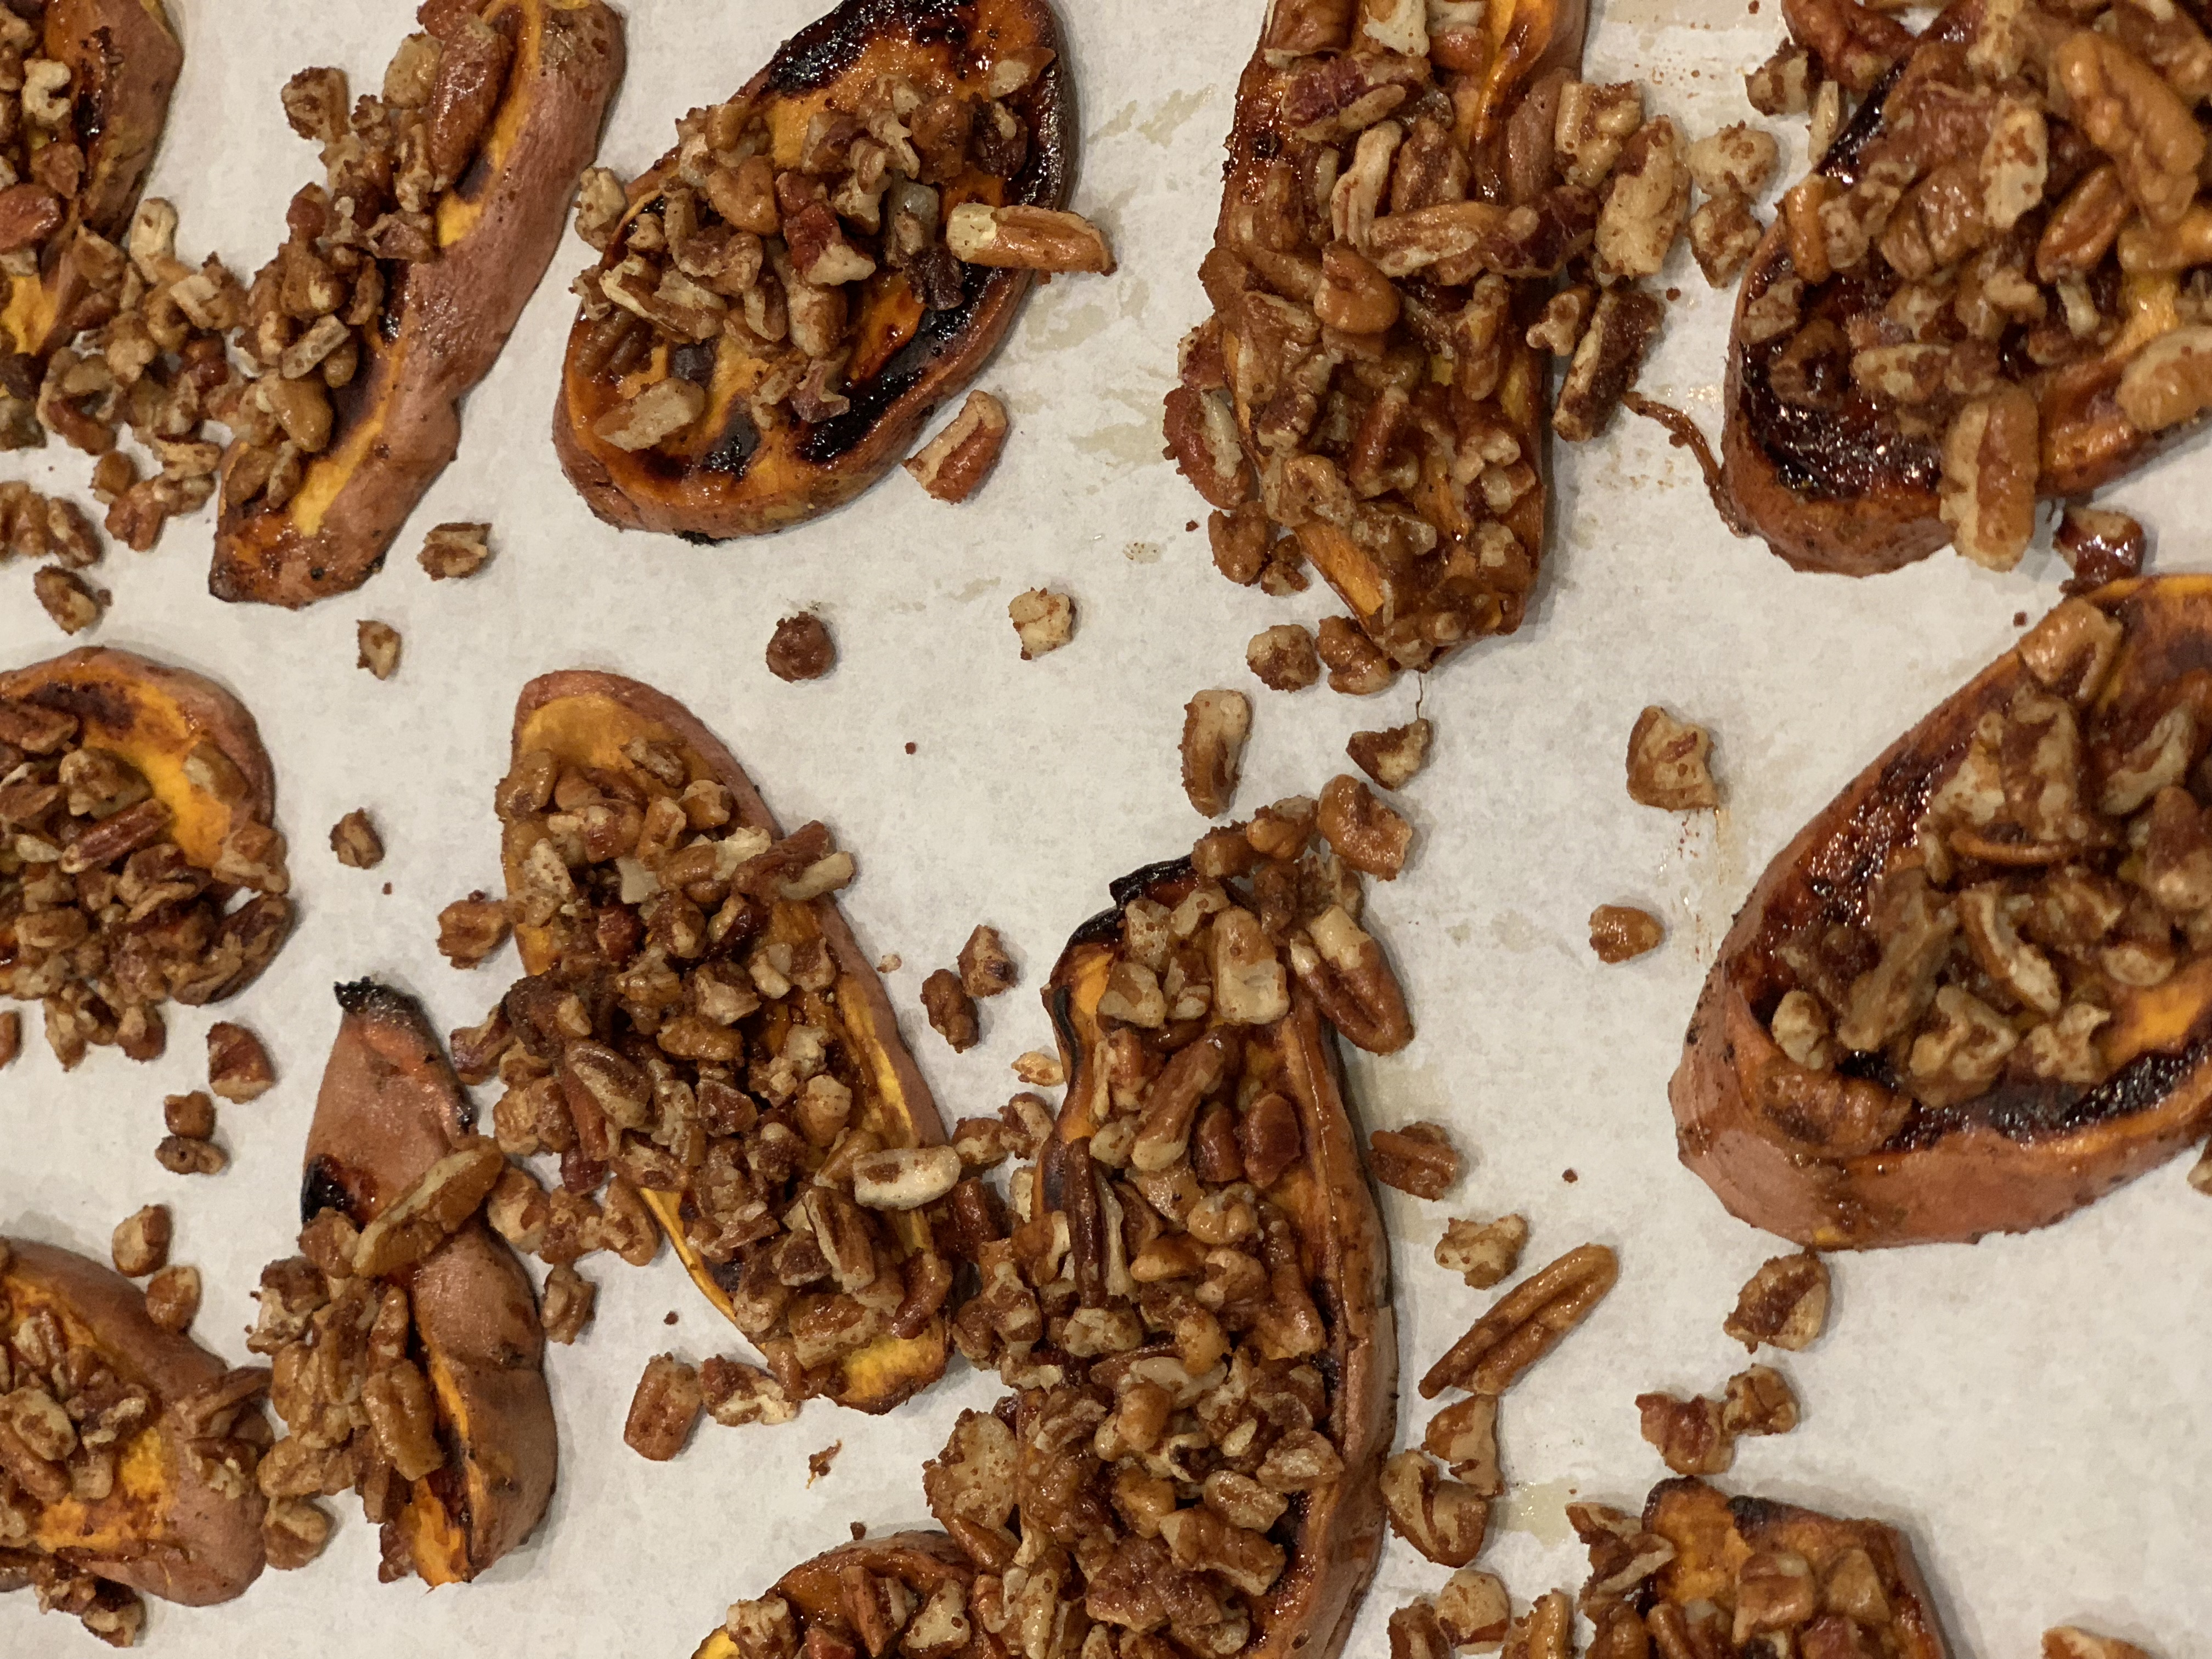
When your sweet potatoes are done, pile the pecans on the sweet potatoes.  Don’t worry if they fall off, you can straighten them up later, or use the ones that fall onto sheet pan as a garnish.  See no worries, this is totally stress free…
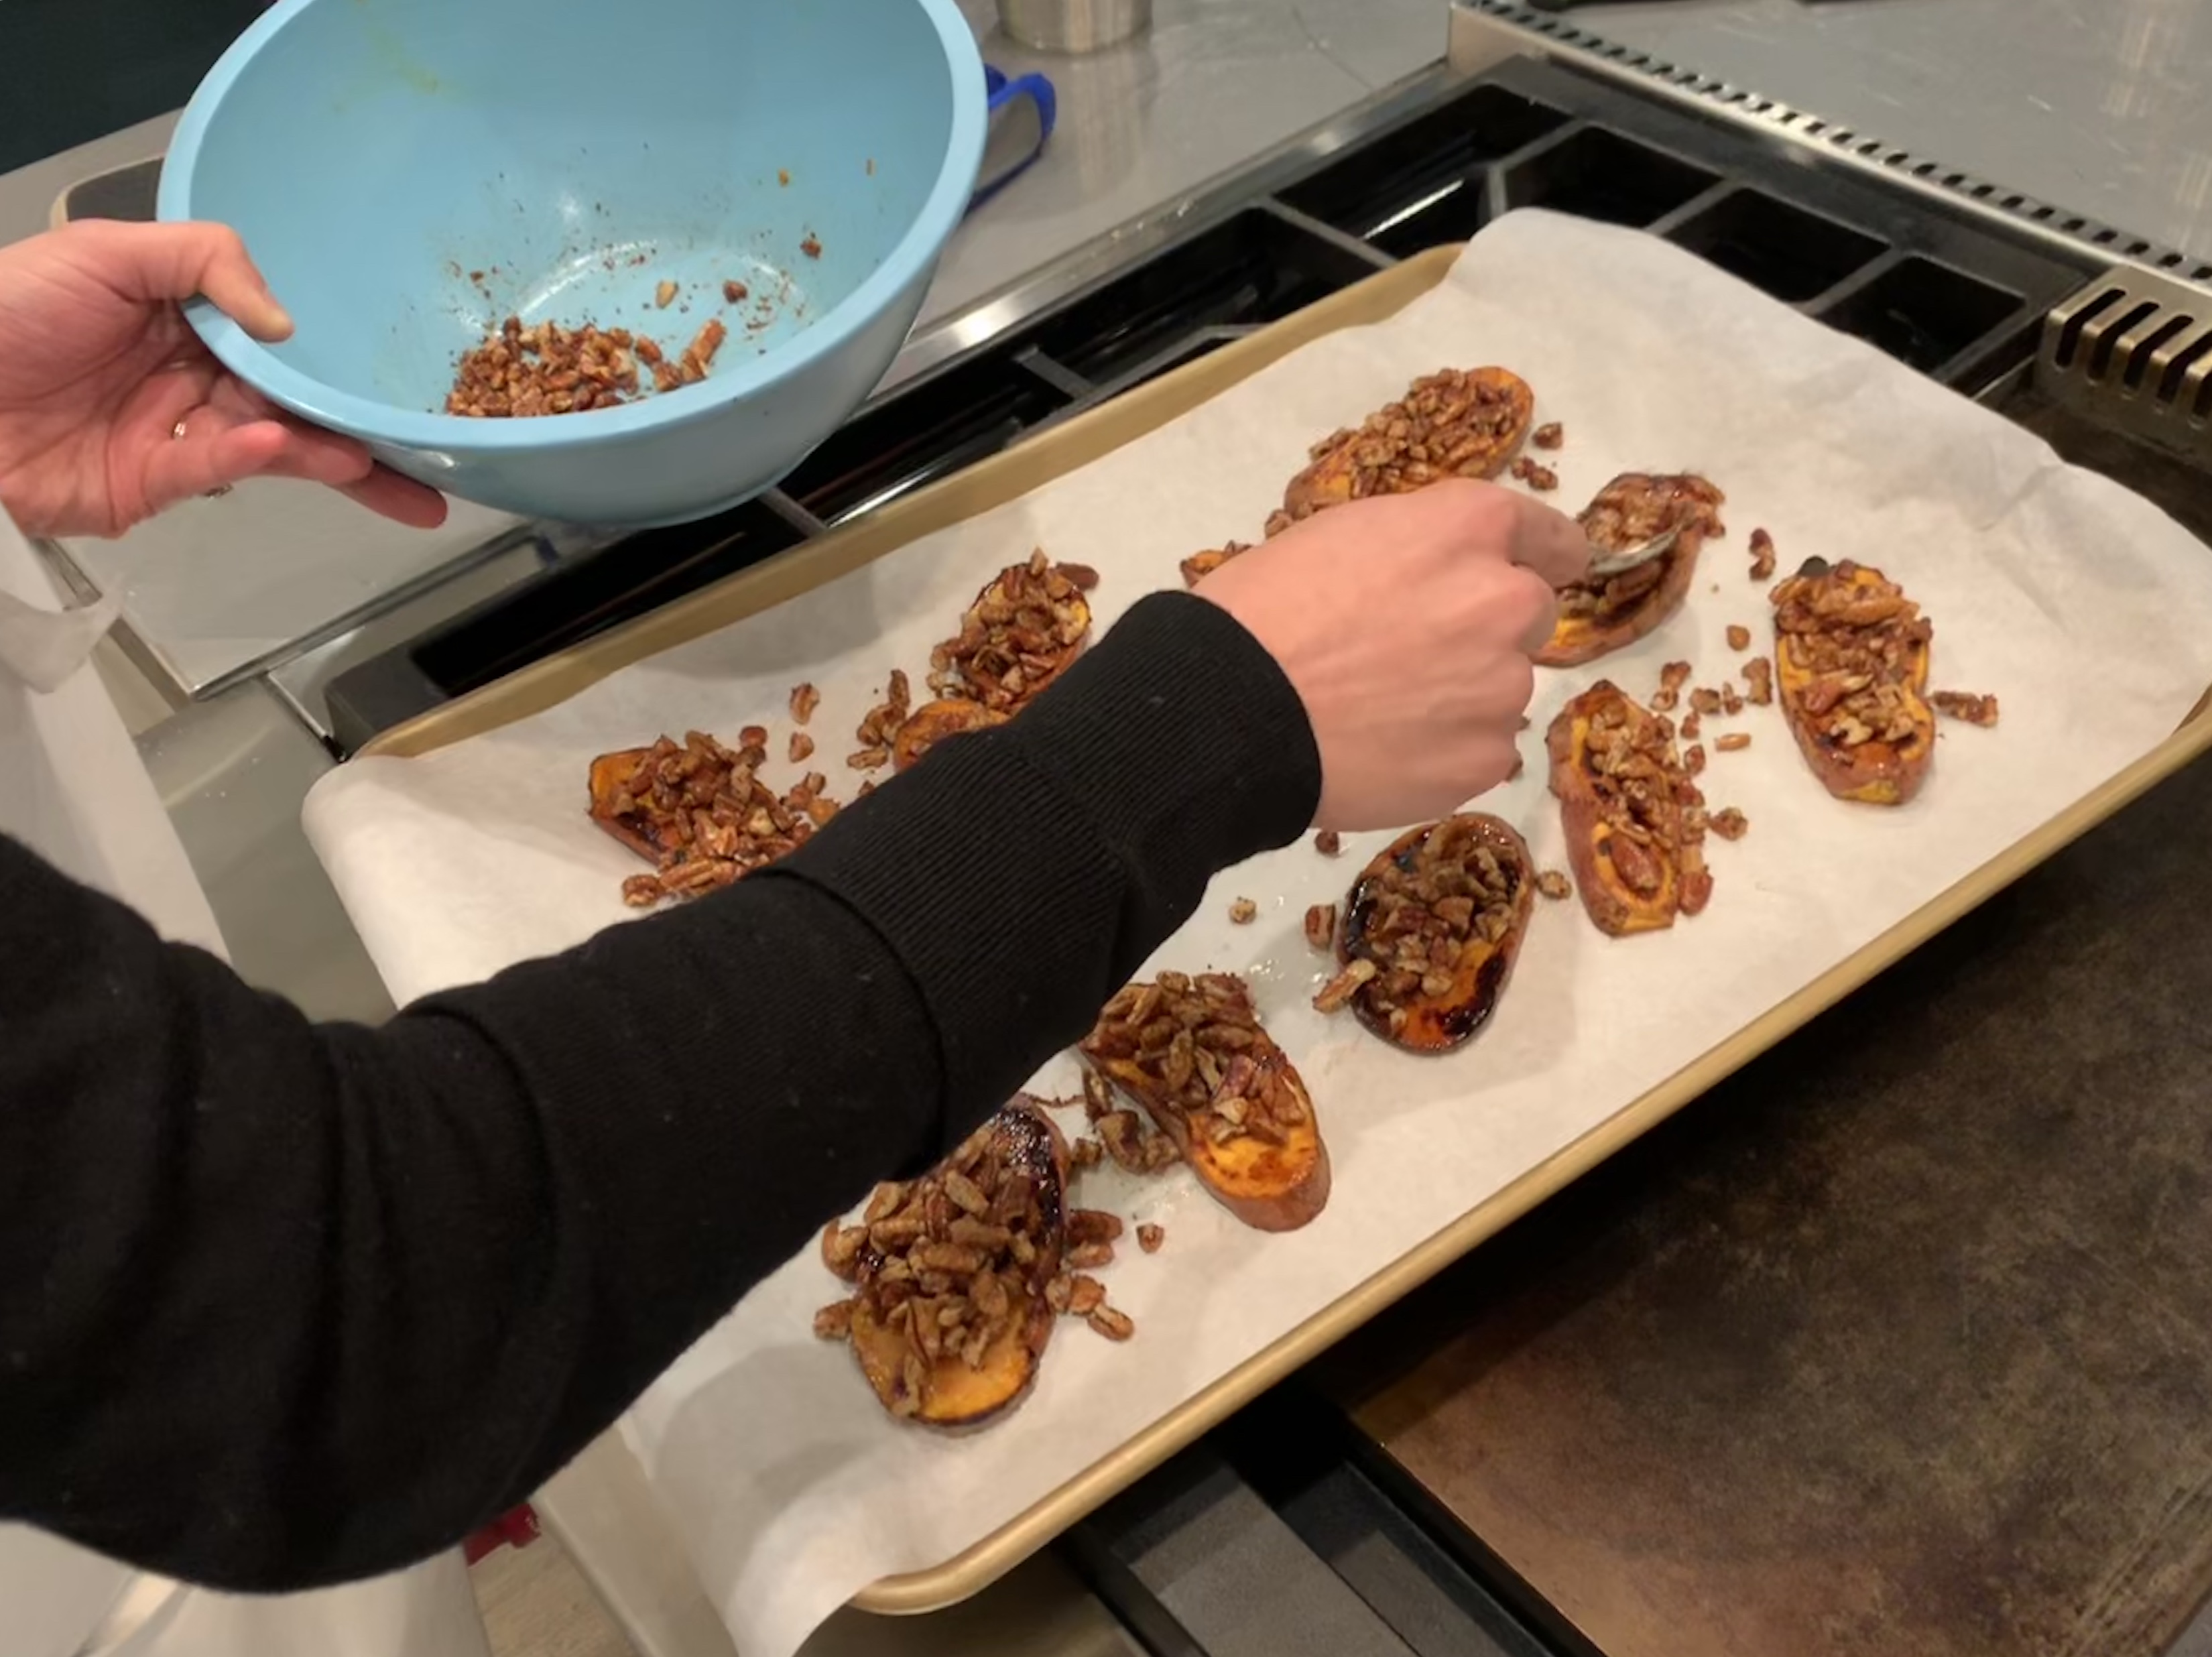
 

Pop the sweet potatoes back into the oven, with the pecan topping and roast for an additional 5-10 minutes or until pecans are golden.  Don’t go too far or they will burn.
Finally top the whole works with apples, and any pecans that may have snuck off the top of the sweet potato slices.  Arrange on a platter for a pretty presentation.  These can be served warm or room temperature.  Feel free to make them ahead and reheat.  Reheating works best if they are not assembled, but they will still be delicious if time only allows you to build them ahead of time.
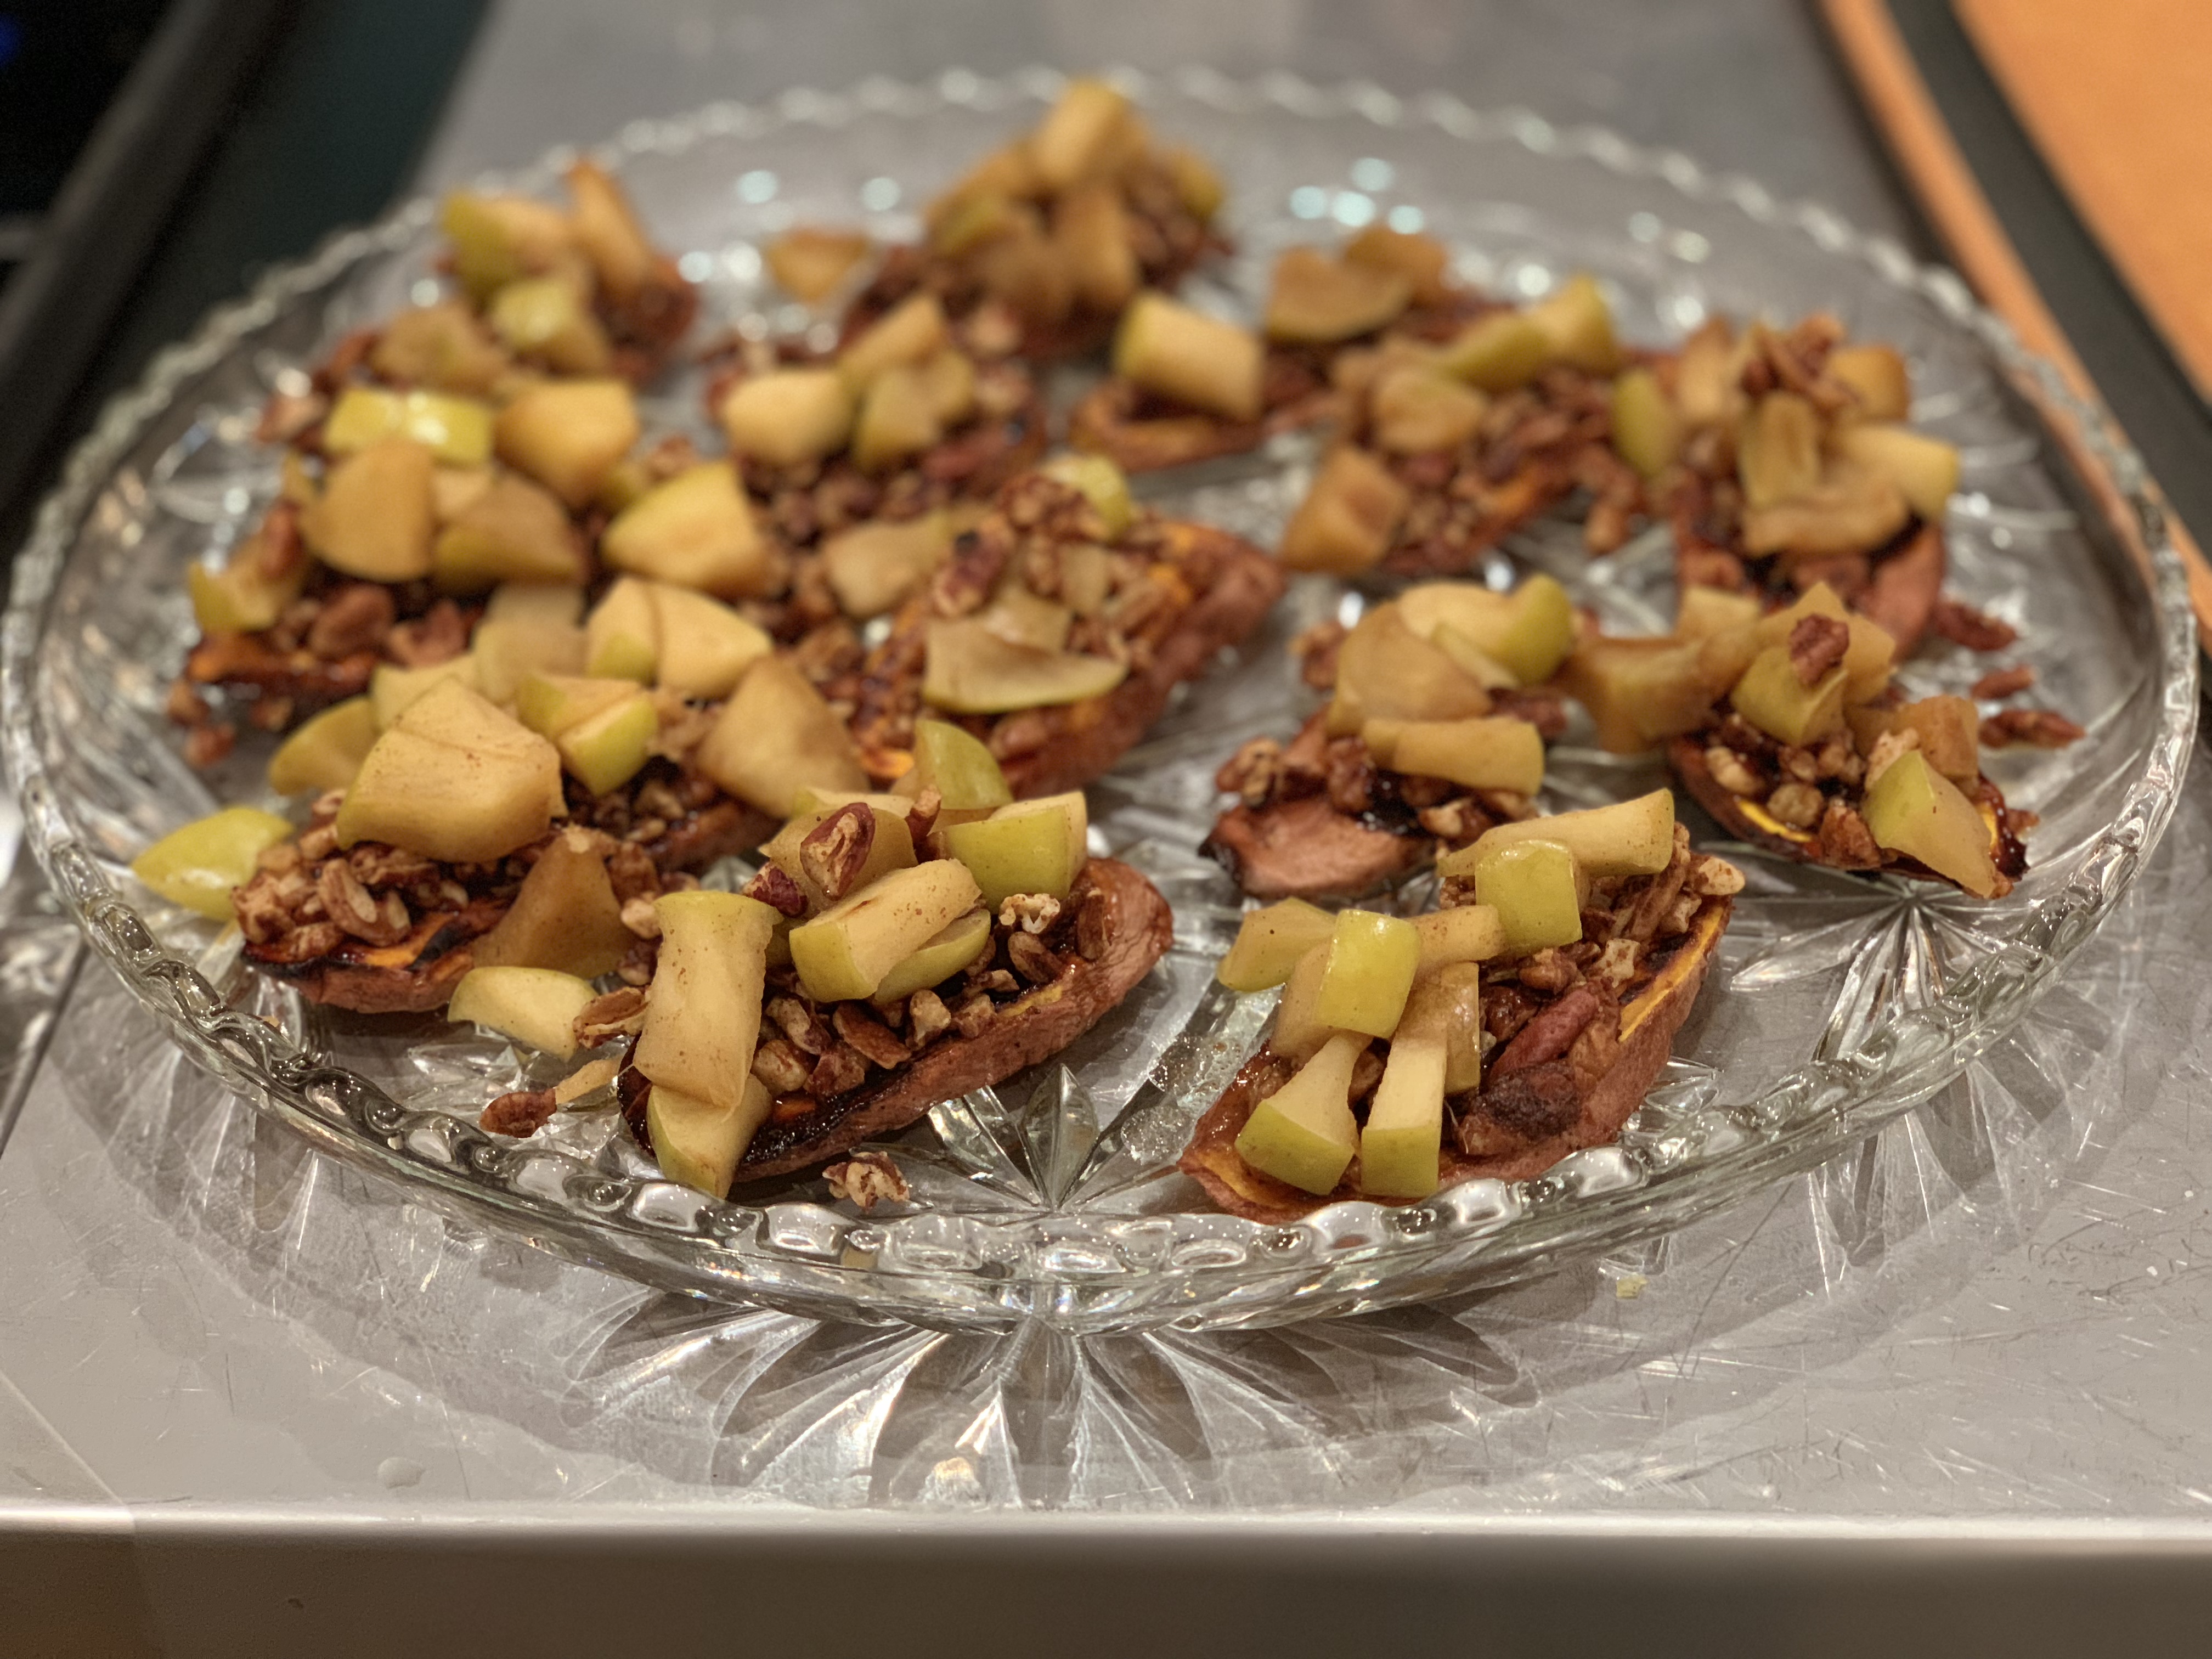
I recommend these as a side dish or appetizer, but you could absolutely top them with vanilla ice cream or whipped cream and serve as a delicious fun dessert.

However you serve them, enjoy!
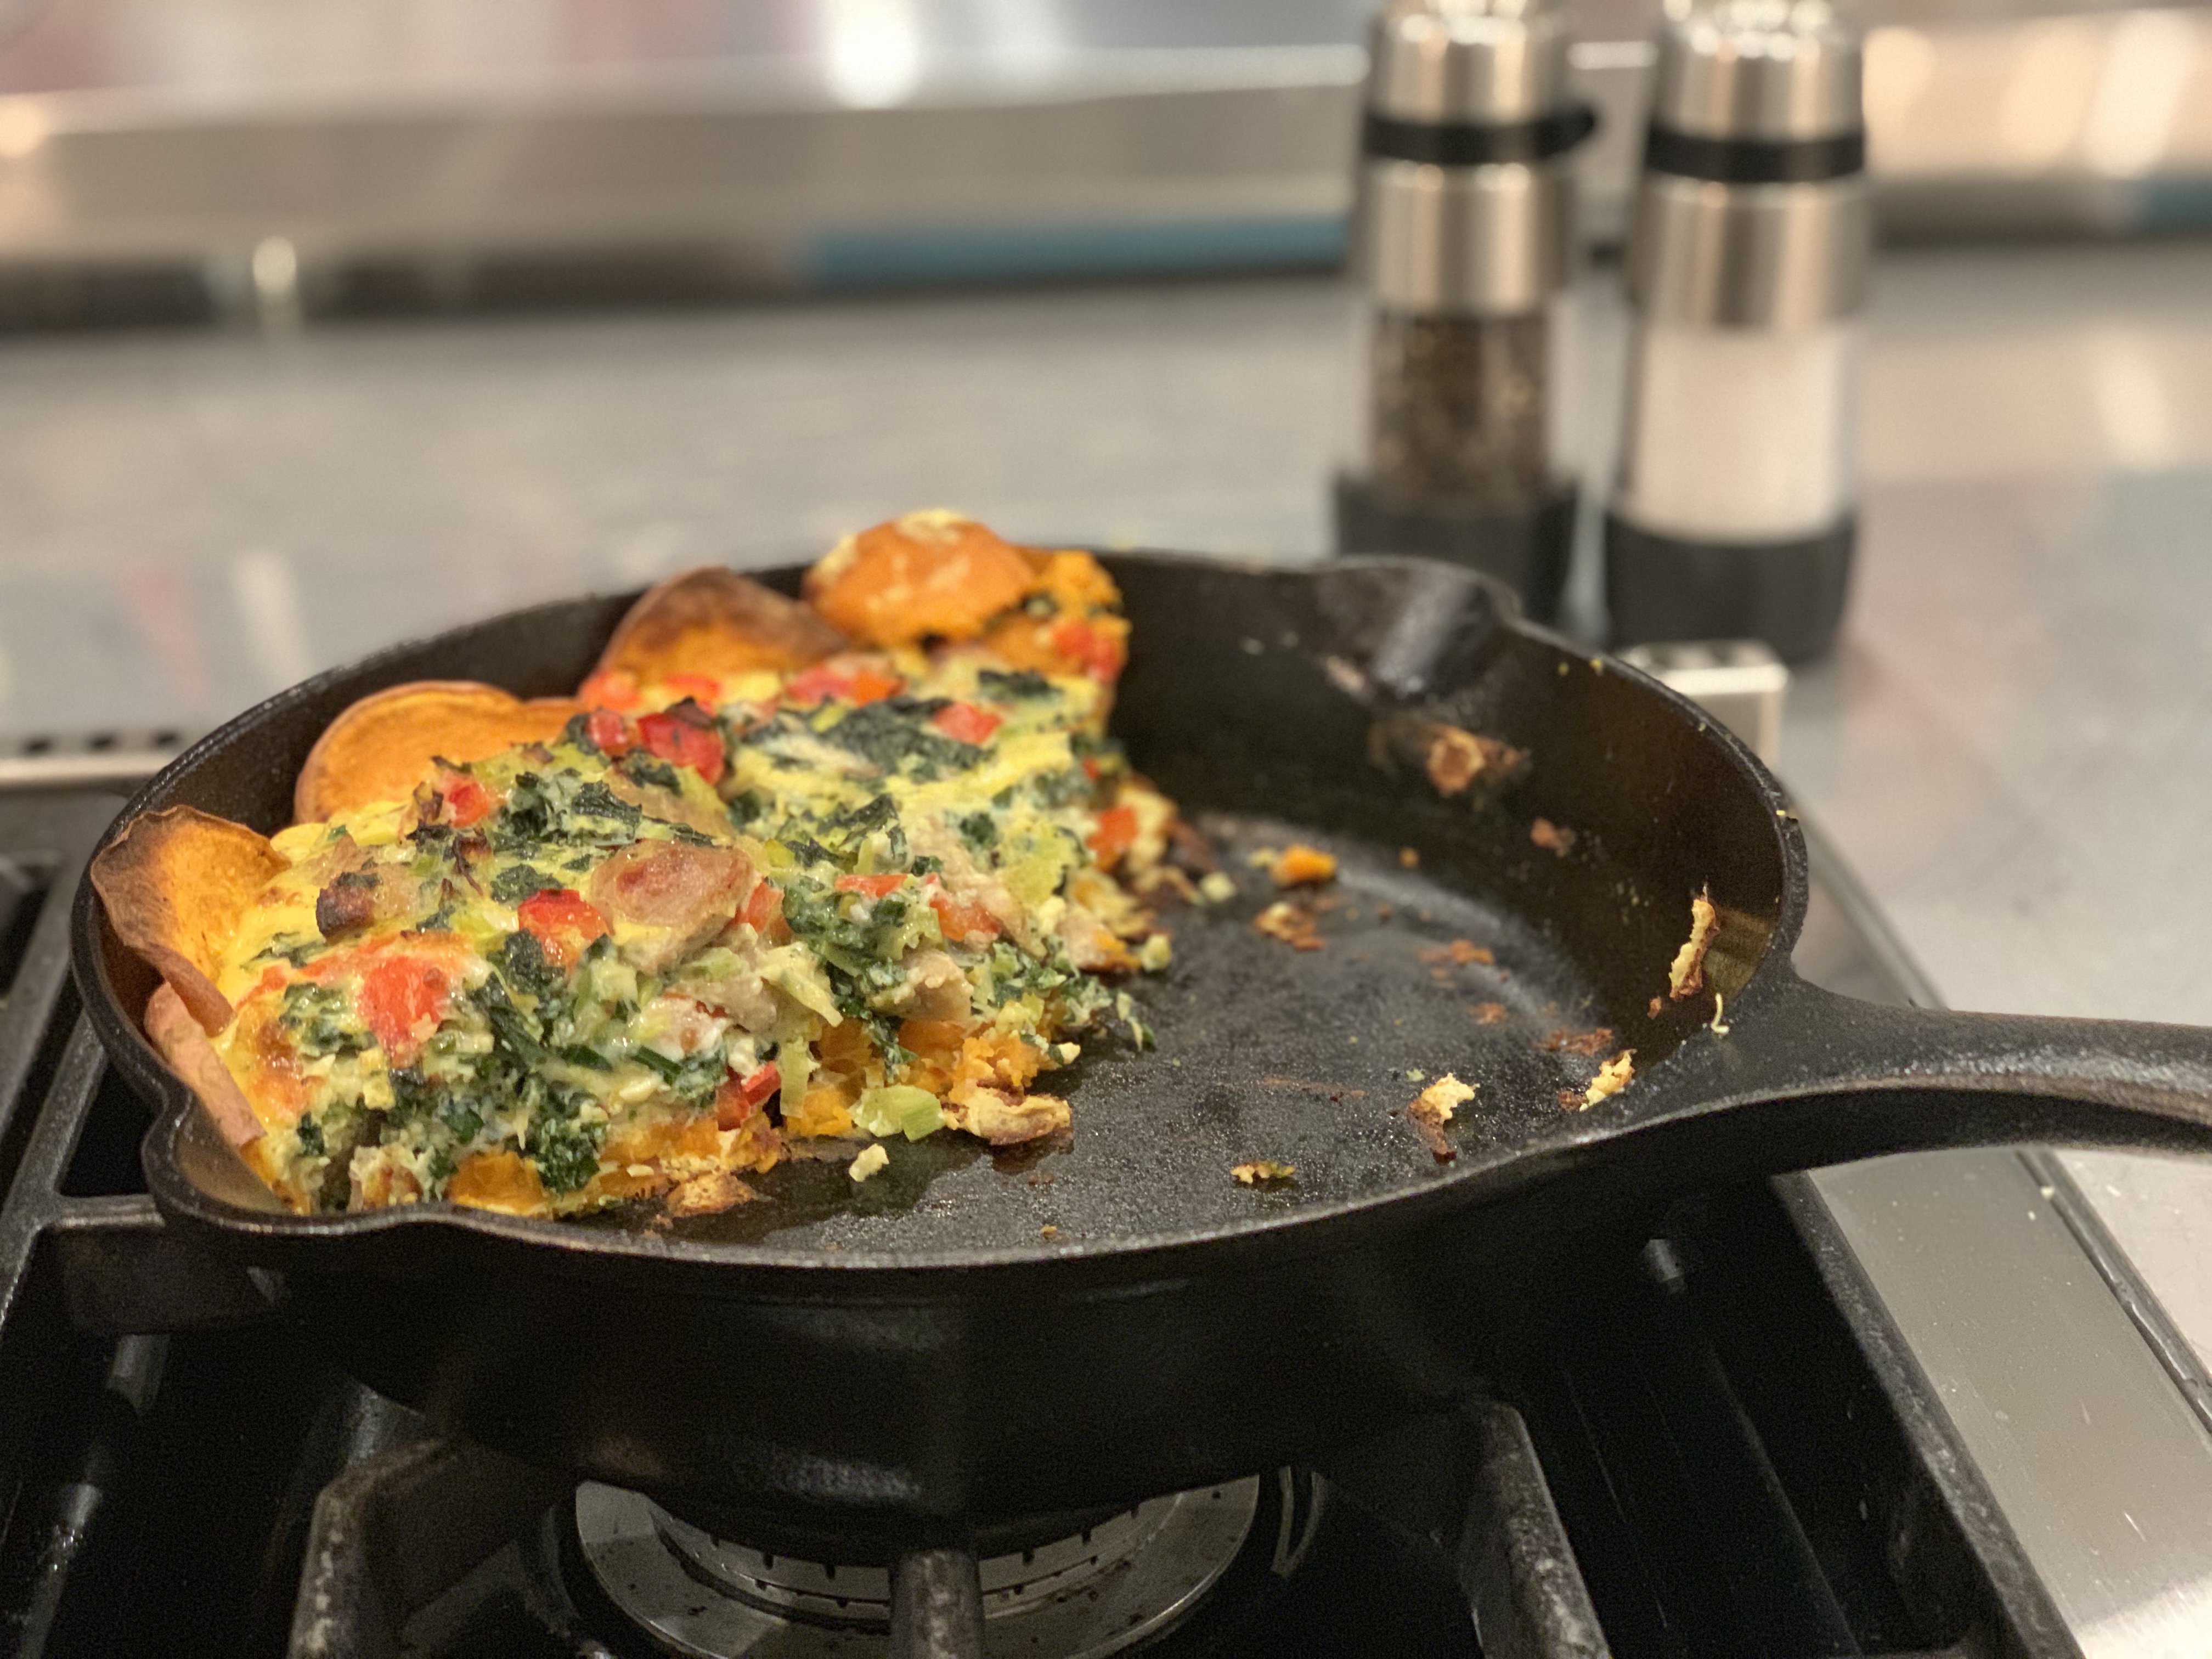
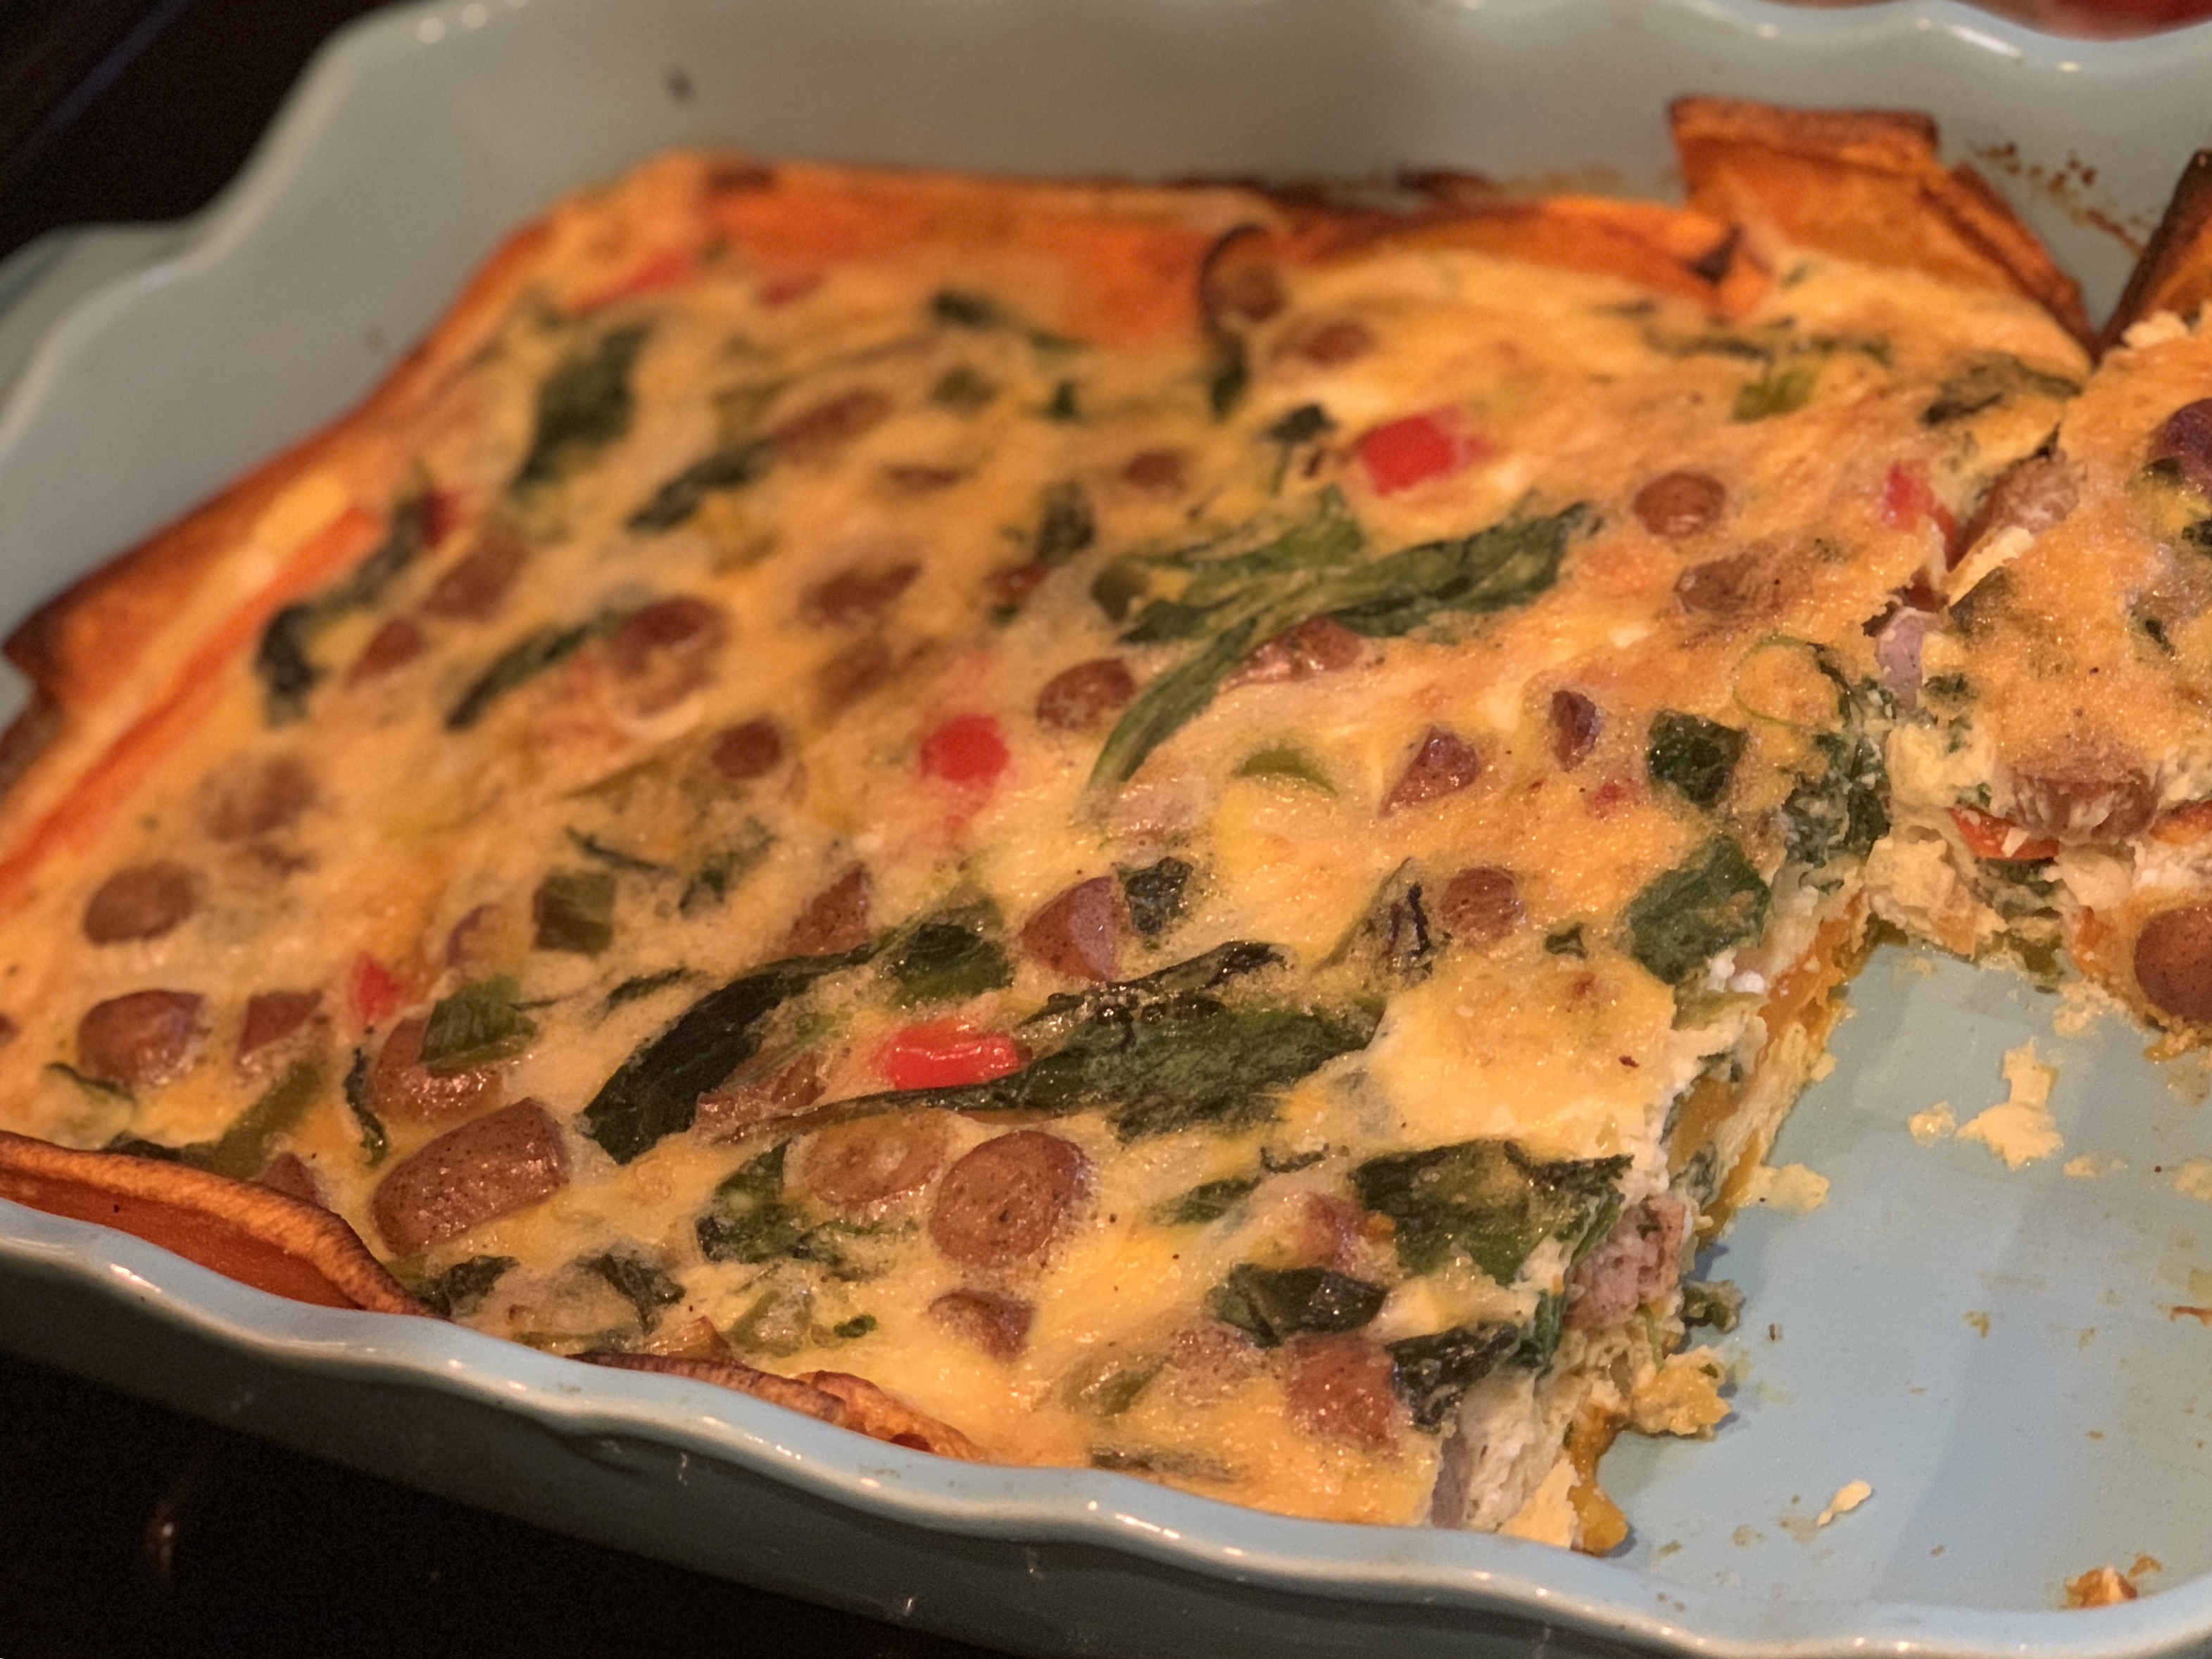
Autumn Butternut Squash Crust Quiche with Sausage and Kale


Ahh fall, the crunchy leaves under our feet, the beautiful colors, pumpkin spice…

Sorry to interrupt your daydream but…

I love making quiche as a make ahead meal, it is a great option for a busy night when there is not time to cook.  It’s also a great grab and go breakfast!

For the crust of this quiche I used butternut squash, but you can use any sturdy vegetable.  Think sweet potato, any winter squash, even regular potatoes or beets.

To get started slice the bulb shaped end off butternut squash.  Peel both parts of the squash, and remove seeds.  Slice the long part of the squash into thin rounds, the bottom half into thin slices.  Toss them with salt, pepper and a touch of oil and lay them in the bottom of a pie pan or skillet being sure to overlap them to form the crust.  If there are holes don’t worry, the eggs we add later will help it stay together.

Roast the crust in the oven until squash softens and begins to brown.  Set aside.

For the filling, remove the casings and brown your chicken sausage in a bit of oil.  Alternately you can use cut up breakfast sausage, or fully cooked chicken sausage, just brown it in a pan to get some extra flavor.

While your meat is browning throw in the other vegetables, garlic, thyme, salt and pepper.

Once the sausage is browned and onions, peppers and kale are softened remove from heat and allow to cool slightly.

Crack the eggs into a bowl, season with salt and pepper.  Now add the milk and beat the eggs for a minute or so.  Stir in cheese if you are using it (a tablespoon or two of nutritional yeast would be a great sub for the cheese if you can’t have it) then add in the sausage mixture.  Pour the whole works into your squash crust and bake until eggs are set, about 20-25 minutes.

My kids even enjoy these quiche so I usually don’t mess around with a single batch, instead I double the recipe and use a casserole pan.  Just be sure to adjust baking time accordingly (5 minutes more is the most I have added).  Please forgive my pictures it seems my quiche always gets hit before I can snap a proper shot.

You can make this ahead and serve at room temperature, straight out of the oven or refrigerator, or reheated.  It’s a great grab and go breakfast or a nice make ahead dinner.


Enjoy!


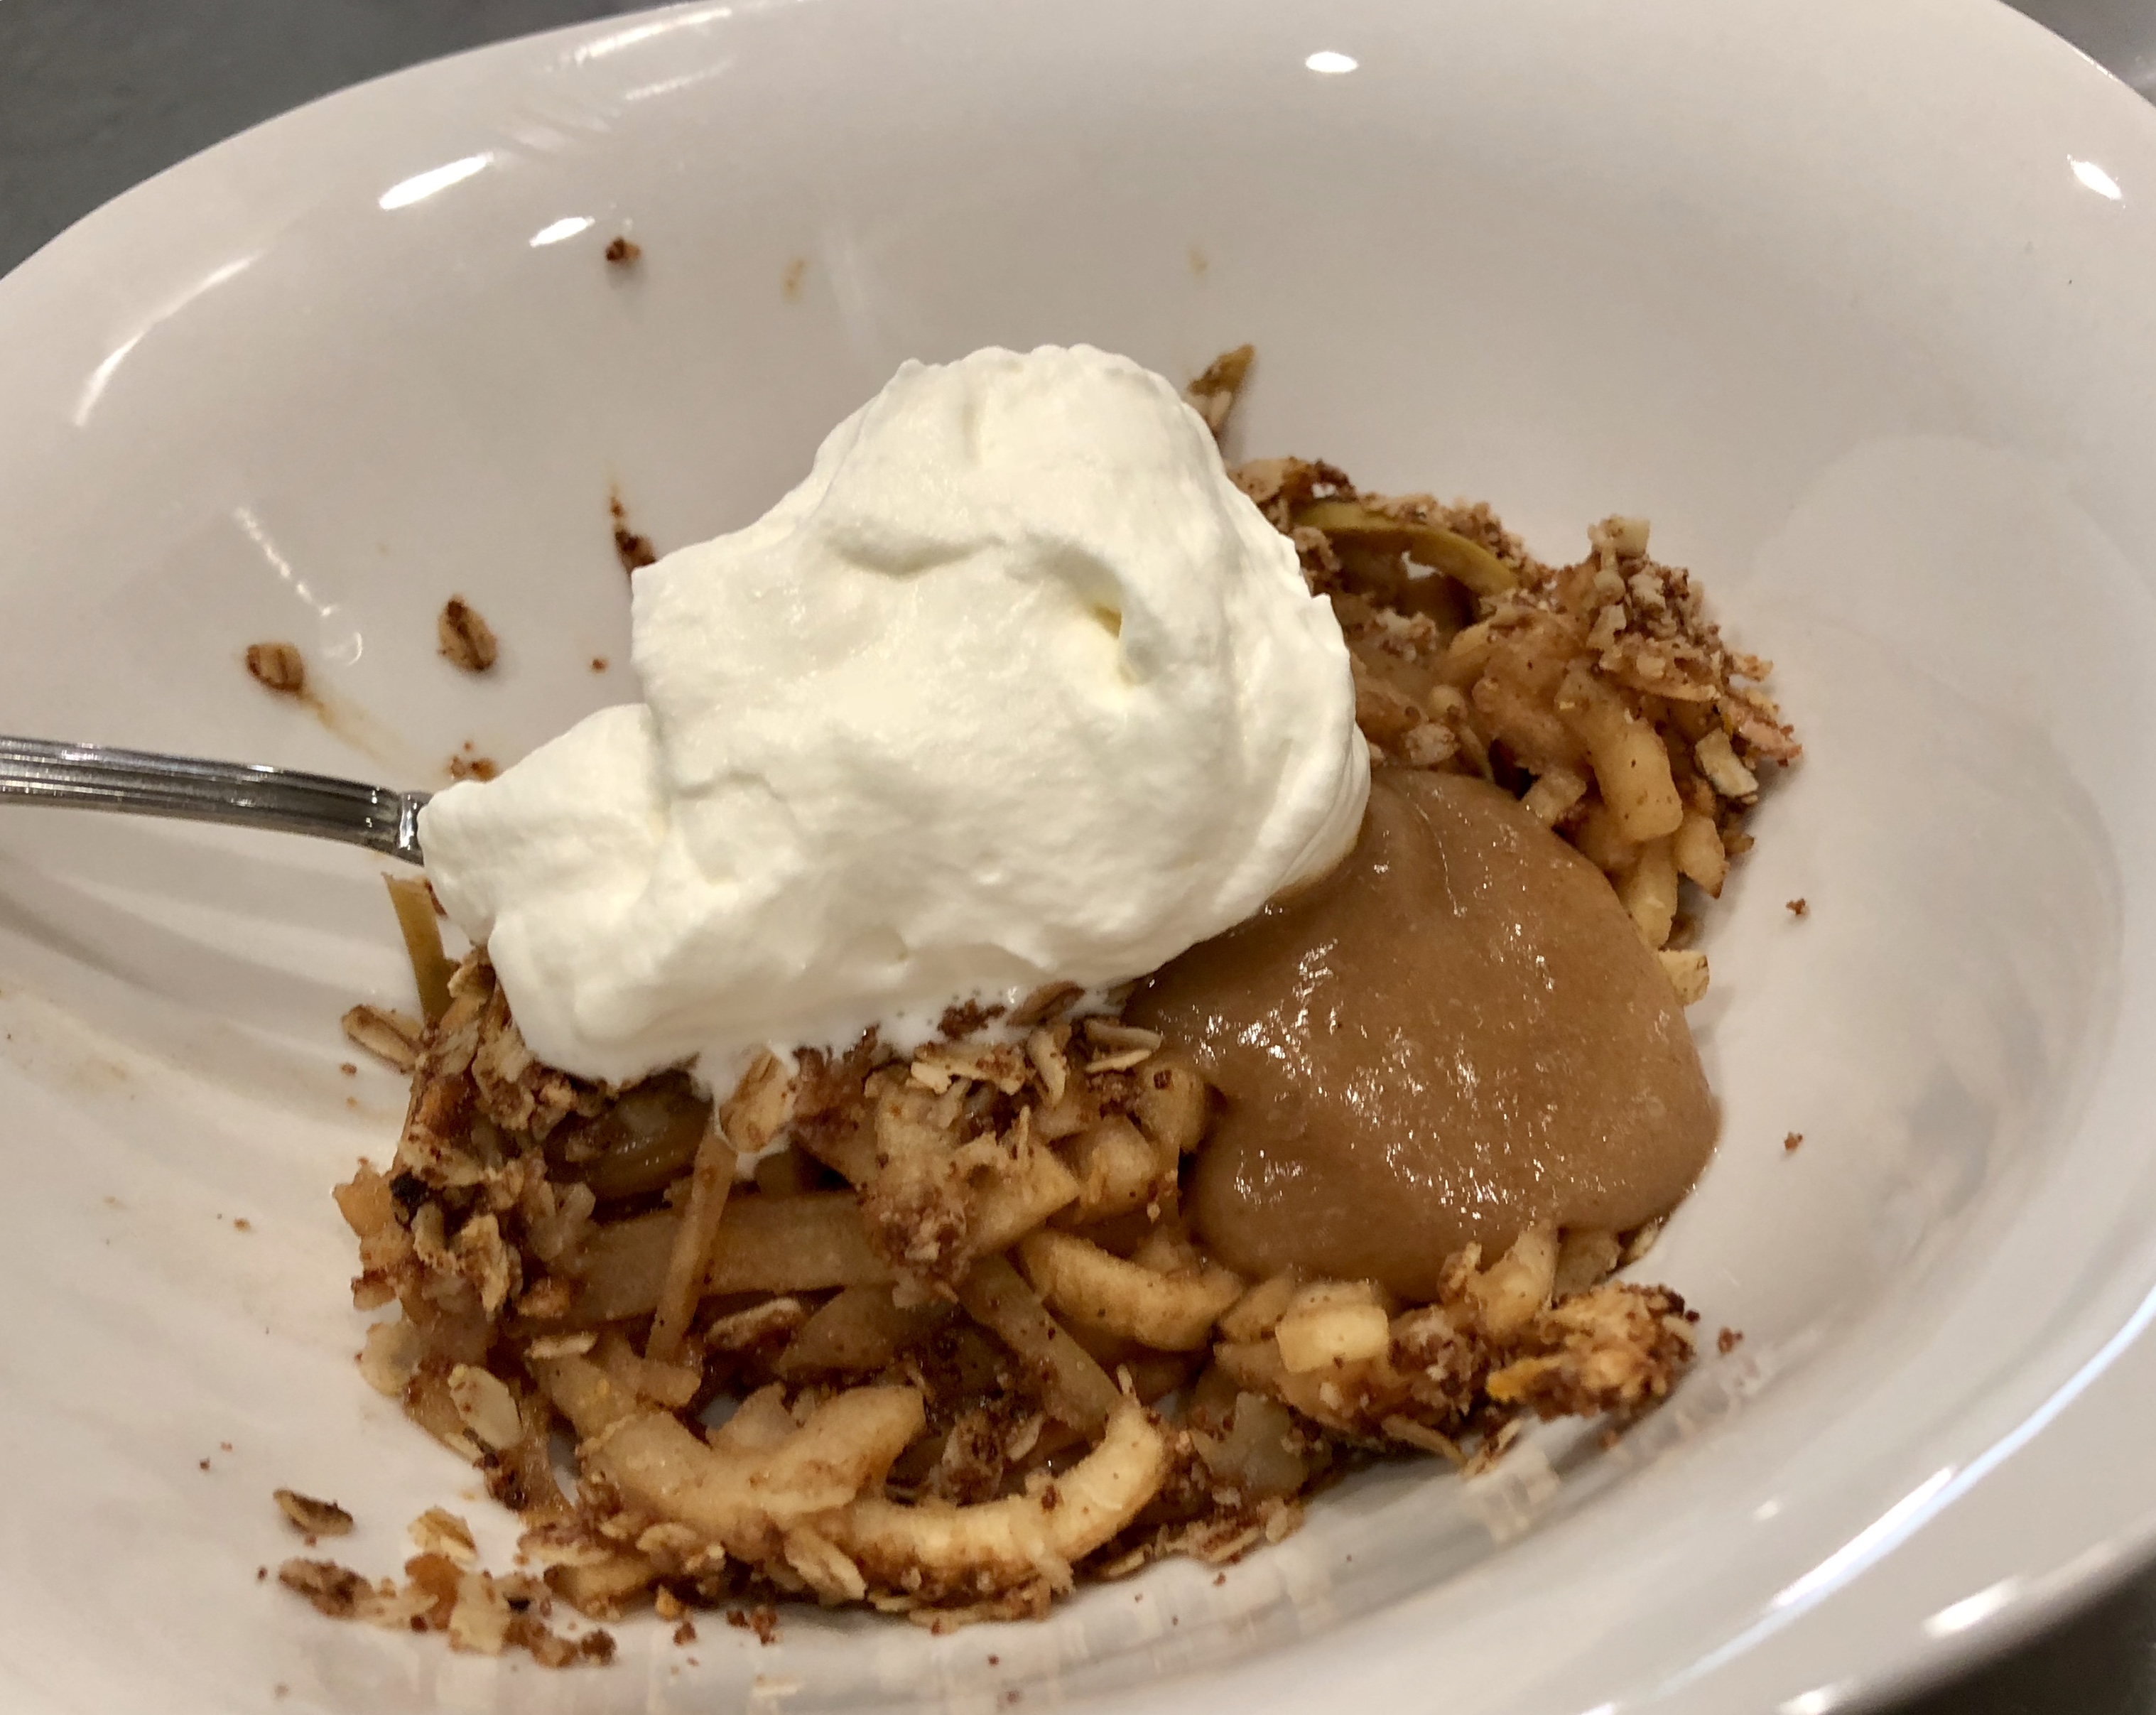
Spiralized Apple Crisp with Date Caramel

Crisp, is one of the easiest desserts in the whole world!   In fact when my kids ask for pie I always try to convince them crisp is better.  Don’t get me wrong I can make pie crust, but I really don’t have a lot of time on my hands so…crisp is my go to. The hardest part of this Apple Crisp is prepping the apples, and since that isn’t hard at all that makes this dessert easy as pie…ahem crisp.

I chose to spiralize my apples for this crisp, feel free to use sliced apples if you prefer.  The spiralizer is perfect for apples as you don’t even need to core them!  Just secure in your spiralizer and crank away.  In a recent spiralizer cooking class I taught I really loved this spiralizer by OXO.  In a recent spiralizer cooking class this spiralizer secured to the counter top better than its competitors making it easier to use.

Once your apples are prepared and ready to go toss with the balance of apple ingredients and pile in an oiled baking dish.  You’ll see I haven’t used any refined sugar in this recipe (and most of my recipes…). Instead we are replacing all sugar with coconut sugar.  It has a nice almost molasses flavor and has been shown to not spike your glycemic index the way that refined sugar would.

With your apples all spiralized and ready for fun, mix all crisp ingredients together and top apples with it spreading evenly being sure to fully cover apples.  Spiralizing your apples also make this a super fun dessert for kids as it is like eating apple noodles if you don’t trim them.  If longer spiralized apples isn’t your jam, no worries go ahead and snip them with a pair of kitchen shears as you finish spiralizing.

When it’s all put together,  bake in a preheated oven until apples are tender and bubbly and crisp topping is golden.

Top with my homemade salted vanilla date caramel sauce and whipped cream or coconut cream and enjoy!  Dessert is served, guilt free!!

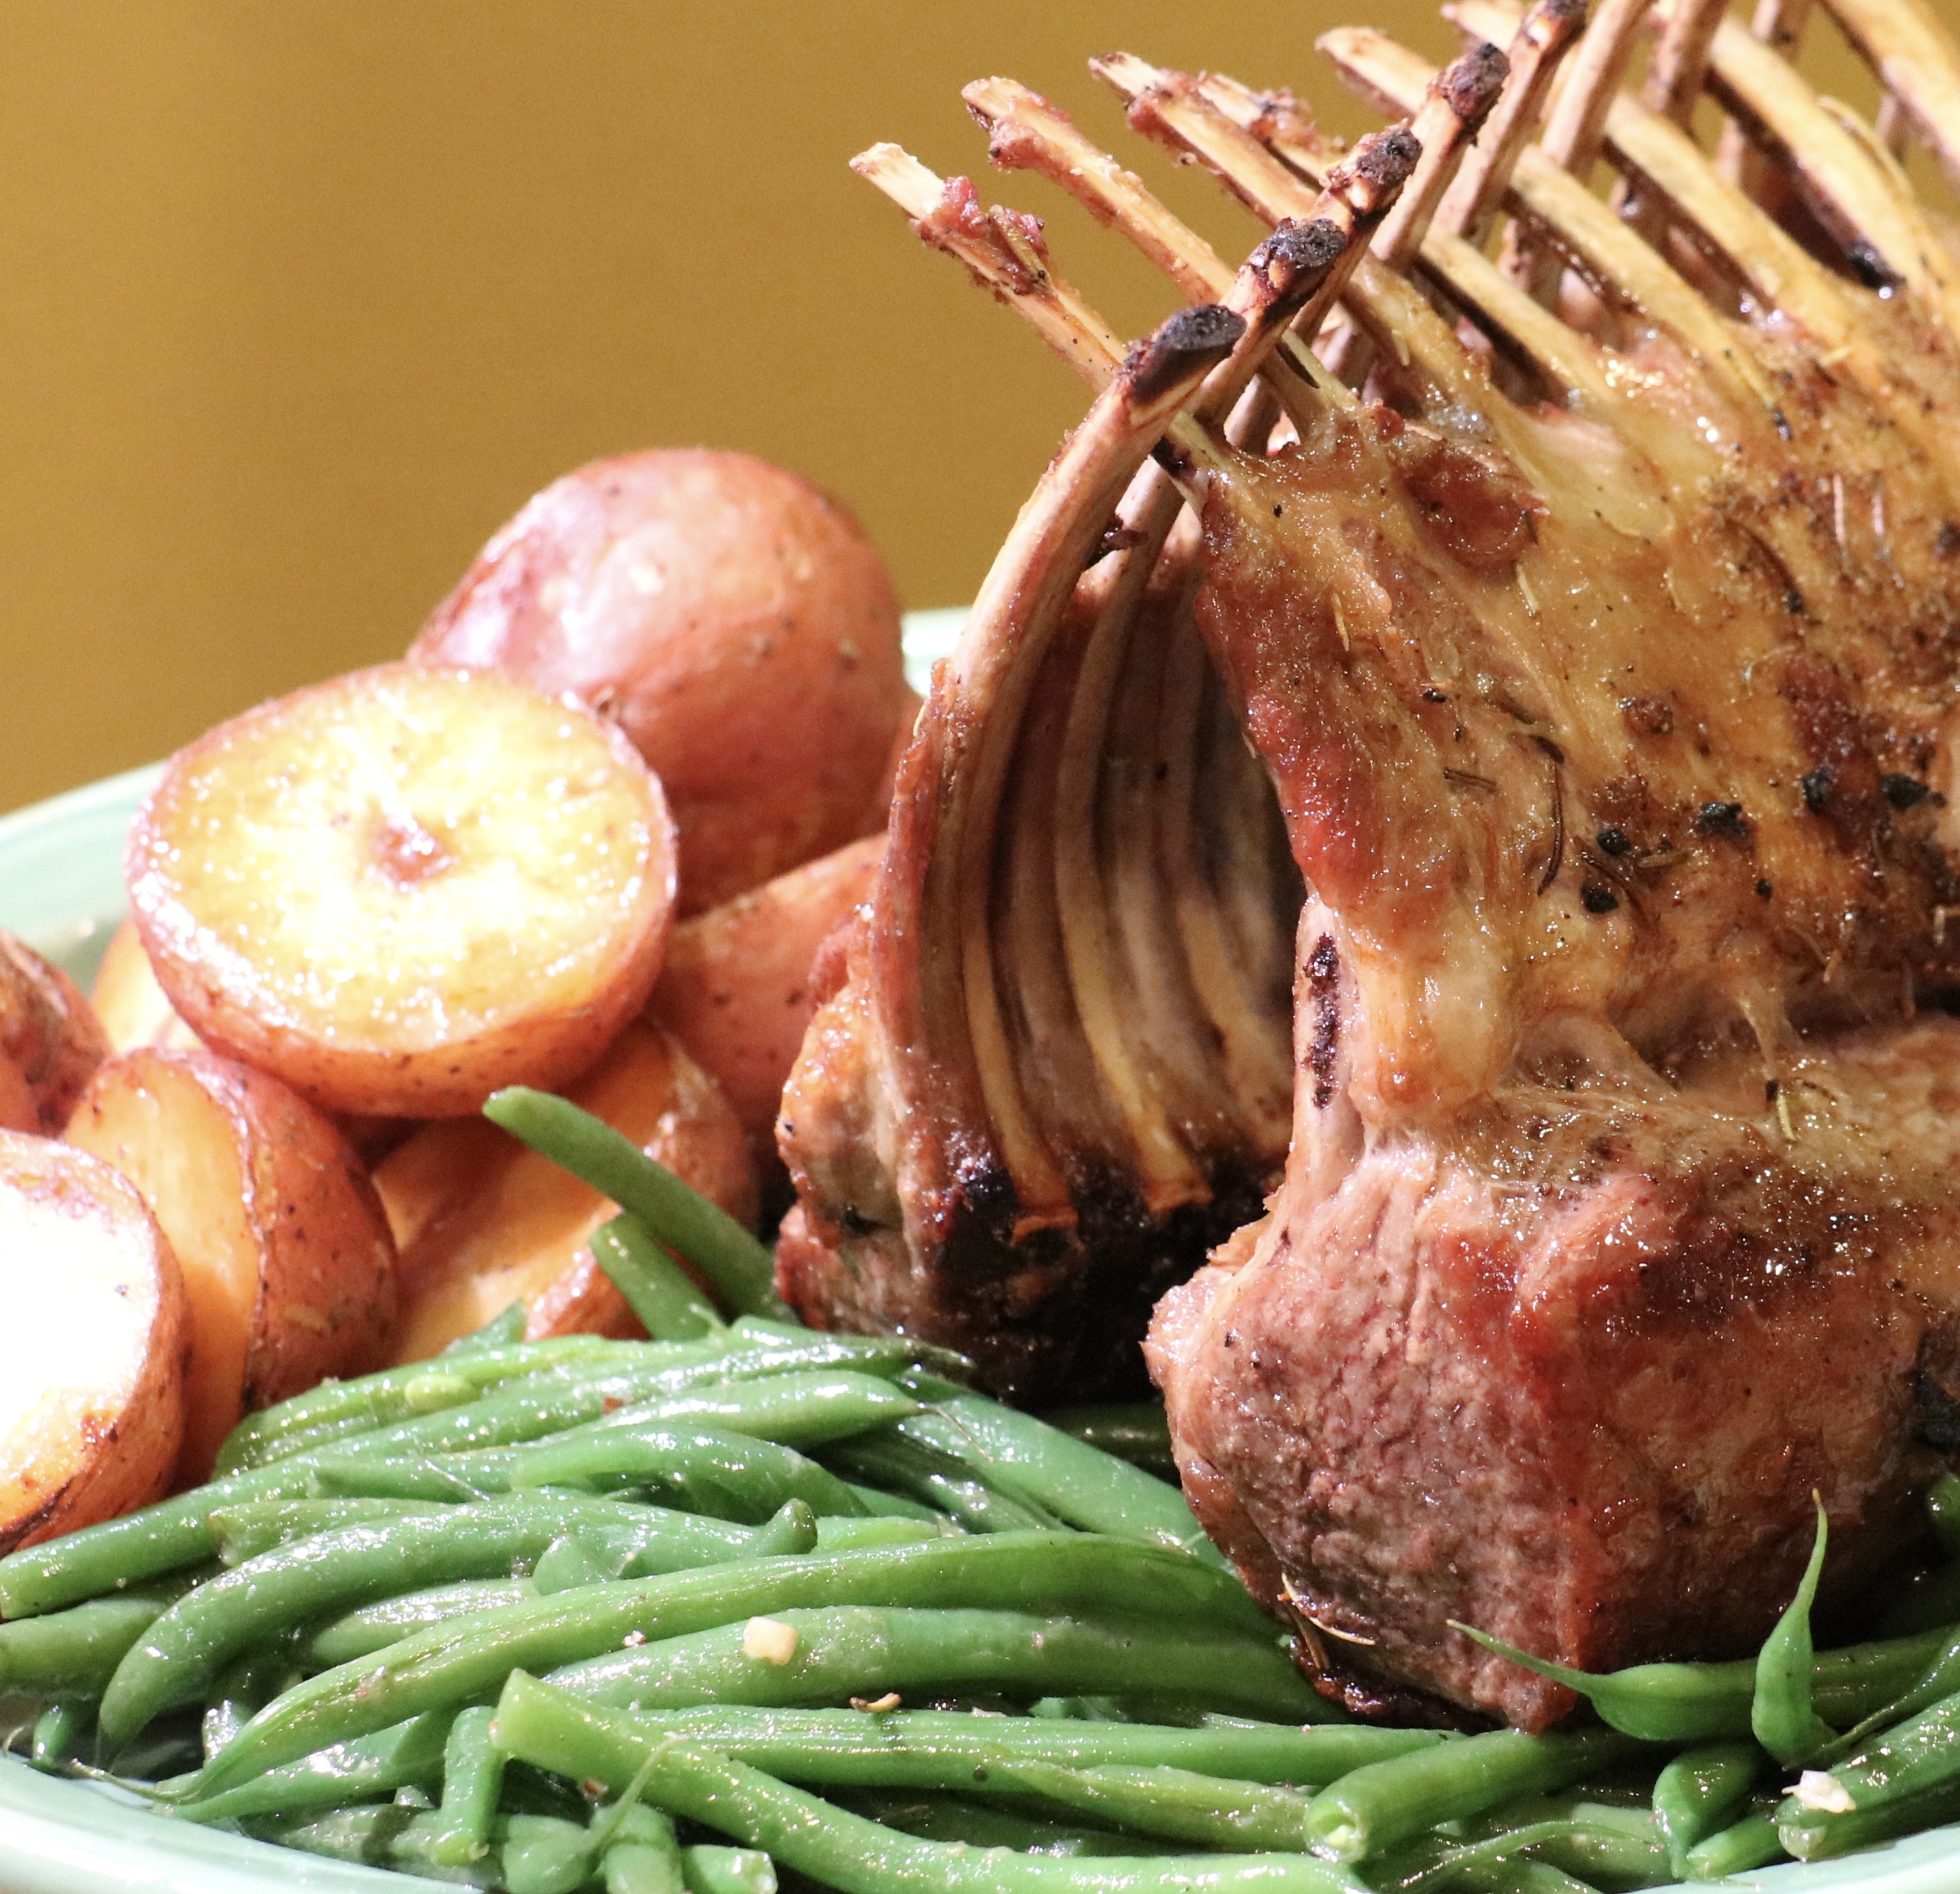
Roasted Rack of Lamb with rosemary and garlic

Roasted Rack of Lamb with Rosemary and Garlic

Half way through March already!  Please send Spring!  I wish I could have grilled this but the weather was so not cooperating…so oven roasted rack of lamb it is.

We were lucky enough to enjoy a trip to Ireland several years ago for business.  We decided to take advantage of the fact that we were there and stayed some extra time to really appreciate the sights and people of Ireland.  As for the food, yummy!  In the beautiful coastal town of Kinsale we enjoyed some amazing sea food, but the balance of the trip I seemed to be eating more than my share of roasted lamb shank with root veggies and brown bread.  Yes, lamb. It was so delicious I just couldn’t stop!  Back in the US the only lamb I can really appreciate is Australian lamb or sometimes lamb raised by responsible local farmers who allow them to graze freely on grass, etc.

As much as I enjoyed their beautiful lamb shanks my family prefers rack of lamb, so when we are lucky enough to enjoy a nice lamb dinner I usually grab racks. Lucky for me Costco has a decent price on Australian racks and they are super delicious!

Lamb may sound like a kitchen challenge, but I will say fear not!  It is a very easy meat to prepare as there is plenty of fat, so if you accidentally cook it a few minutes too long it isn’t a huge deal.  I much prefer to use my grill for lamb, but let’s face it sometimes that just doesn’t work out.  So today, we are going for a beautiful oven roasted rack.

Step one, prepare your meat by rubbing it with olive oil, rosemary, crushed garlic, course salt and fresh ground pepper.  Let it rest for about an hour on the counter, taking the chill off of it so it can be properly seared.

Heat a large roasting pan on high.  Drizzle in a bit of olive oil and swirl it around to coat the pan.  To avoid smoking too much I pull the pan off the heat for a moment when I add the oil.  Returning the hot oiled pan to the stove place your lamb meat/fat side down and sear for about 4 mins per side, or until you have a nice sear on each side.  Carefully (the bones will be hot) stand the racks up, meat on the bottom, rib bones on up, interlocking the ribs with other rack.  Roast in 400 degree oven or an additional 10-15 minutes or until meat reaches desired doneness, remove from oven.

Let rest 5-7 minutes.  It looks pretty amazing to set this on a pretty serving platter, but feel free to take it up a notch cutting the ribs apart by slicing in between bones to make a bone in chop and dipping it in some black and white sea salt.  Serve with some sautéed green beans and roasted garlic potatoes and you have yourself a gourmet meal, with your active cooking time around 30 minutes.  Enjoy, Cheers!

Roasted Rack of Lamb with Rosemary and Garlic Pan seared and roasted lamb rubbed with crushed garlic and rosemary make a simple elegant meal with less than an hour of active time. Sit back relax and enjoy with a great glass of wine. Cheers!

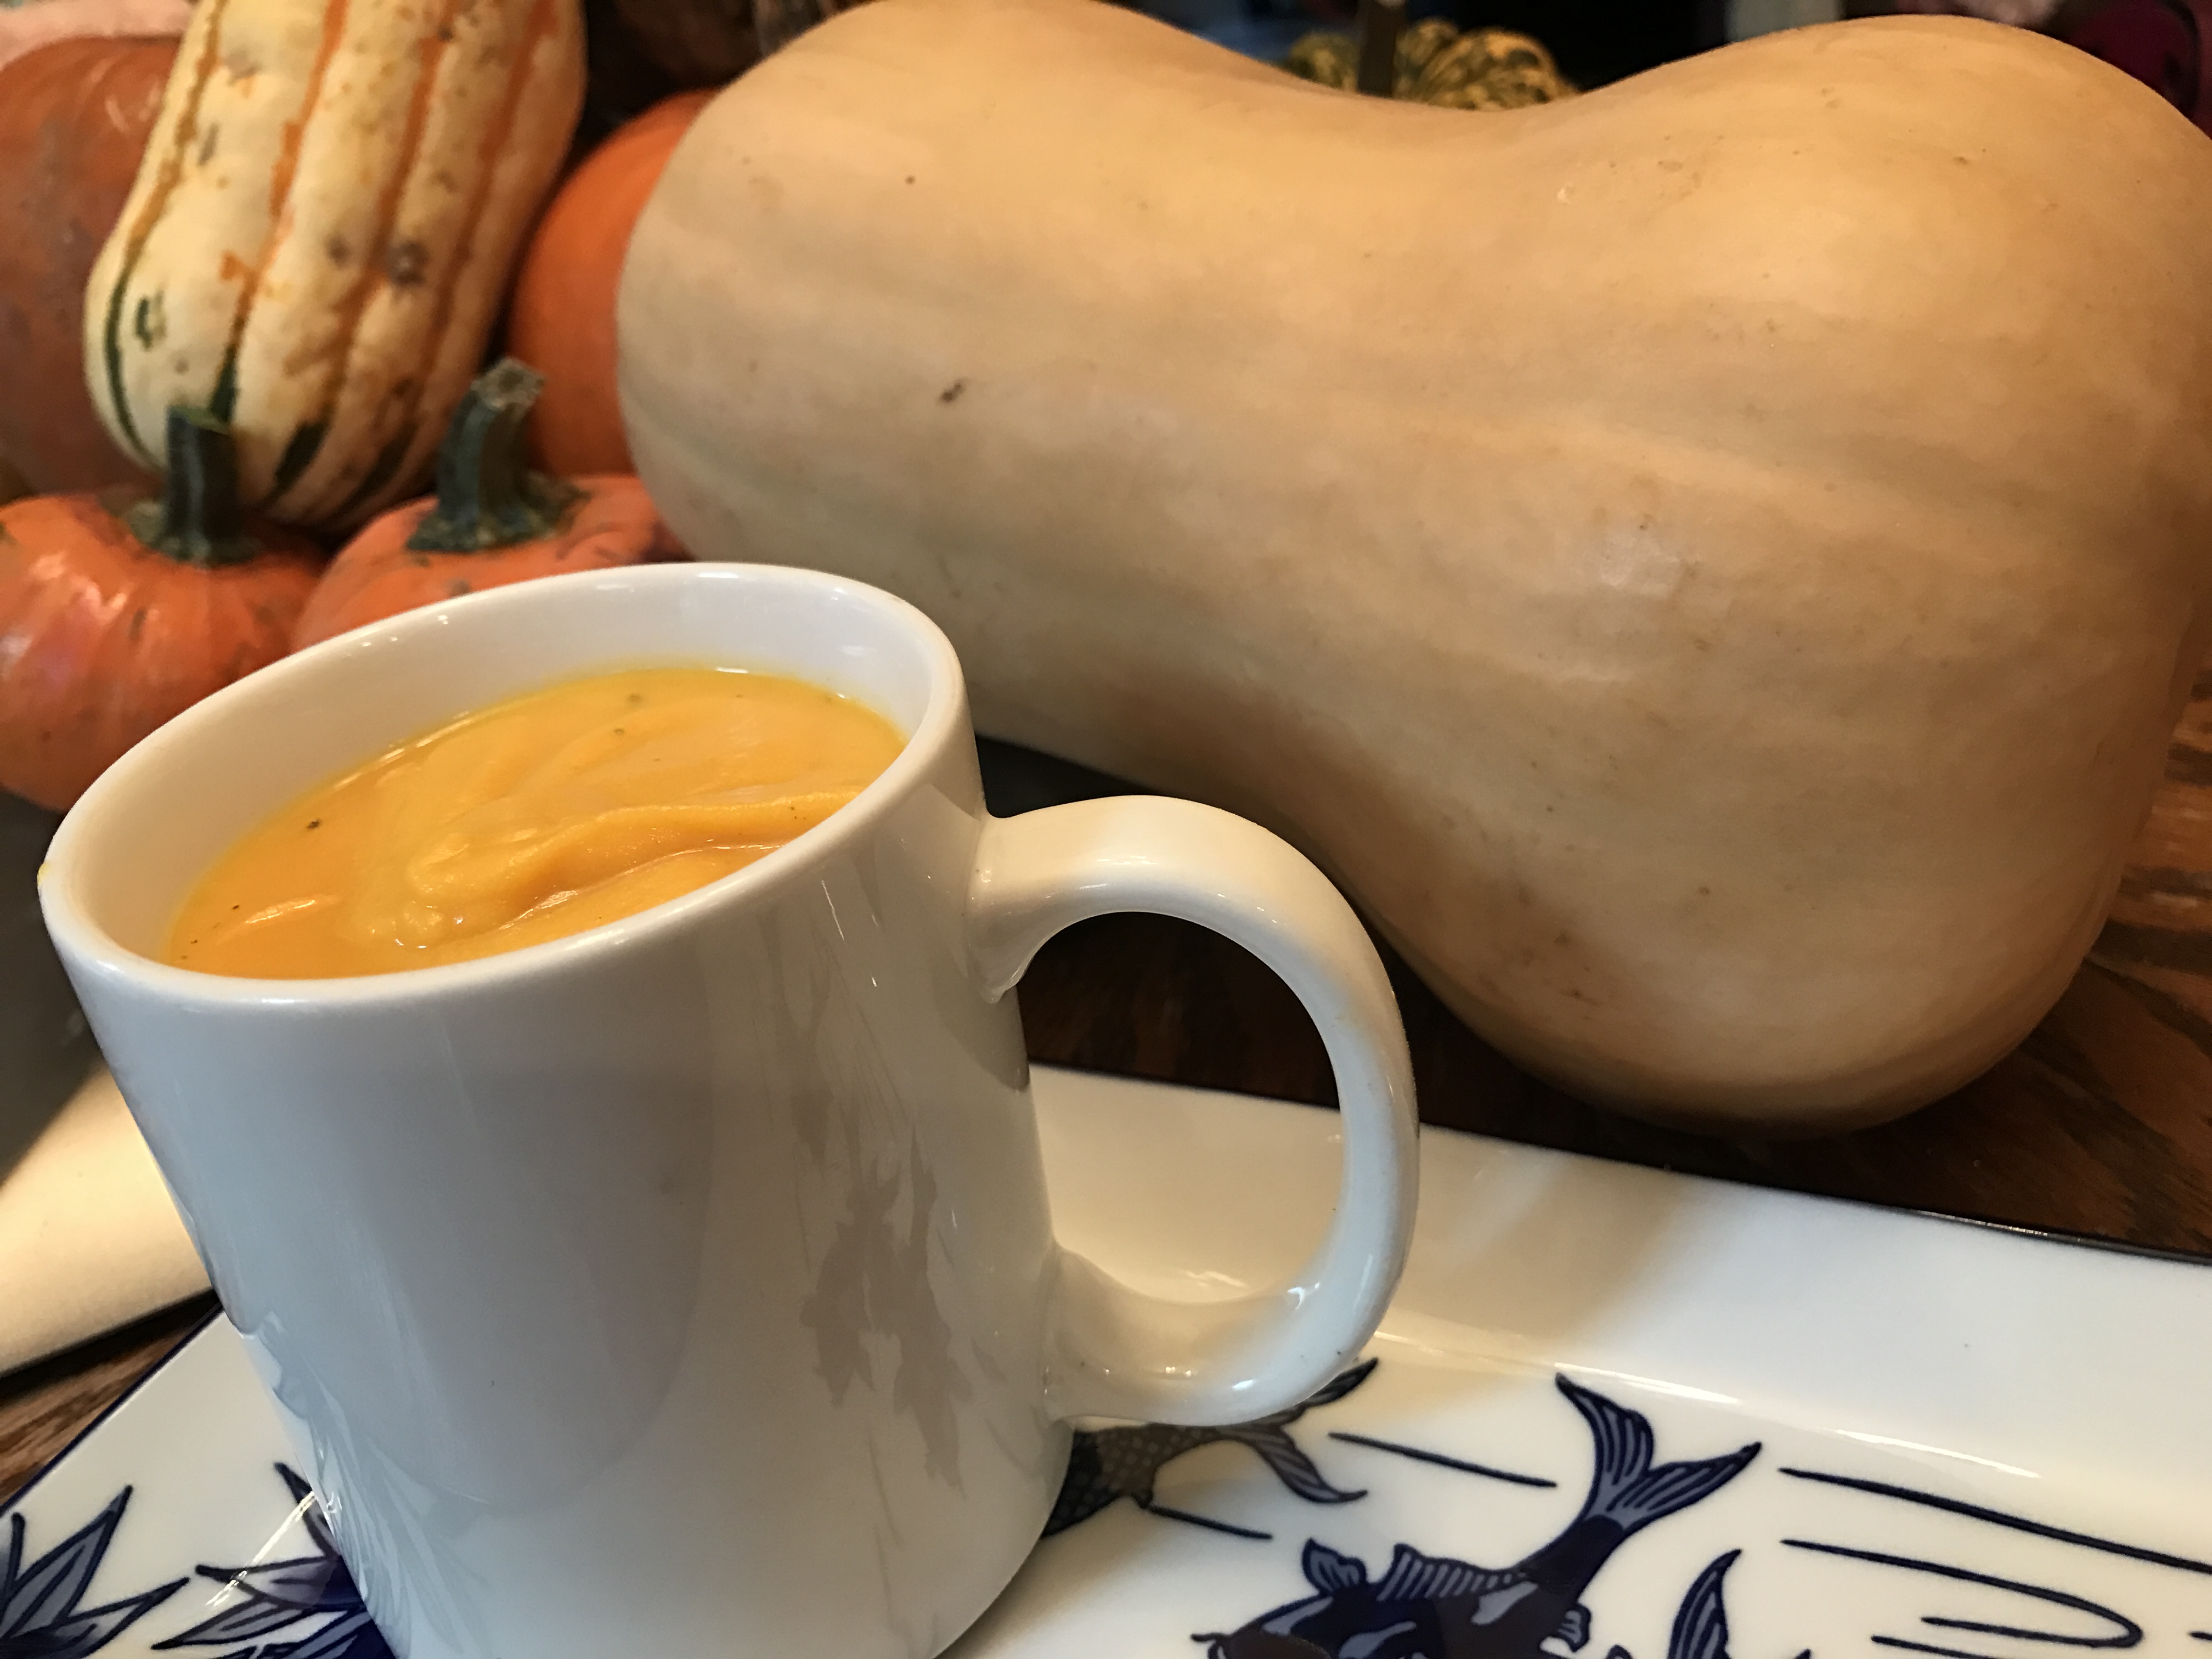
Roasted Garlic and Butternut Squash Soup


img_1109

I am overwhelmed with the beauty of fall.  Living in Wisconsin has its pros and cons, I mean I don’t think most people enjoy freezing cold below zero no sun winter days, but fall that is different.  It is beautiful!  Leaf colors in orange, red, purple…fresh crisp air, apples, pumpkin everything…

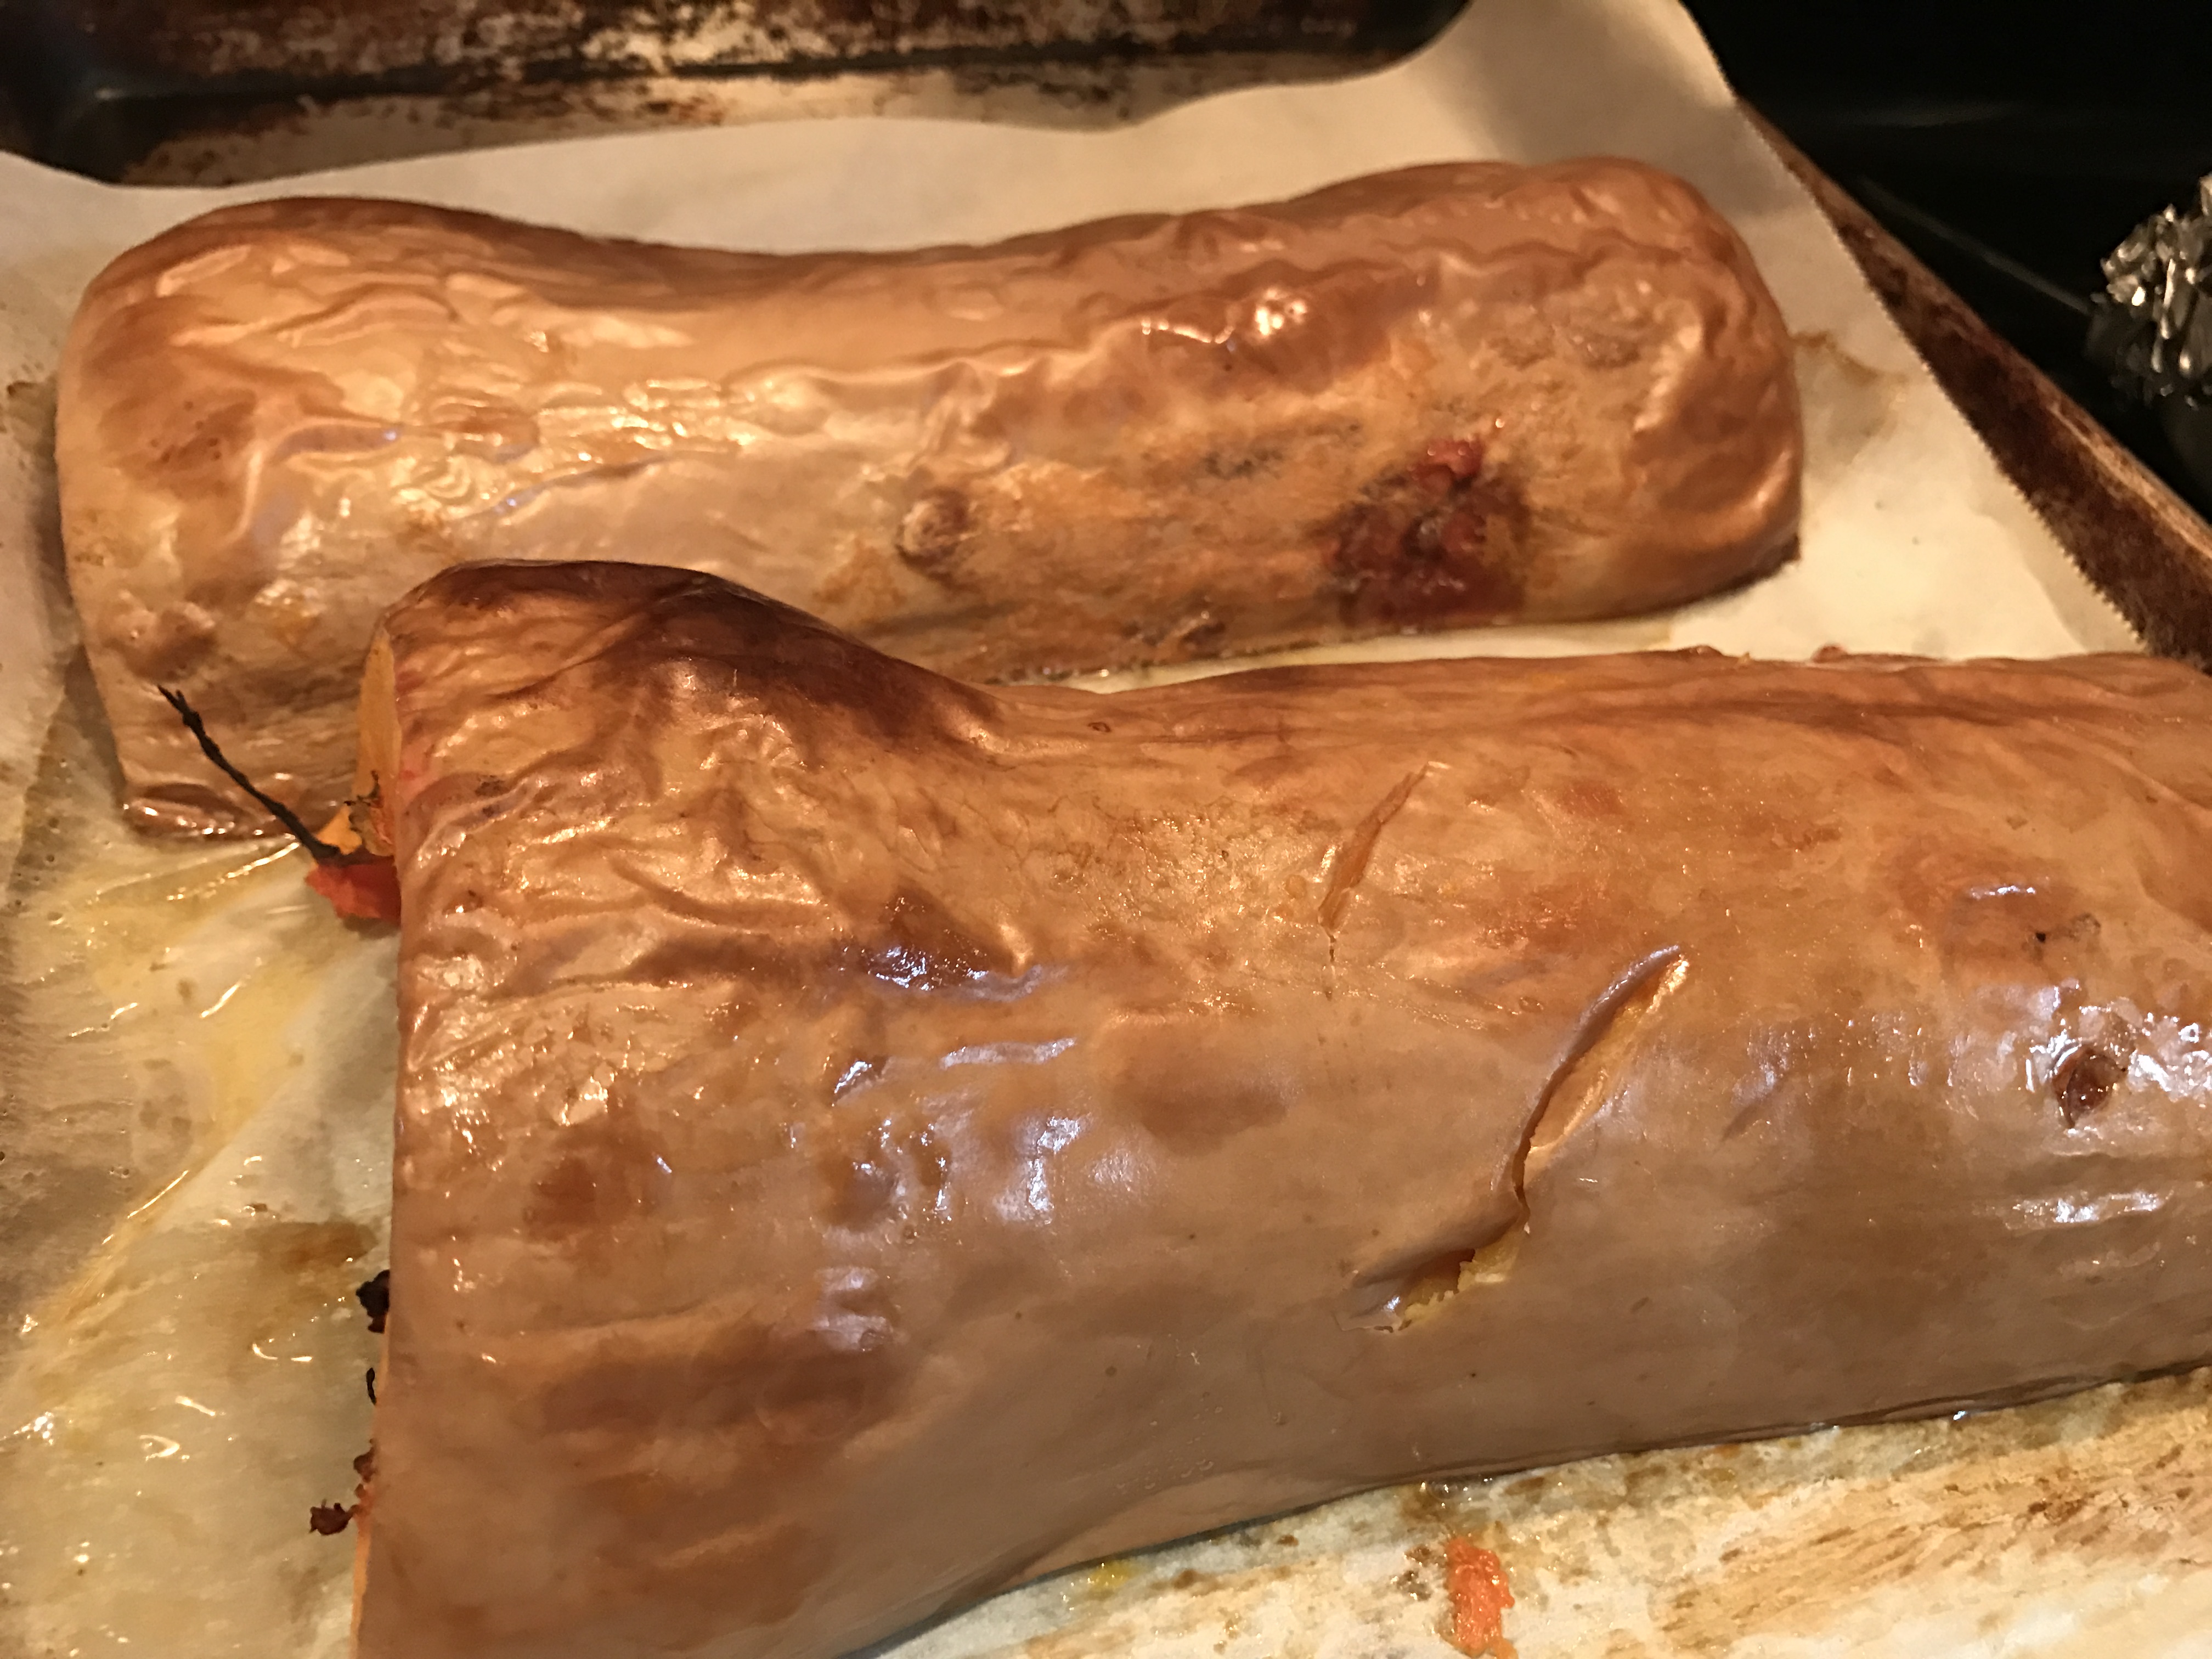
Not to mention an abundance of squash.  My favorite squash, aside from pumpkin of course is the beautiful butternut squash.  On its own it doesn’t need any additional sweetener as long as you respect it.  By this I mean roasting.  Not steaming or boiling but roasting.  This brings out the natural sugars and allows them to concentrate and caramelize.  (please forgive my not so perfect picture)

img_1097

So that is what I did for this velvety soup.  It is super quick to put together, that is your active time making it.  First cut your squash in half carefully, please don’t sacrifice a finger here.  Scrape the seeds  out and discard.  (Or save them to roast and decorate your soup if you wish).  Place squash halves cut side down on cookie sheet and roast in a 400 degree oven for about an hour, I put parchment on my pan to save clean up time later.  Meanwhile cut the end off a head of garlic.  Put the cut side down in a ramekin or small oven safe bowl and drizzle with about 2 tablespoons of olive oil and a pinch of sea salt.  When you are 20 minutes from the end of roasting your squash add your ramekin covered with foil to the oven.  Your squash and garlic are done when they are golden brown.  (I flipped my garlic over for a visual, roast cut side down.)

img_1101


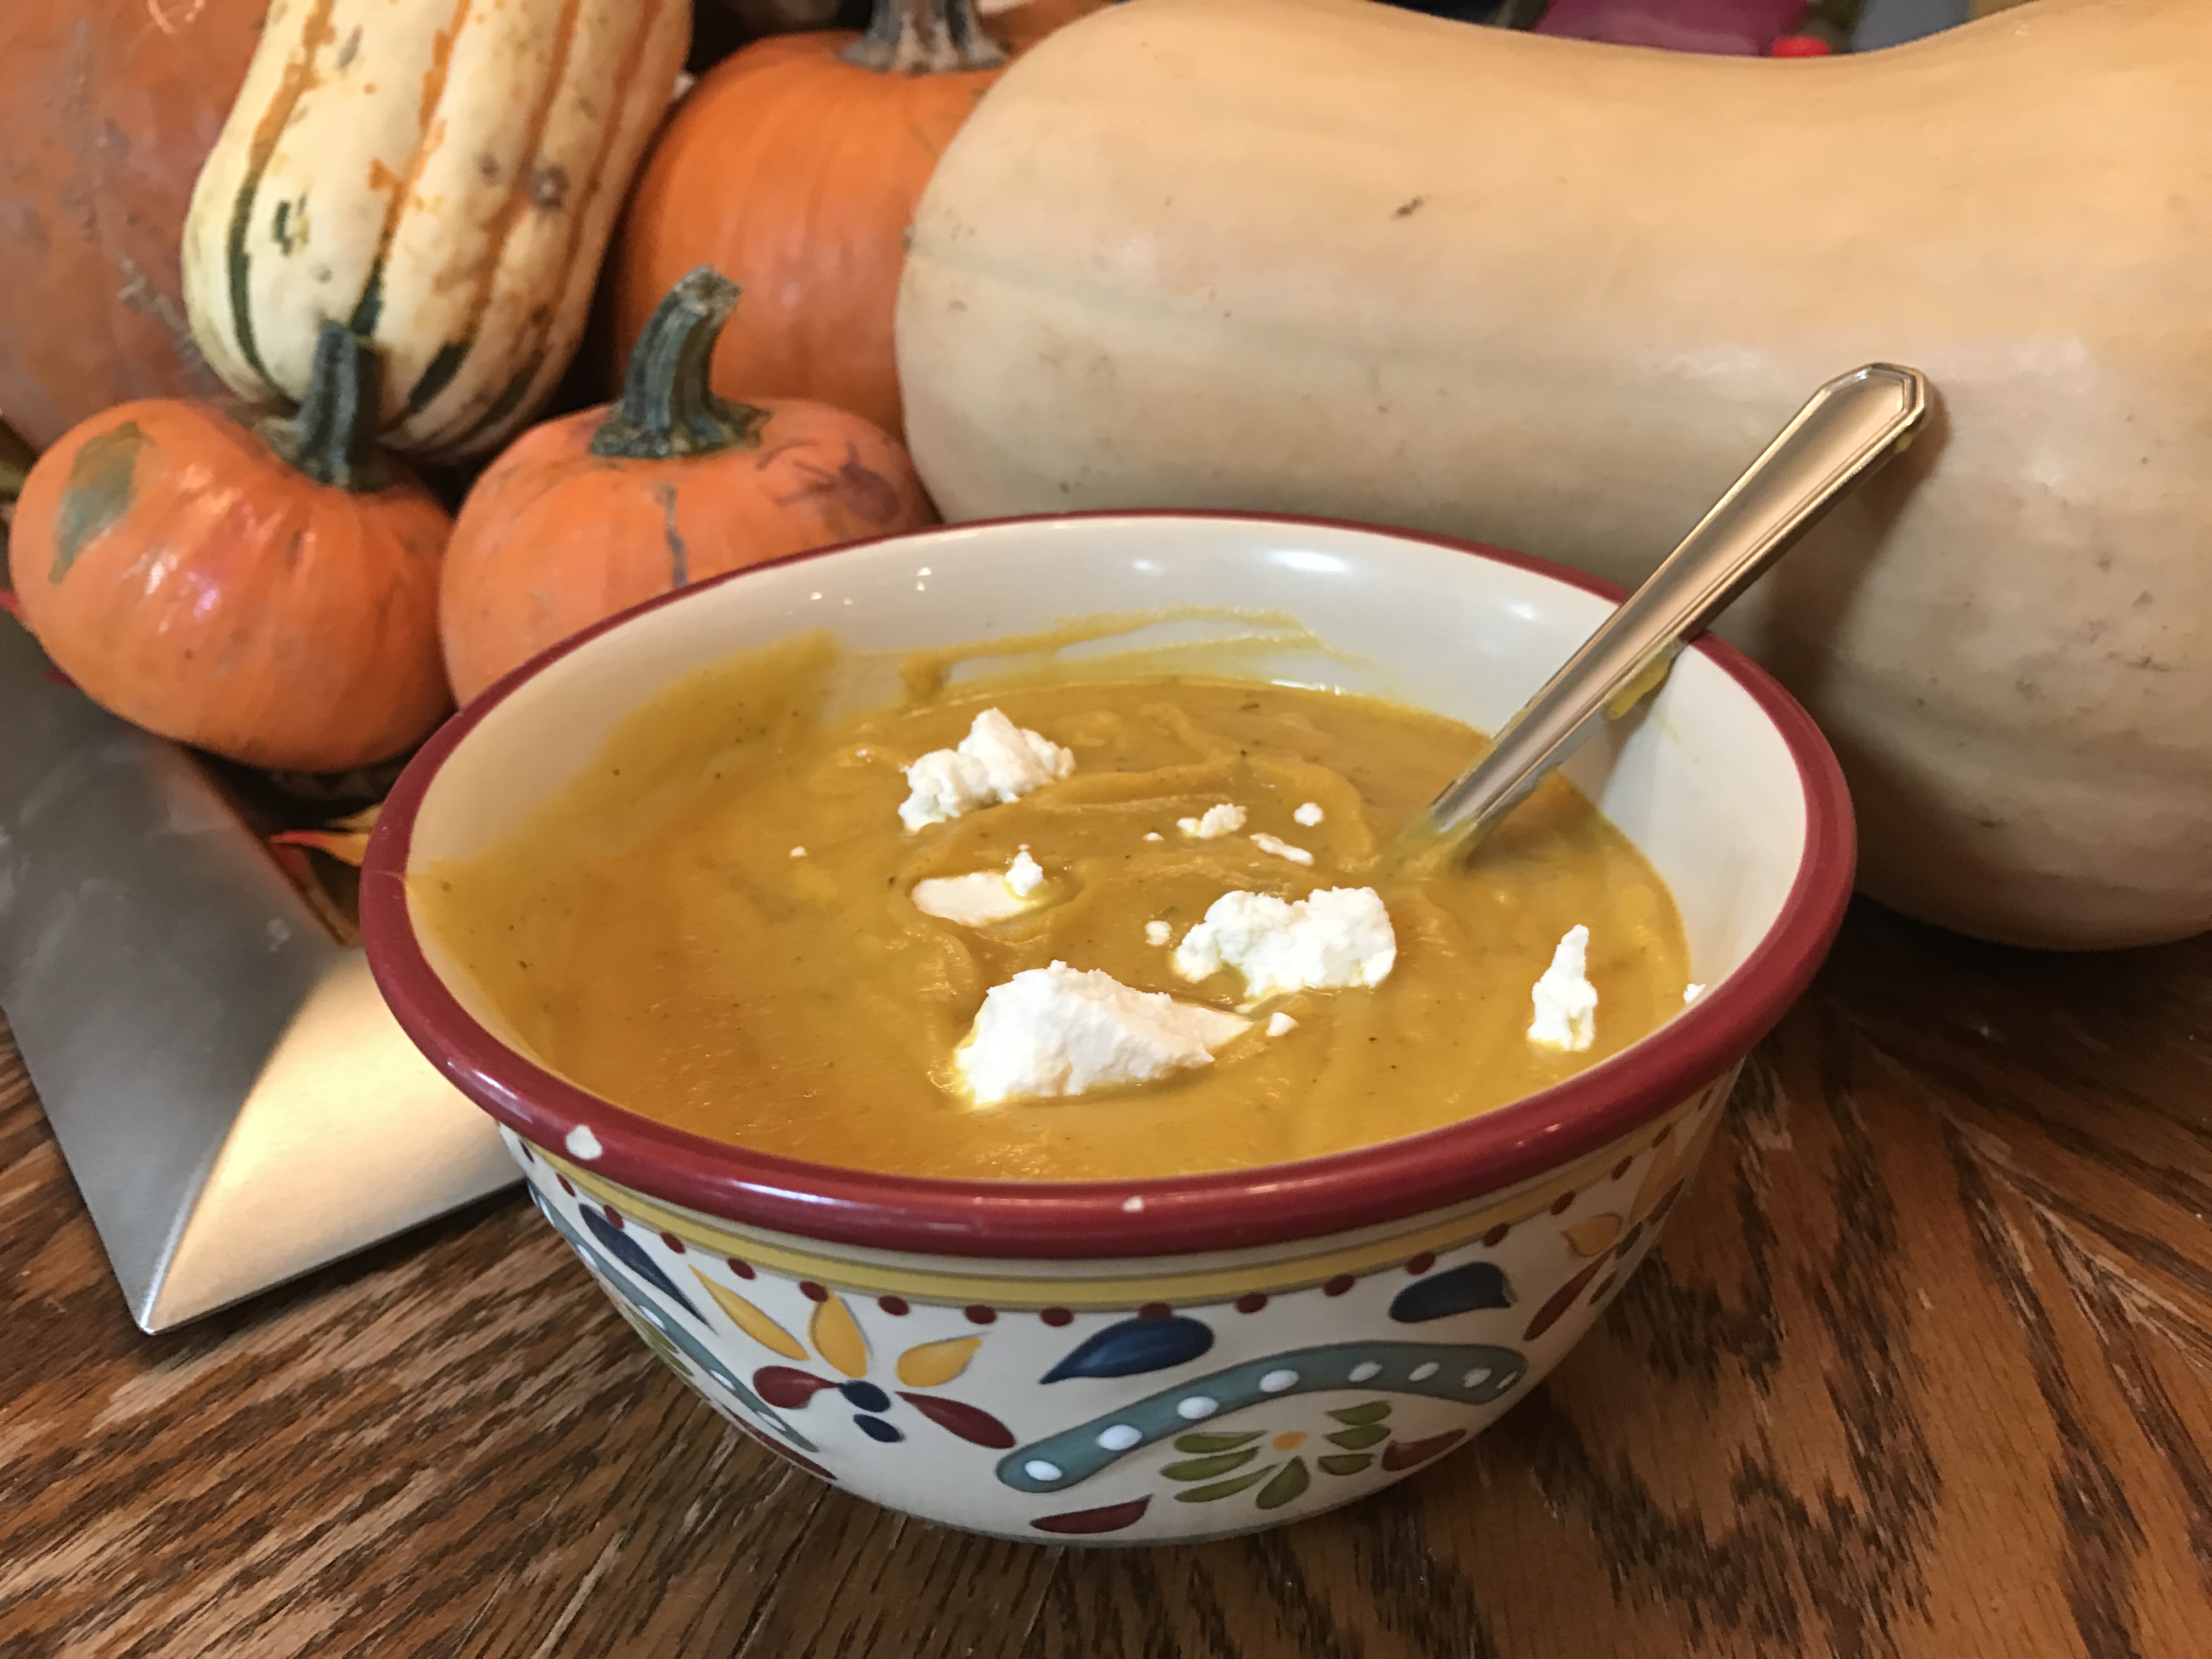
Remove squash and allow to cool before scraping the sweet flesh from the skin.  Squeeze the garlic from the skins into your blender and purée with squash and 2-3 cups of chicken stock (to make it vegetarian/vegan use vegetable stock).  I used my homemade stock this time but any stock will work.  Purée until smooth.  Empty blender into large saucepan and bring to a simmer.  Now is the time to adjust your seasoning.  Add 1 tablespoon dried sage, 2 teaspoons of dried thyme and salt and pepper to taste.   Now swirl in a tablespoon of apple cider vinegar to mellow out the sweetness of the squash and roasted garlic, feel free to add more if yours tastes extra sweet.  Allow to simmer for about 20 minutes.


When you are ready to serve top each bowl with a good shake of pumpkin pie spice and a small pinch of cayenne.  Add a crispy baguette, serve with a fresh salad and your meal is complete!

Cheers!

As a side note, I topped mine with Chèvre (creamy goat cheese), super yummy!  This would also be great with any sage seasoned sausage…

img_1128


Pan Seared Wild Salmon

Sometimes we just need a super quick meal that is healthy and easy to clean up!  I love to hear about other peoples go to quick meals, but for some reason when people ask me what my favorite is they are surprised when I say fish.  For some making fish seems like a tricky task, but I am here to clear that up for your right now.  Yes you can make a much more labor intensive fancy dish with a nice piece of fish, but this fancy and quick dish is no slacker in the taste department, I promise.  It is also very flexible, so please feel free to play with the herbs and seasonings you use, this is not set in stone!

image

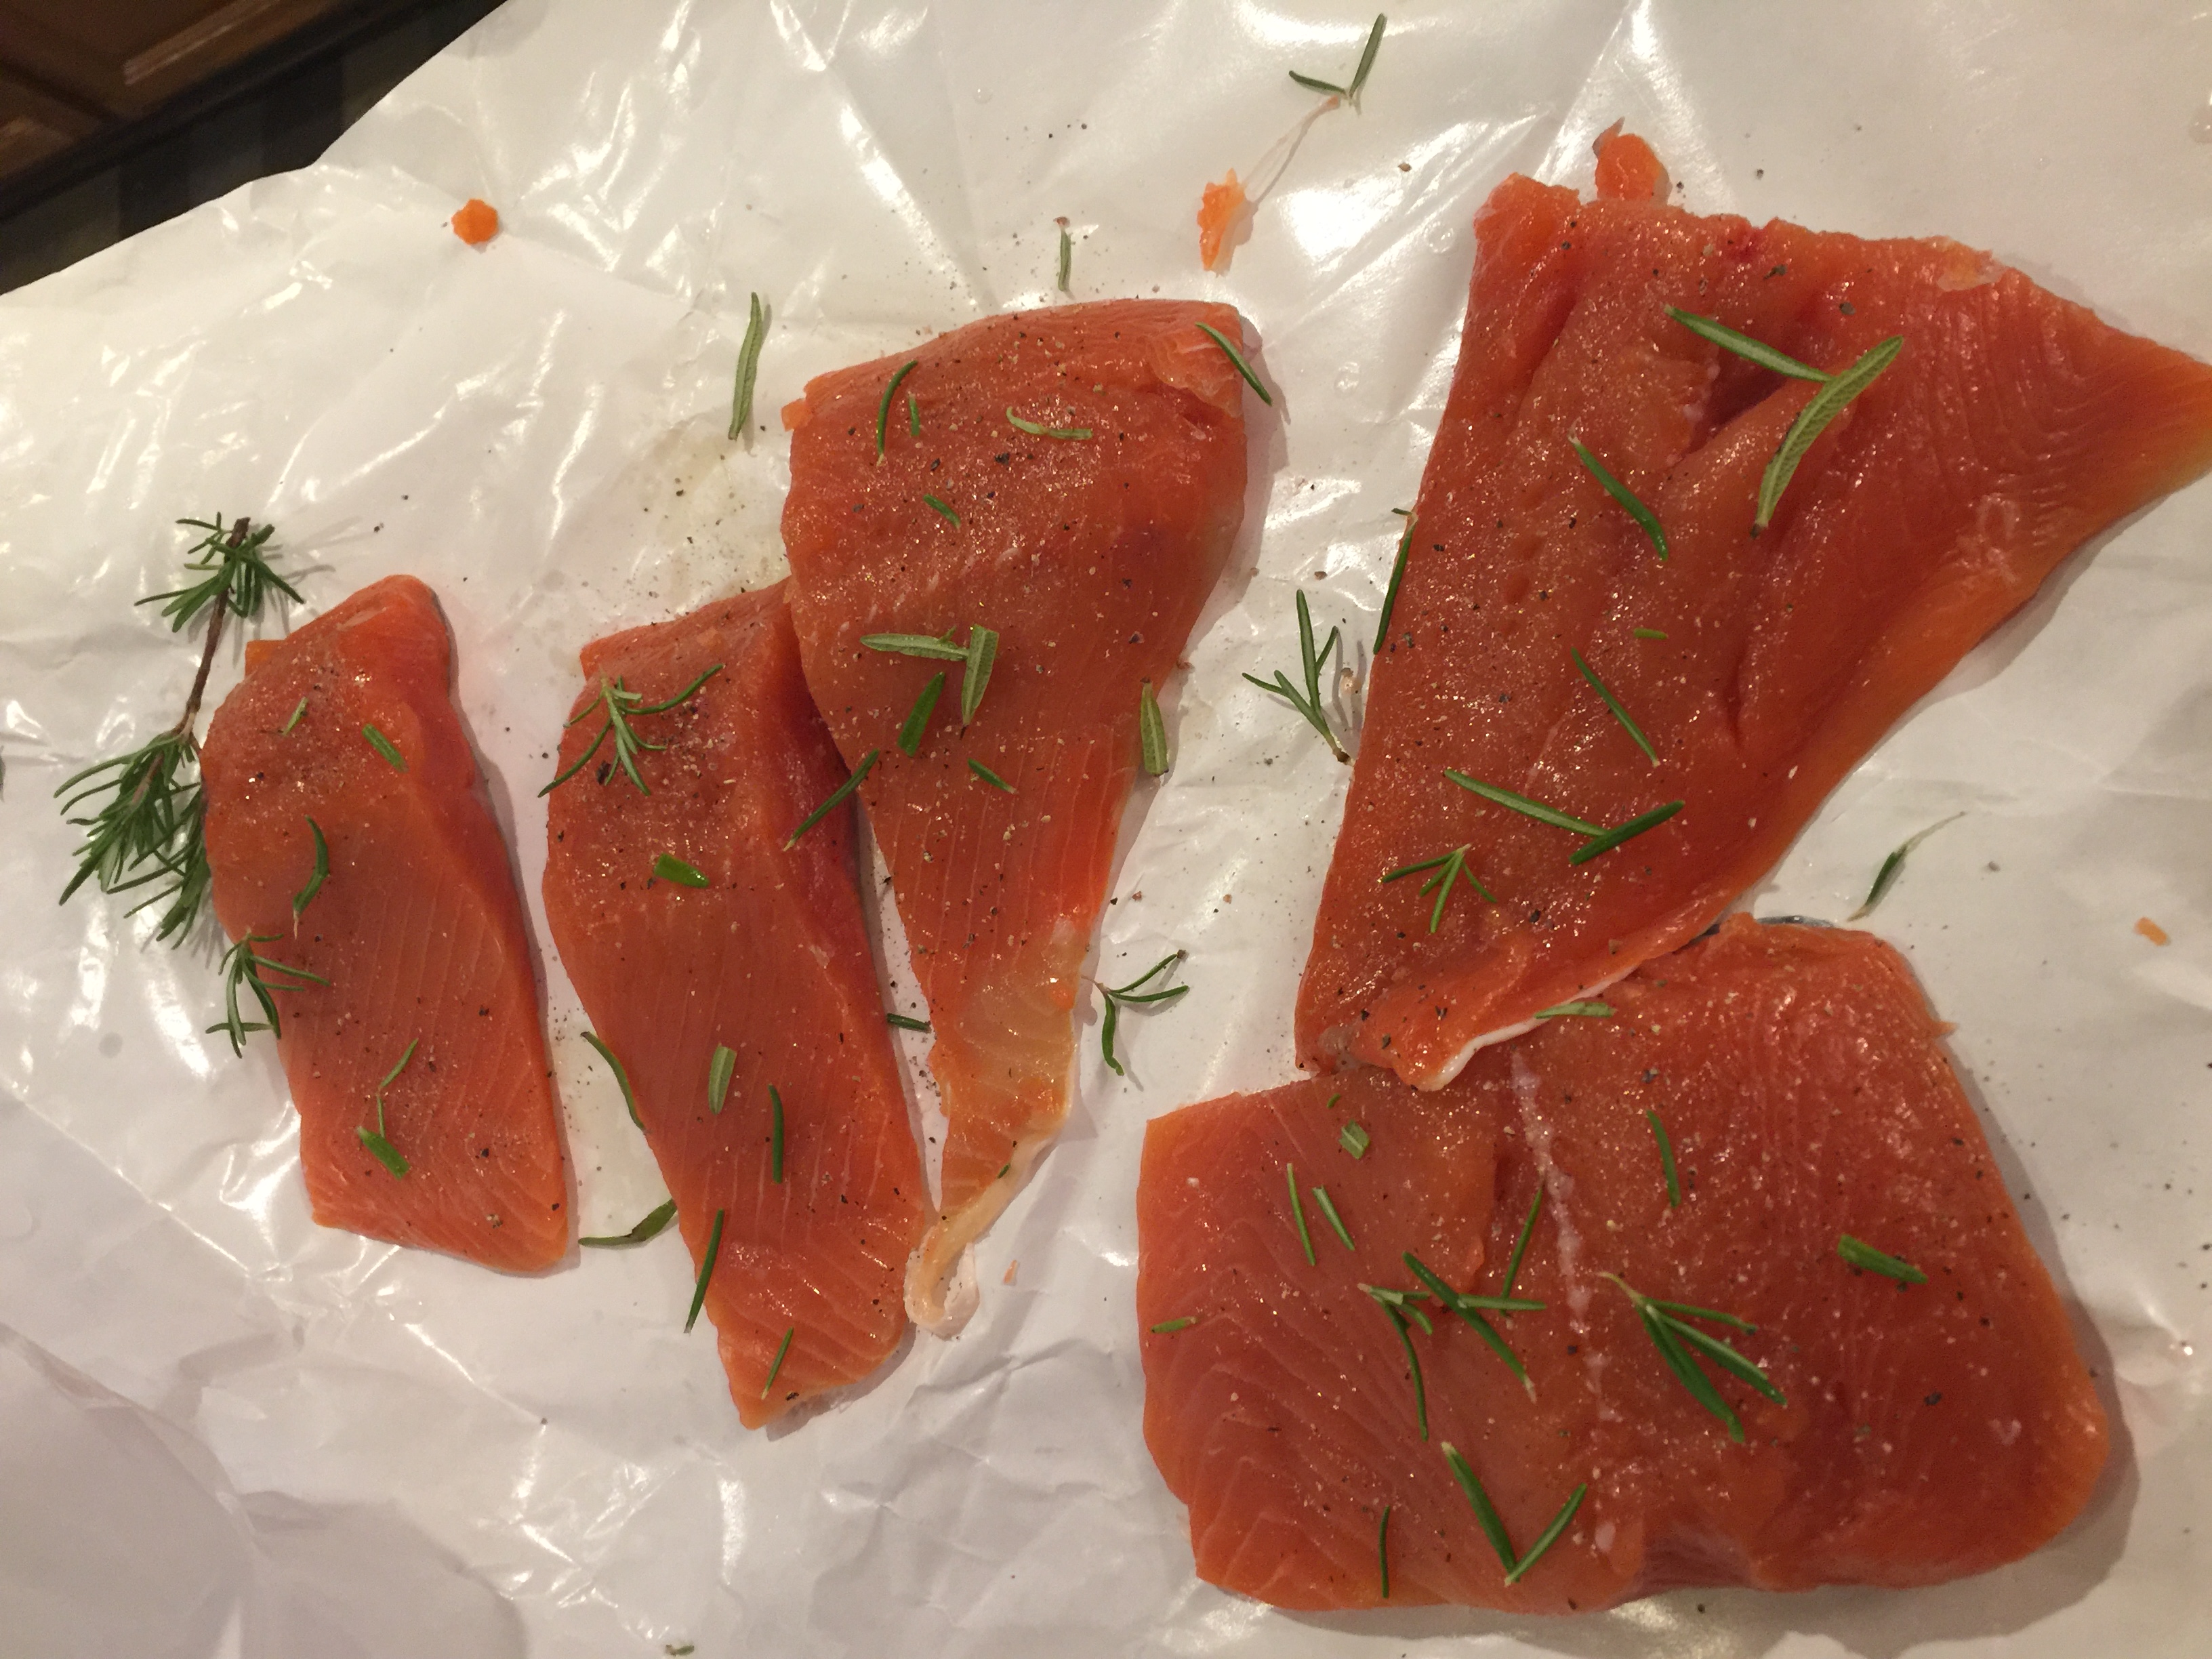
Note the abstract design of my rosemary.  I just tossed my leaves on after I rubbed the fillets with a little salt and pepper, crushed garlic and extra virgin olive oil.  Violà dinner into the pan and on the table 15 minutes later. Please forgive the varying sizes of the fish fillets in my picture, they were getting dangerously low in supply of wild salmon at the fish counter today and I had to have it!  If you have the same predicament as me, just pull the smaller fillets from the pan a minute or two sooner than the larger ones.

I usually make close to 2lbs at a time as I have a 3 year old who thinks that he has to eat at least an 8 oz portion or larger when fish is served.  I am shaking at the thought of my grocery bill 10 years from now!  As this recipe is flexible, you can make an 8 oz portion or 4lbs or more at a time just reduce the amount of oil and herbs.

Now for the cooking part, heat your pan on medium high to high heat for a few minutes to get a nice hot cooking surface.  Drizzle in a couple tablespoons of olive oil, and place fillets in pan skin side down for about 6 minutes or until the skin is crispy and has released from the pan.  Do not touch the fish during this time.  If you try to move it once it is in the pan, before it is done, it will stick and tear.

Once your skin is crispy flip your fillets and continue to cook for another 2-3 minutes, depending on thickness.  Your goal is to have the salmon slightly undercooked in the center, think a medium to medium well steak.  You can go well done, your fish will just be a bit dryer.

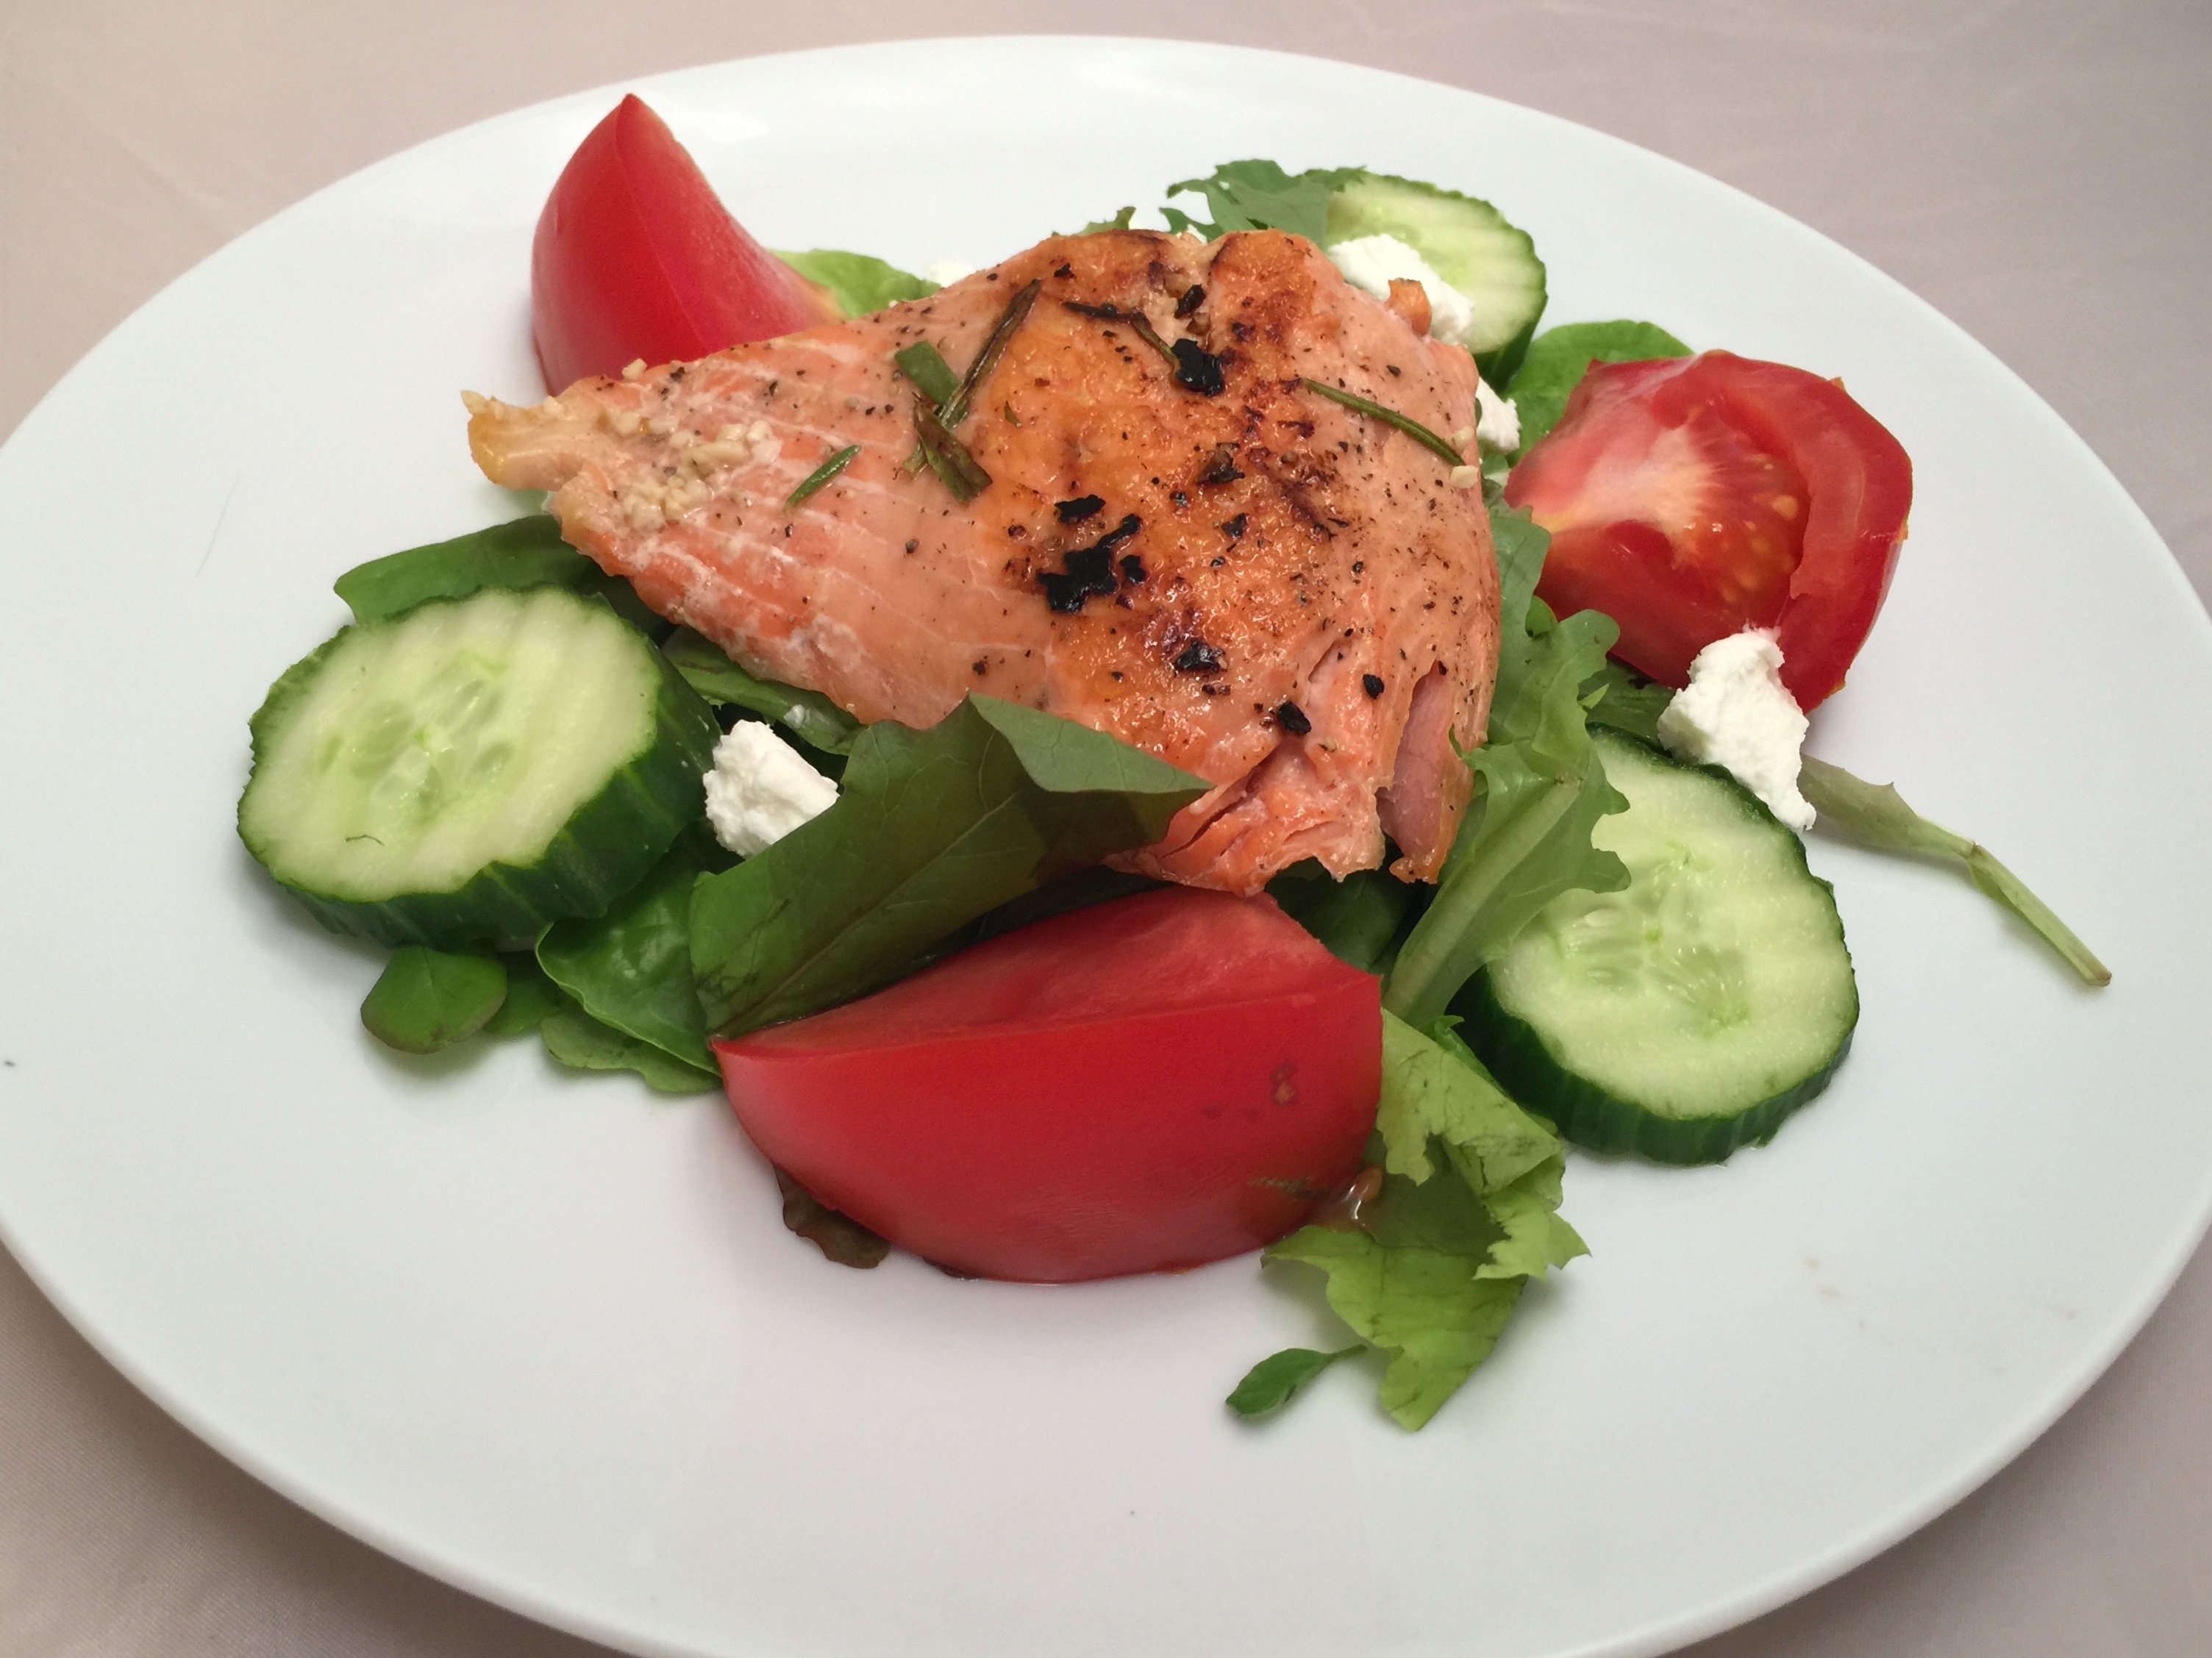
Serve on a bed of fresh greens, sliced tomato, cucumber and goat cheese with a drizzle of oil and vinegar, or with your side of choice, and enjoy!

image


Cheers!

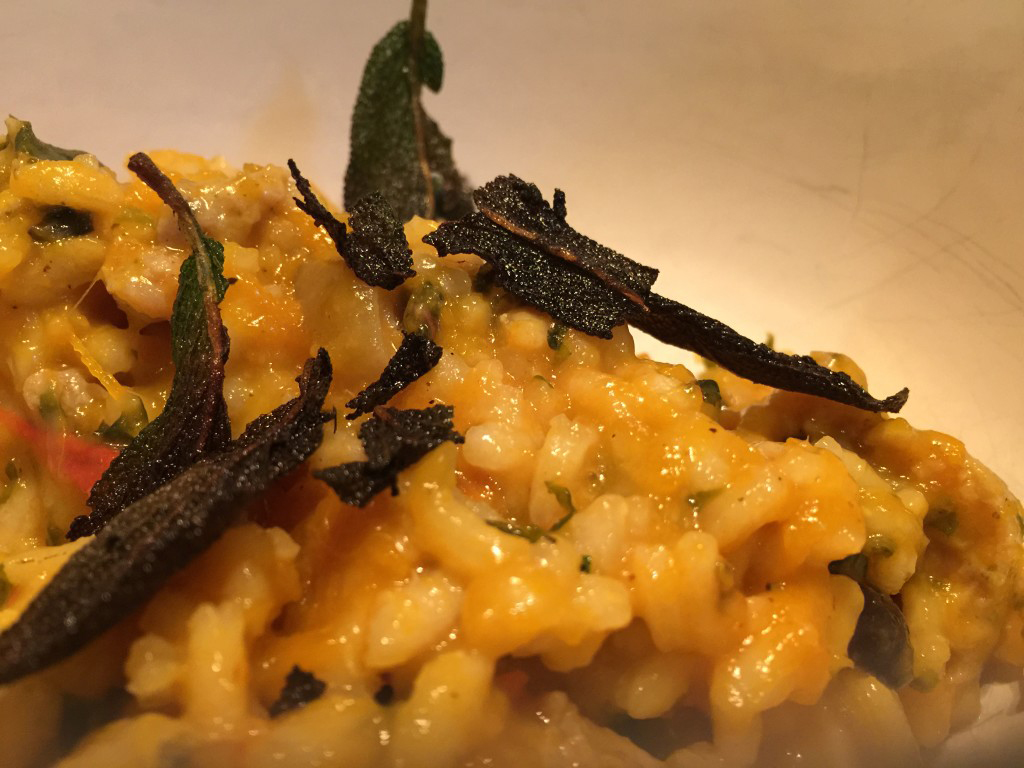
Pumpkin and Sausage Risotto with Browned Butter Sage Leaves


Though I know we are all dreading the weather changing, there are a few perks to our cooler fall-like temperatures, one of them is the infamous pumpkin.  Thank you to my friends at the Garden of Weedin for the beautiful pie pumpkins that helped inspire this dish.

As I was preparing to make a crock pot full of chili and a grill full of chicken wings to enjoy this fall-ish sunday afternoon with a couple of our good friends, my husband through down the challenge.  Chicken and chili…come on, that sounds way too easy!  You can do better!  Hmmm, well anyone who knows me knows I do not take a challenge lightly, especially a food challenge.  So I glanced around the kitchen, caught sight of my beautiful orange pumpkins and the aha moment…consider this challenge accepted.

…

Read More »

Meet the Author

MaryJo is a busy mom with 3 beautiful children. She enjoys paddle boarding, kayaking. and cross country skiing. She loves food...cooking it, eating it and especially sharing it with everyone.

Connect With Me

  • Facebook

Copyright © 2026 · Foodie Pro Theme by Shay Bocks · Built on the Genesis Framework · Powered by WordPress